Semester 02 Textile Noise Maker
Introduction
19 Jan 2023
Upon laying out my components on a wooden
board, the noise maker appeared very
unpolished due to the lack of details in the
original design.
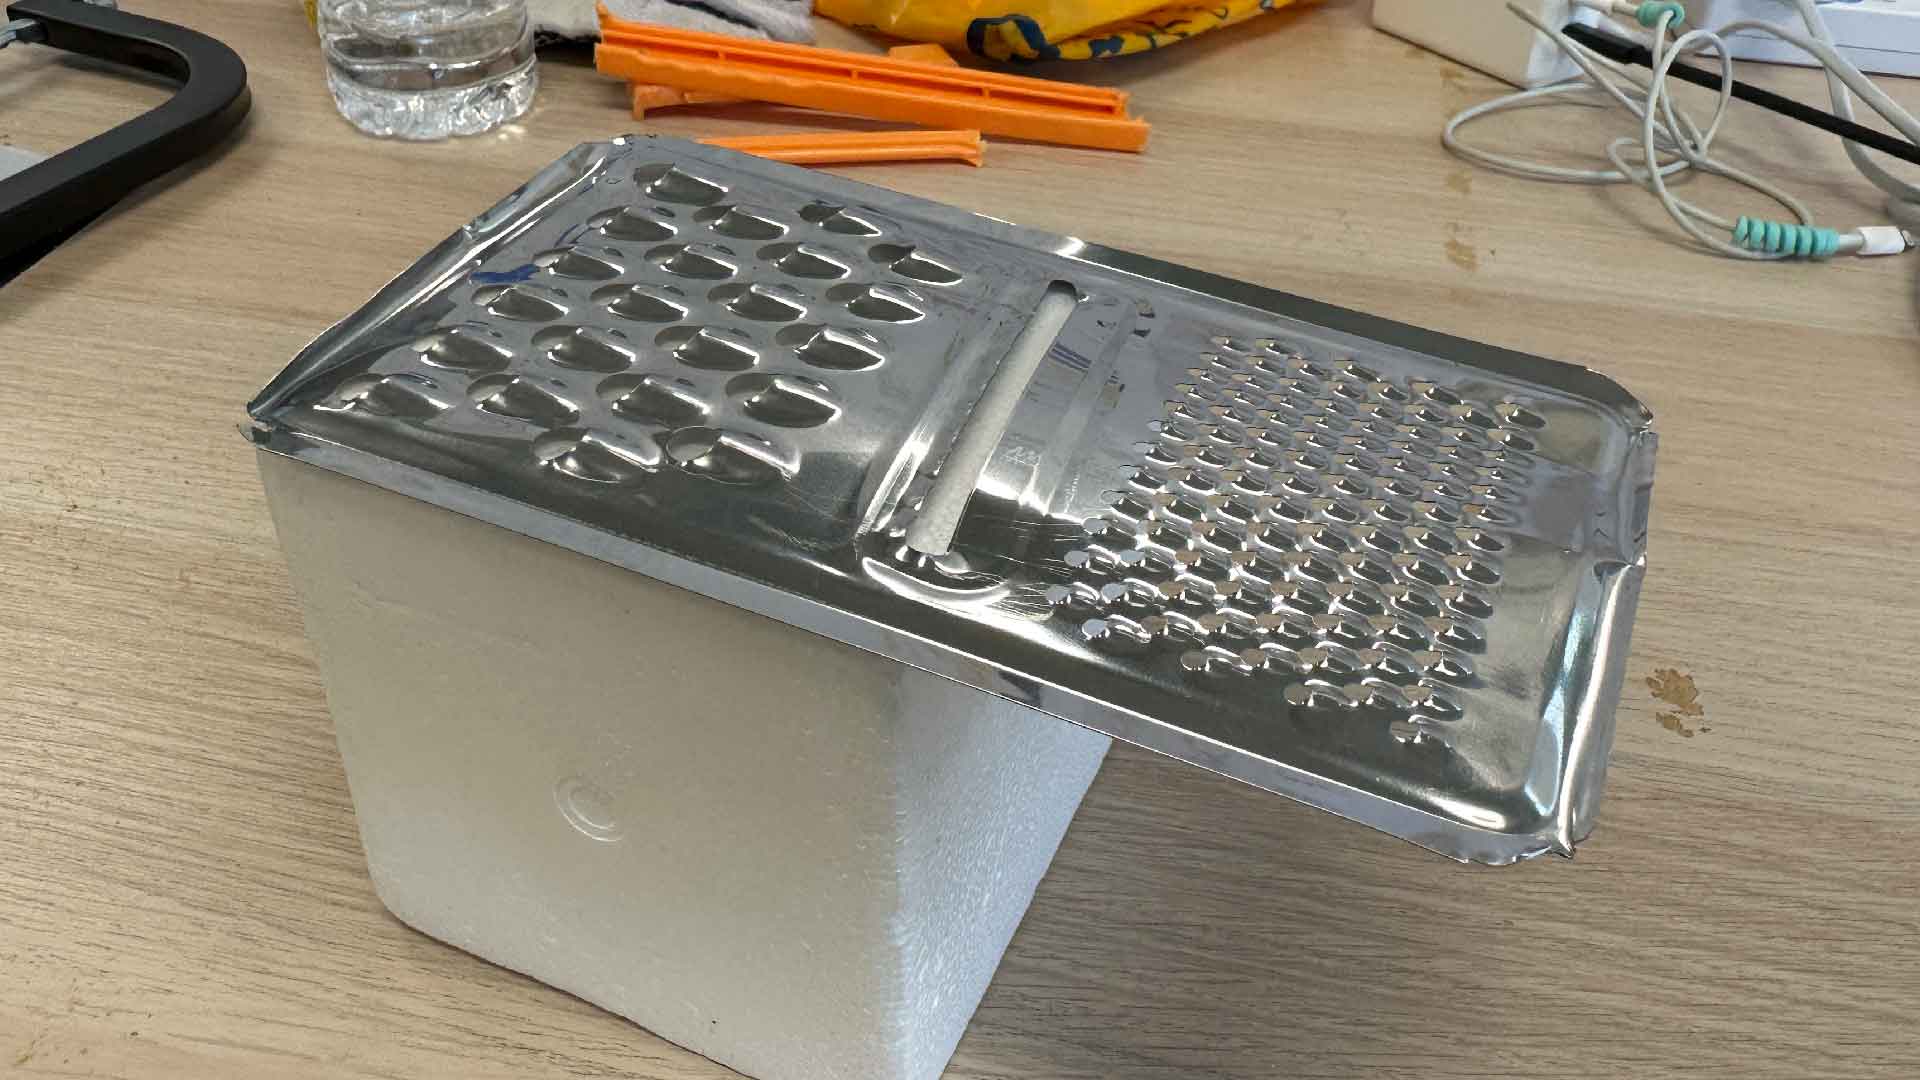
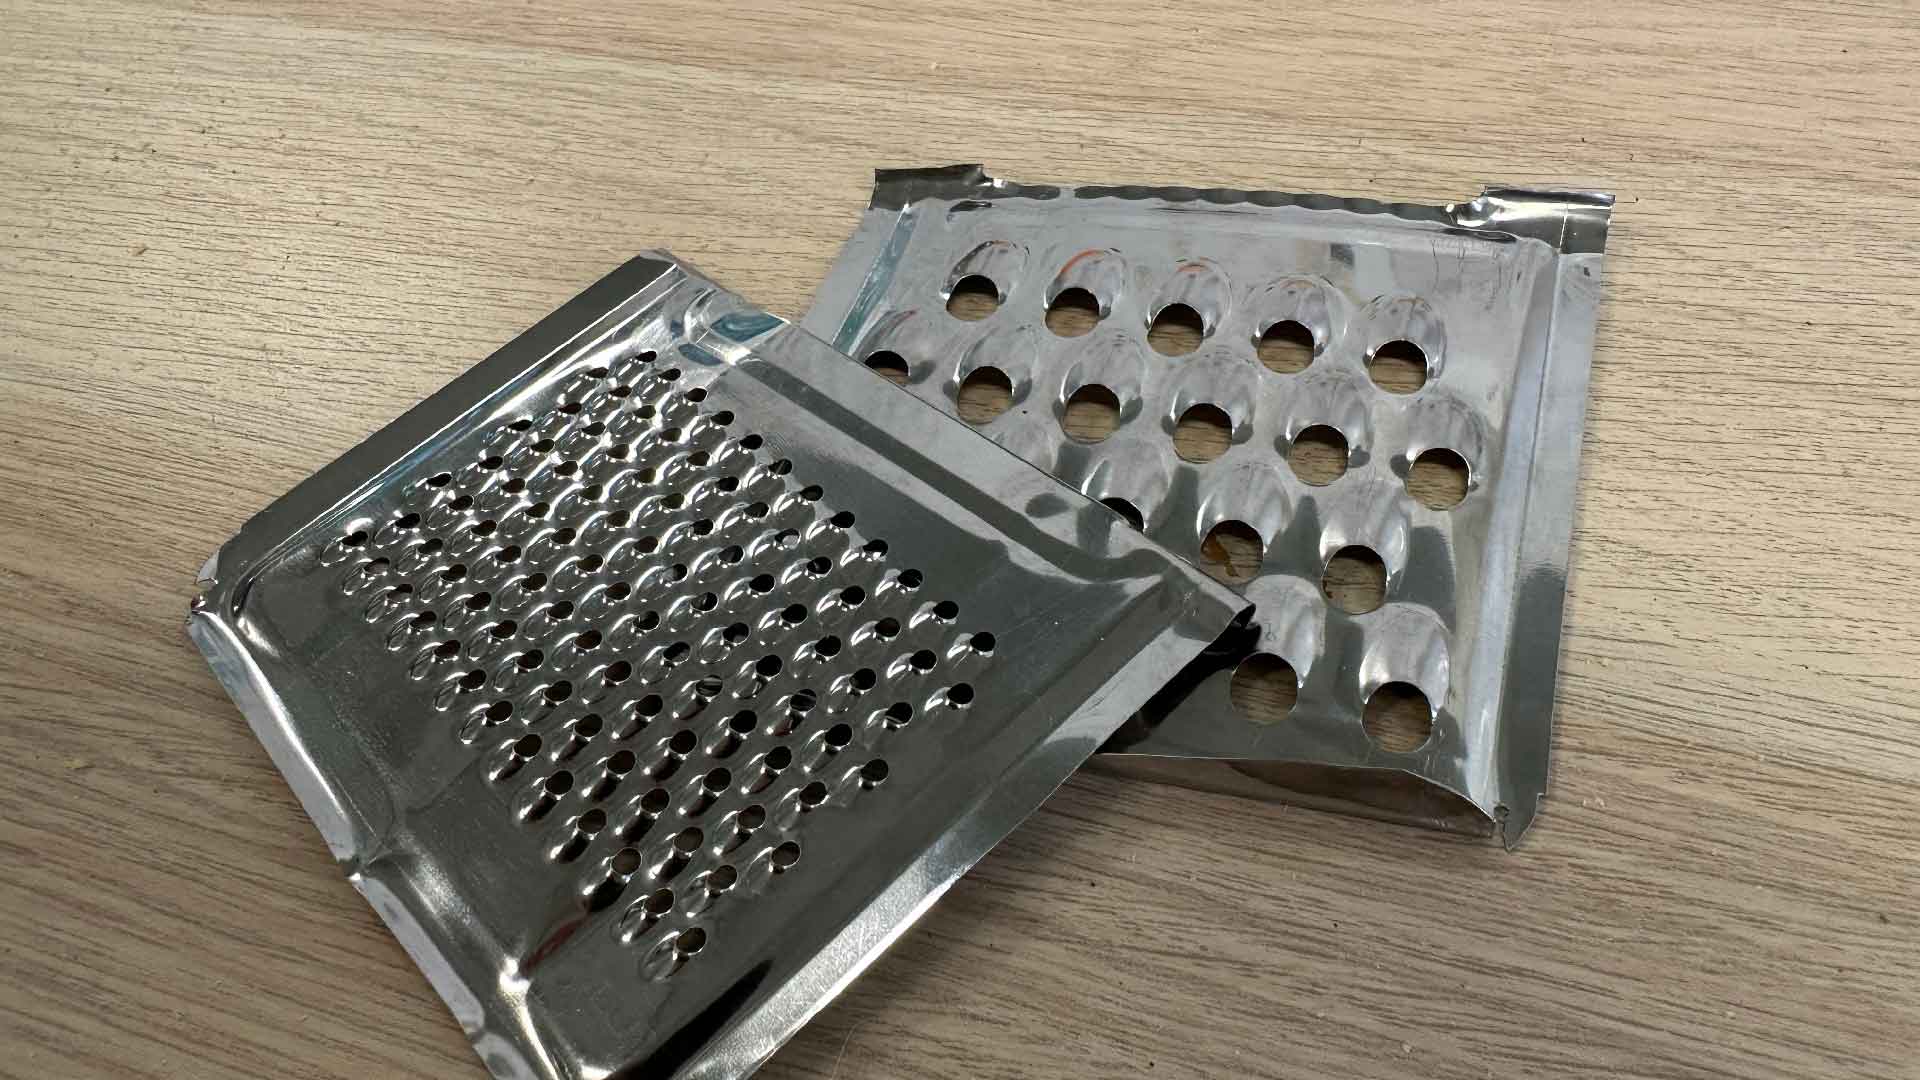
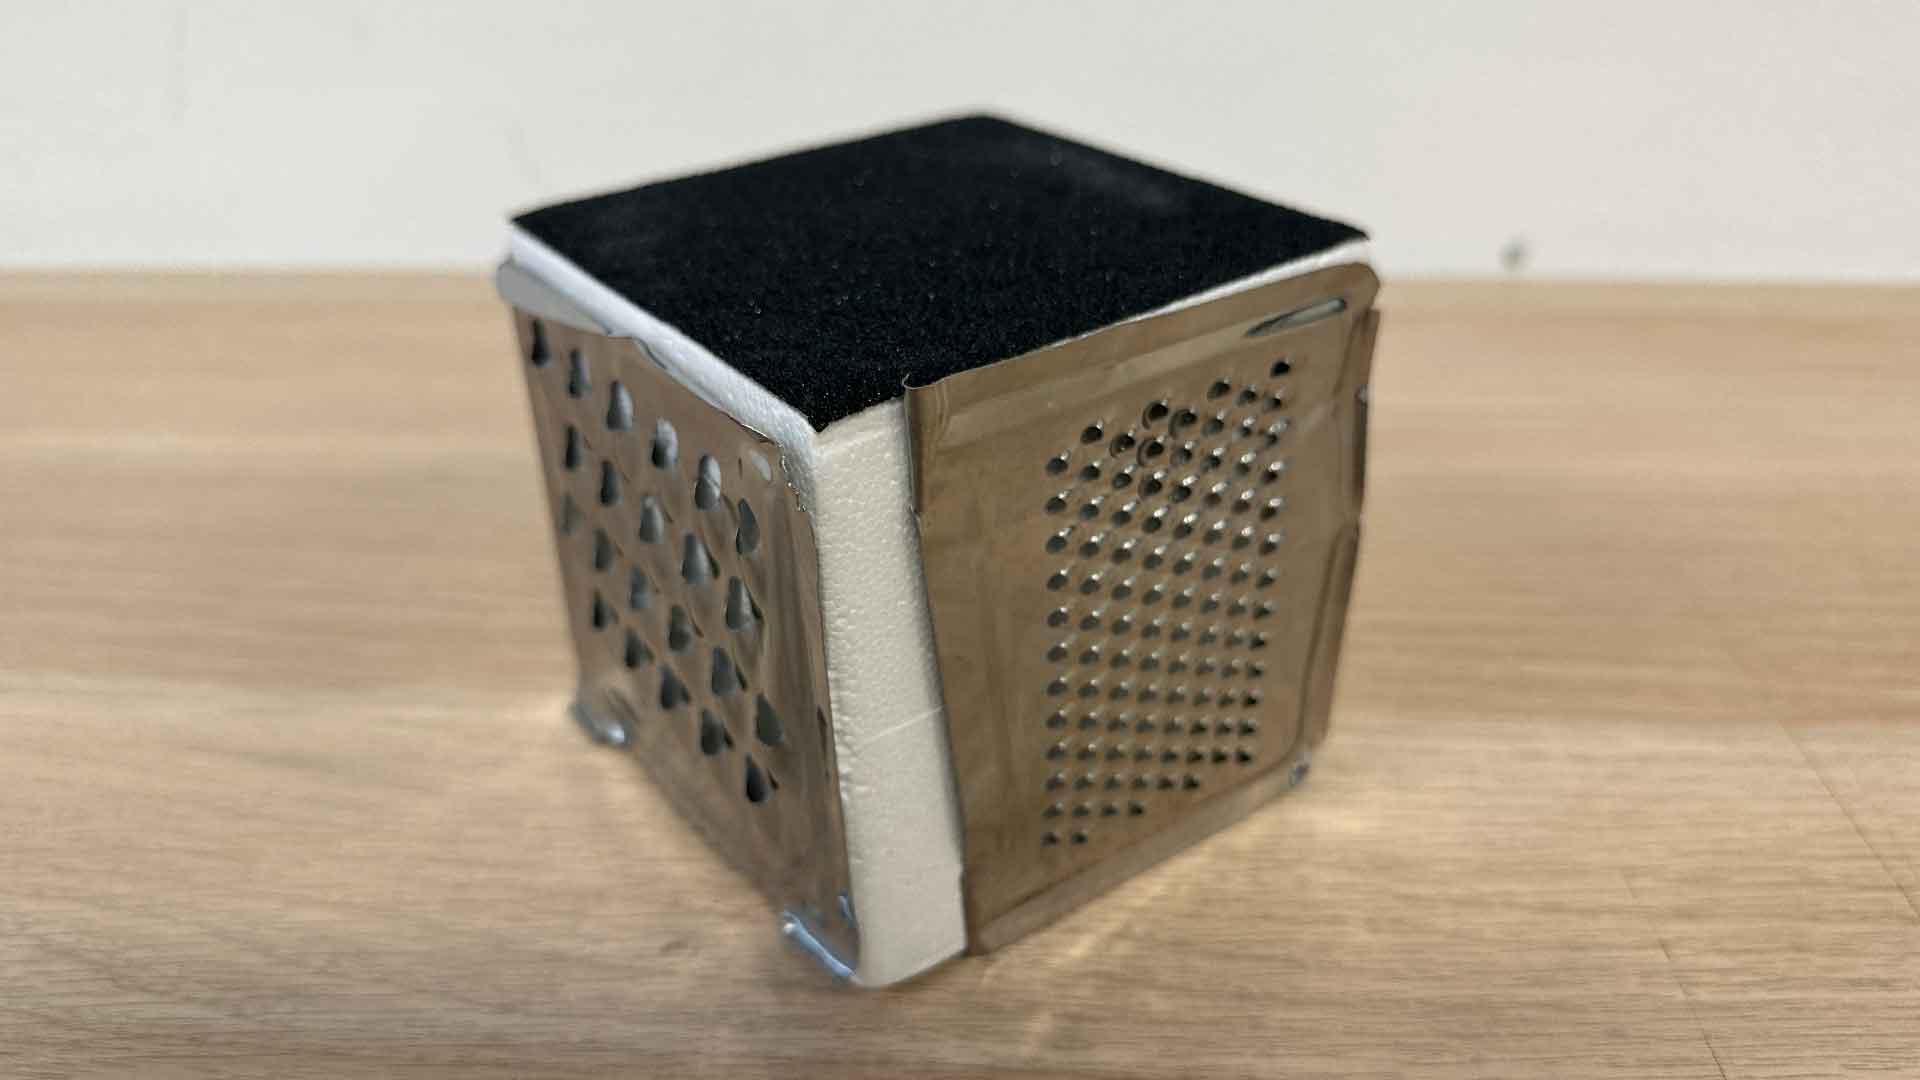
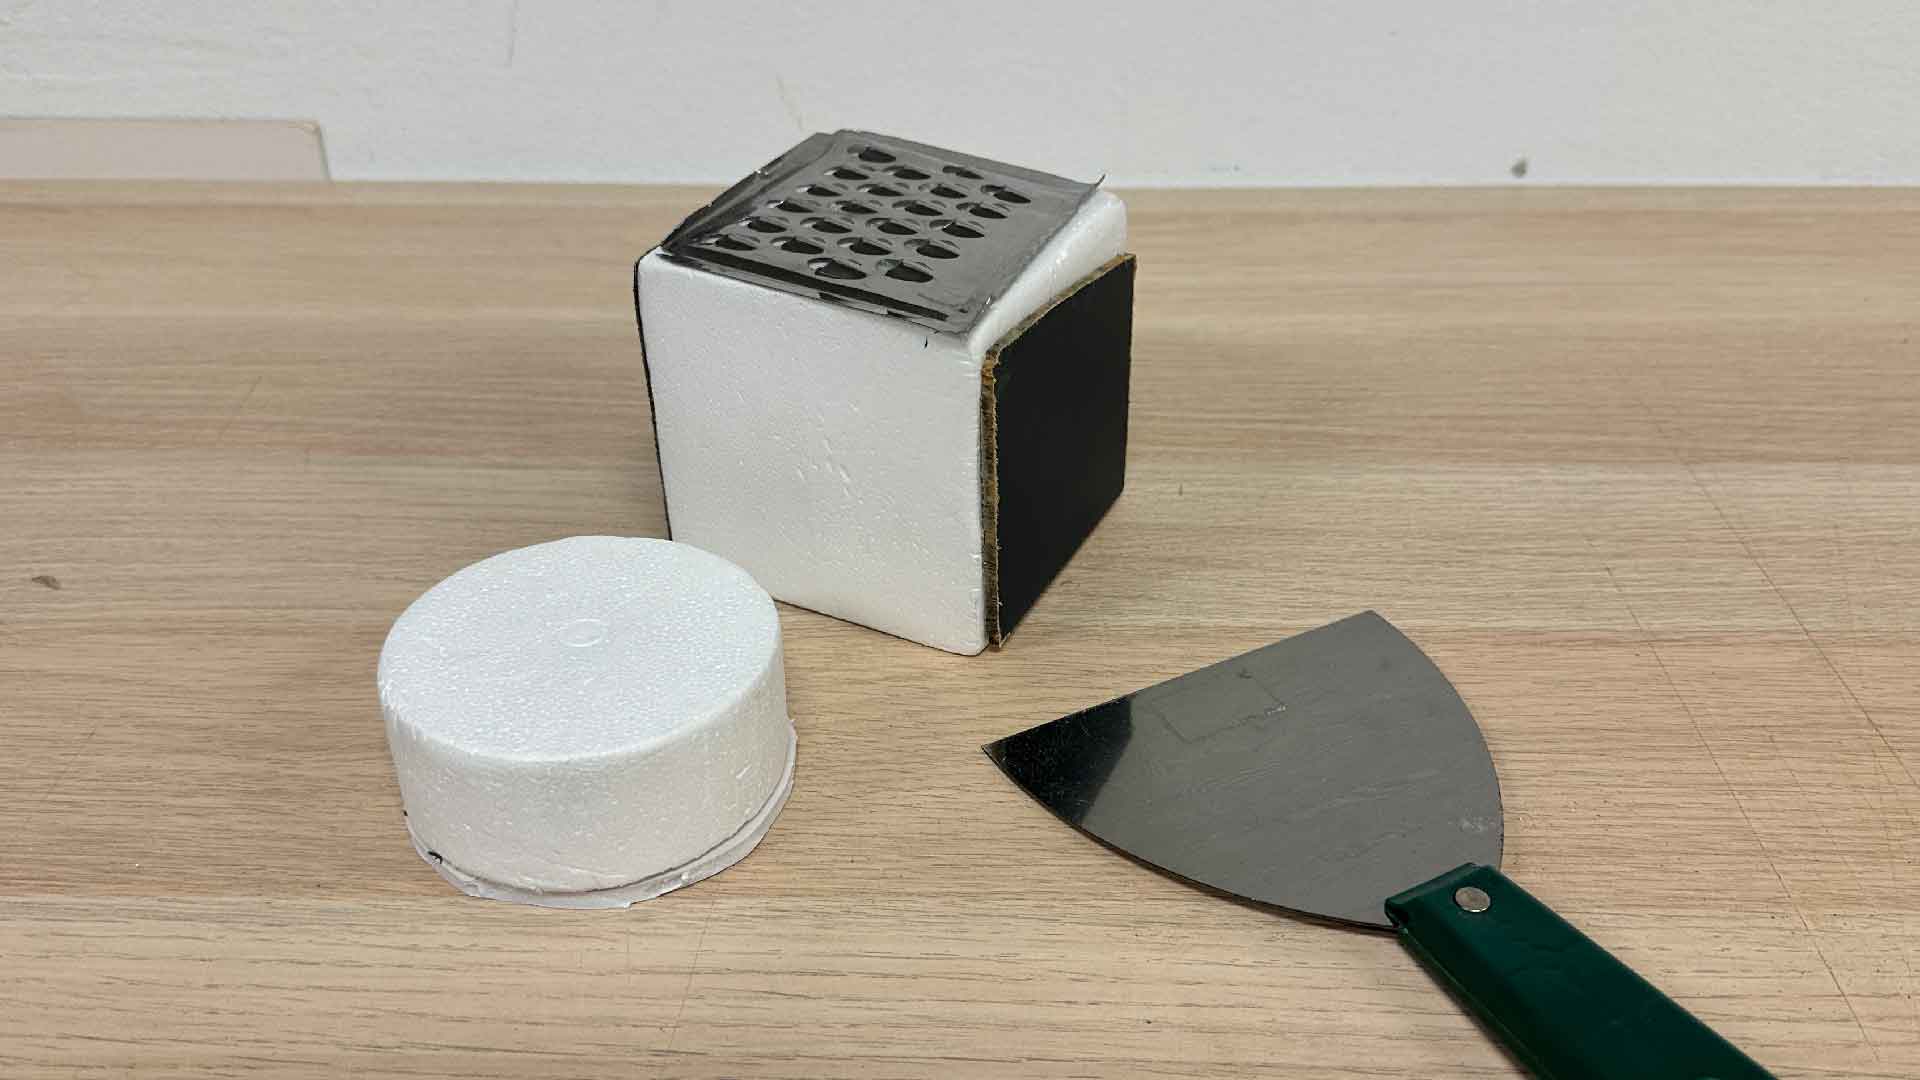
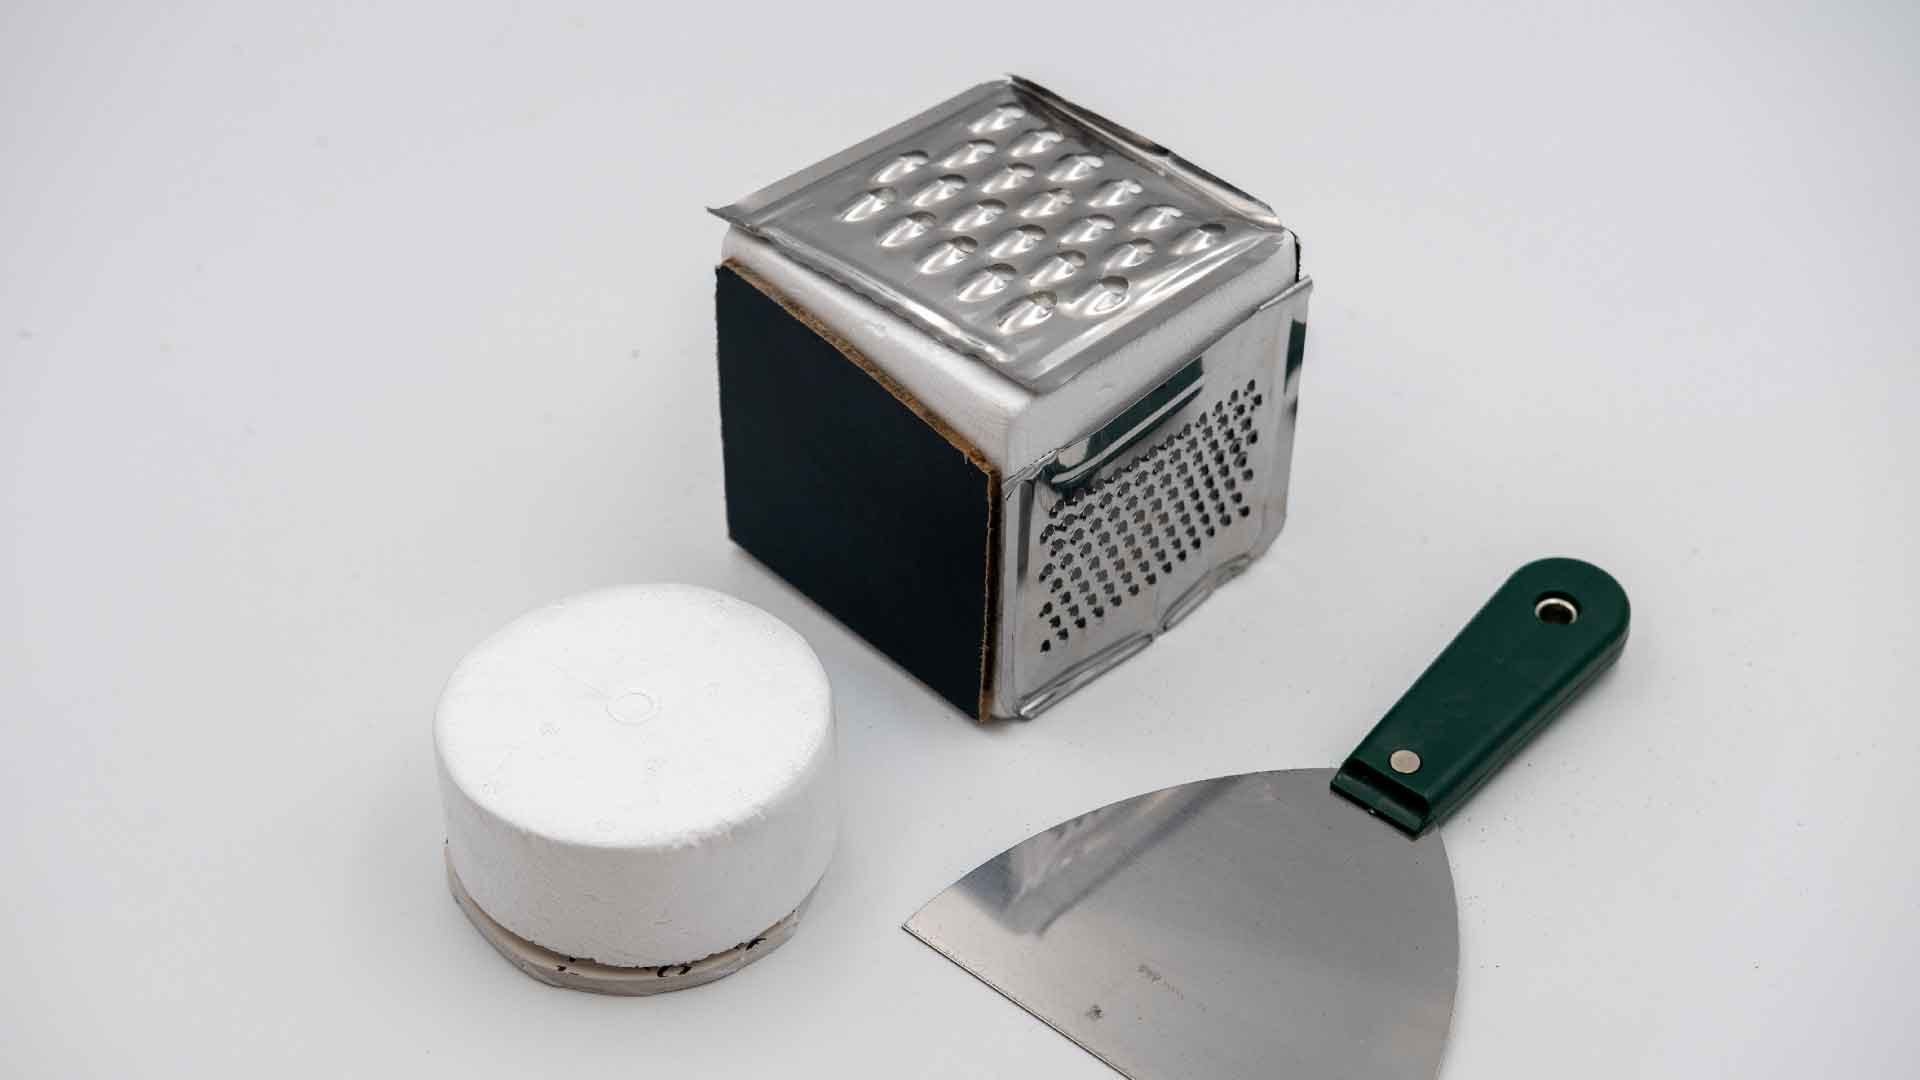
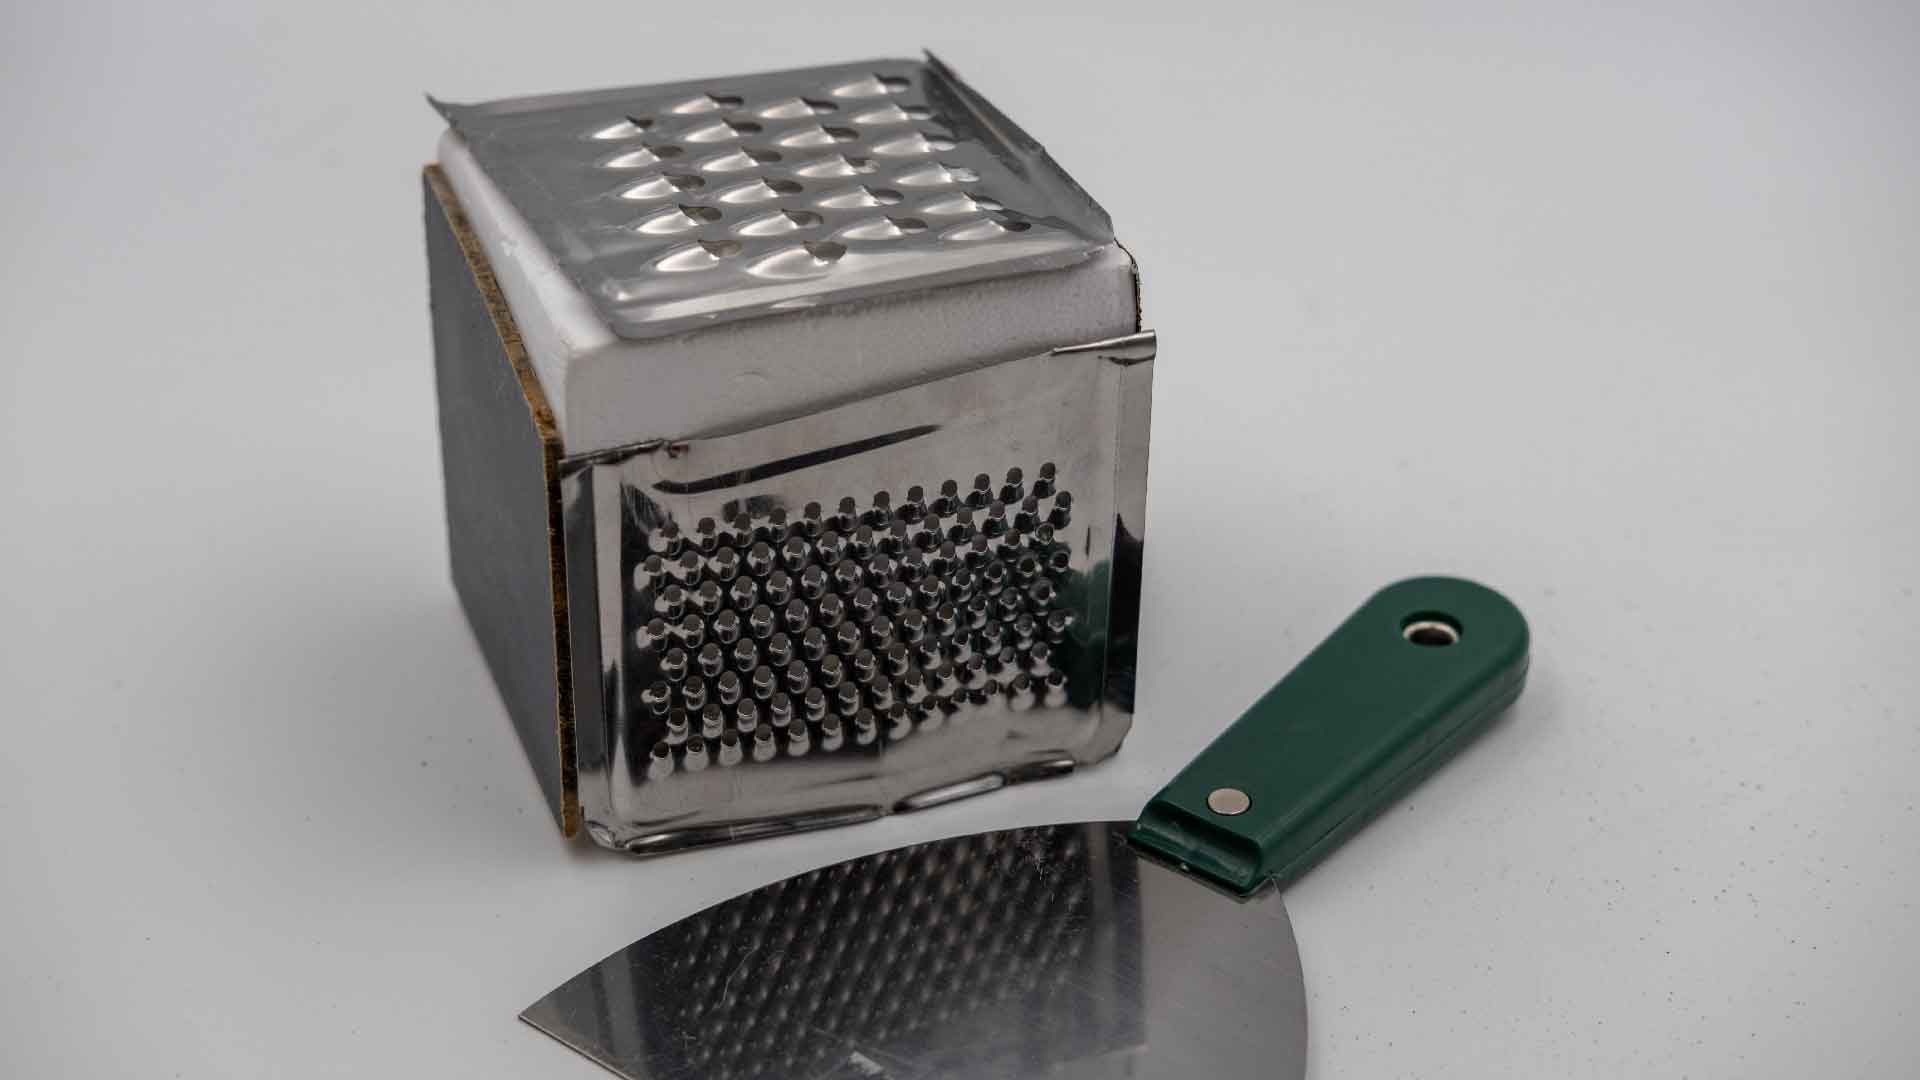
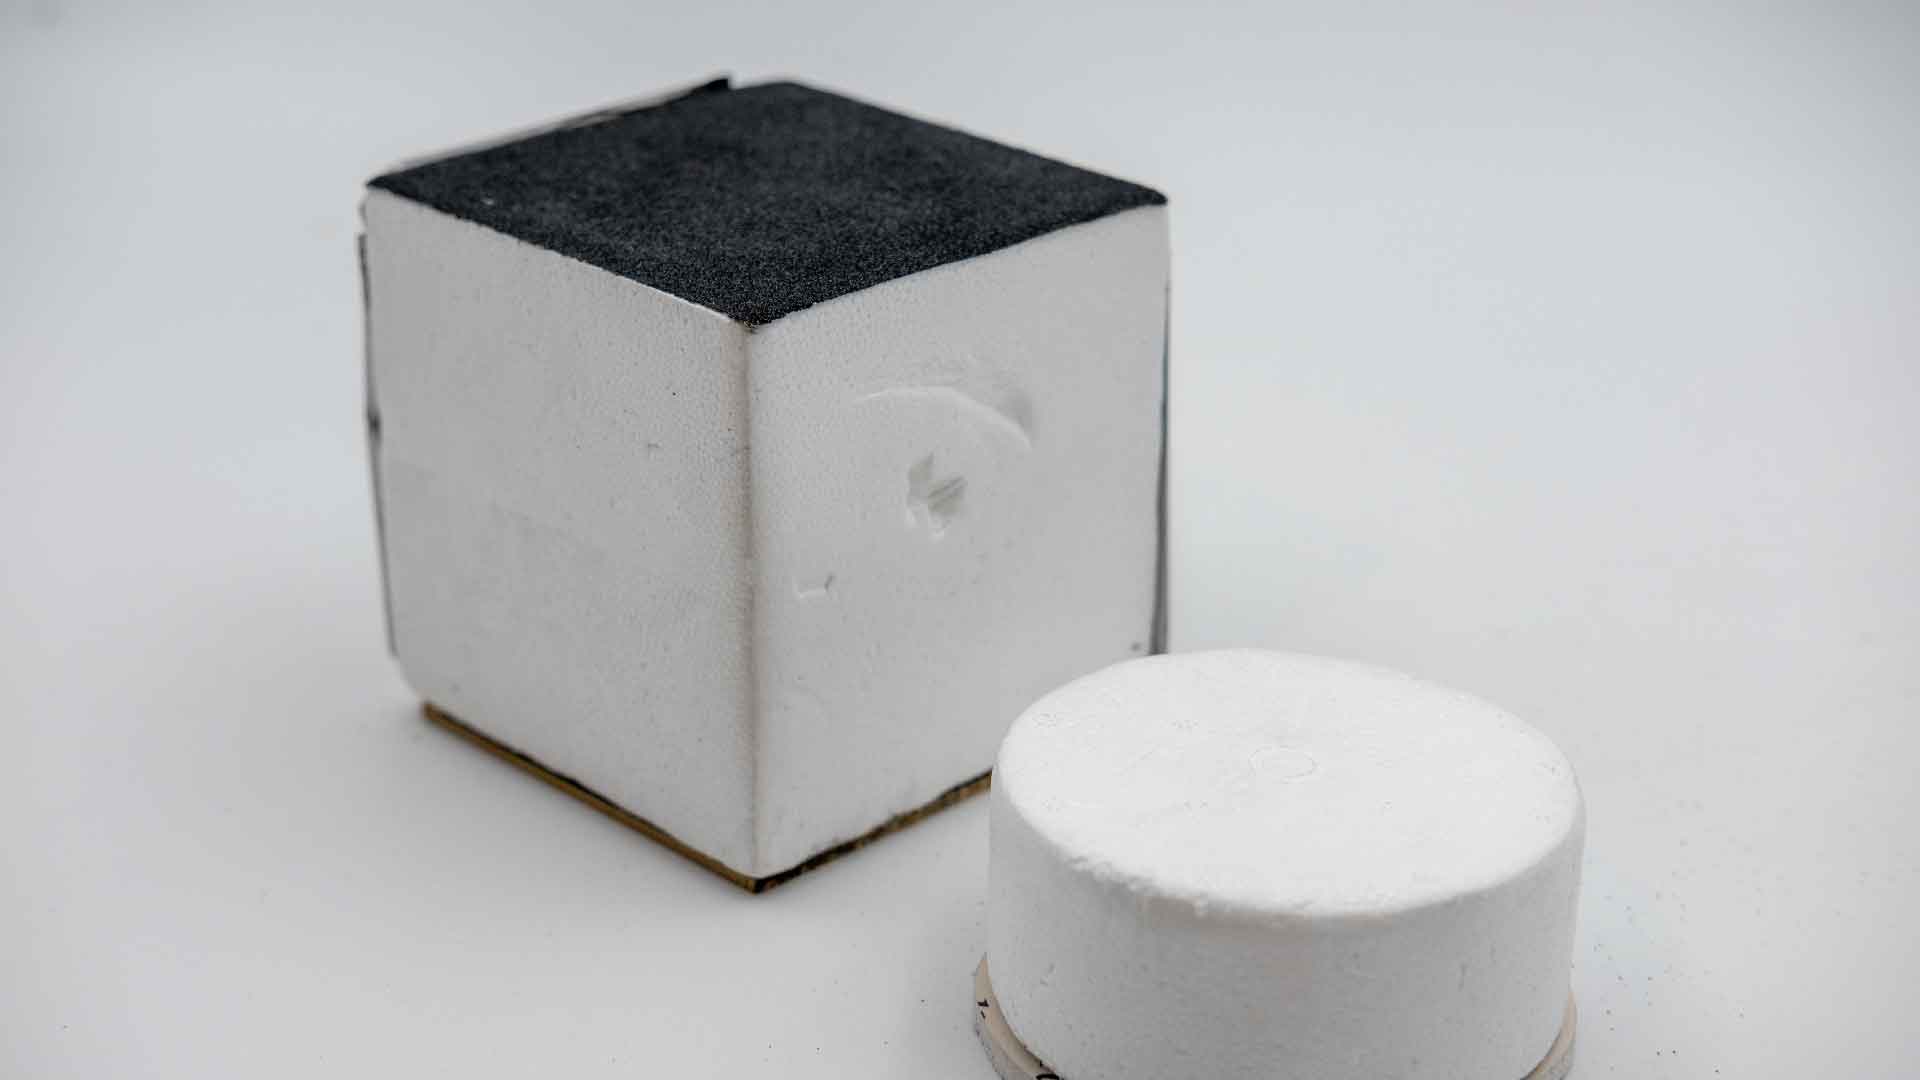
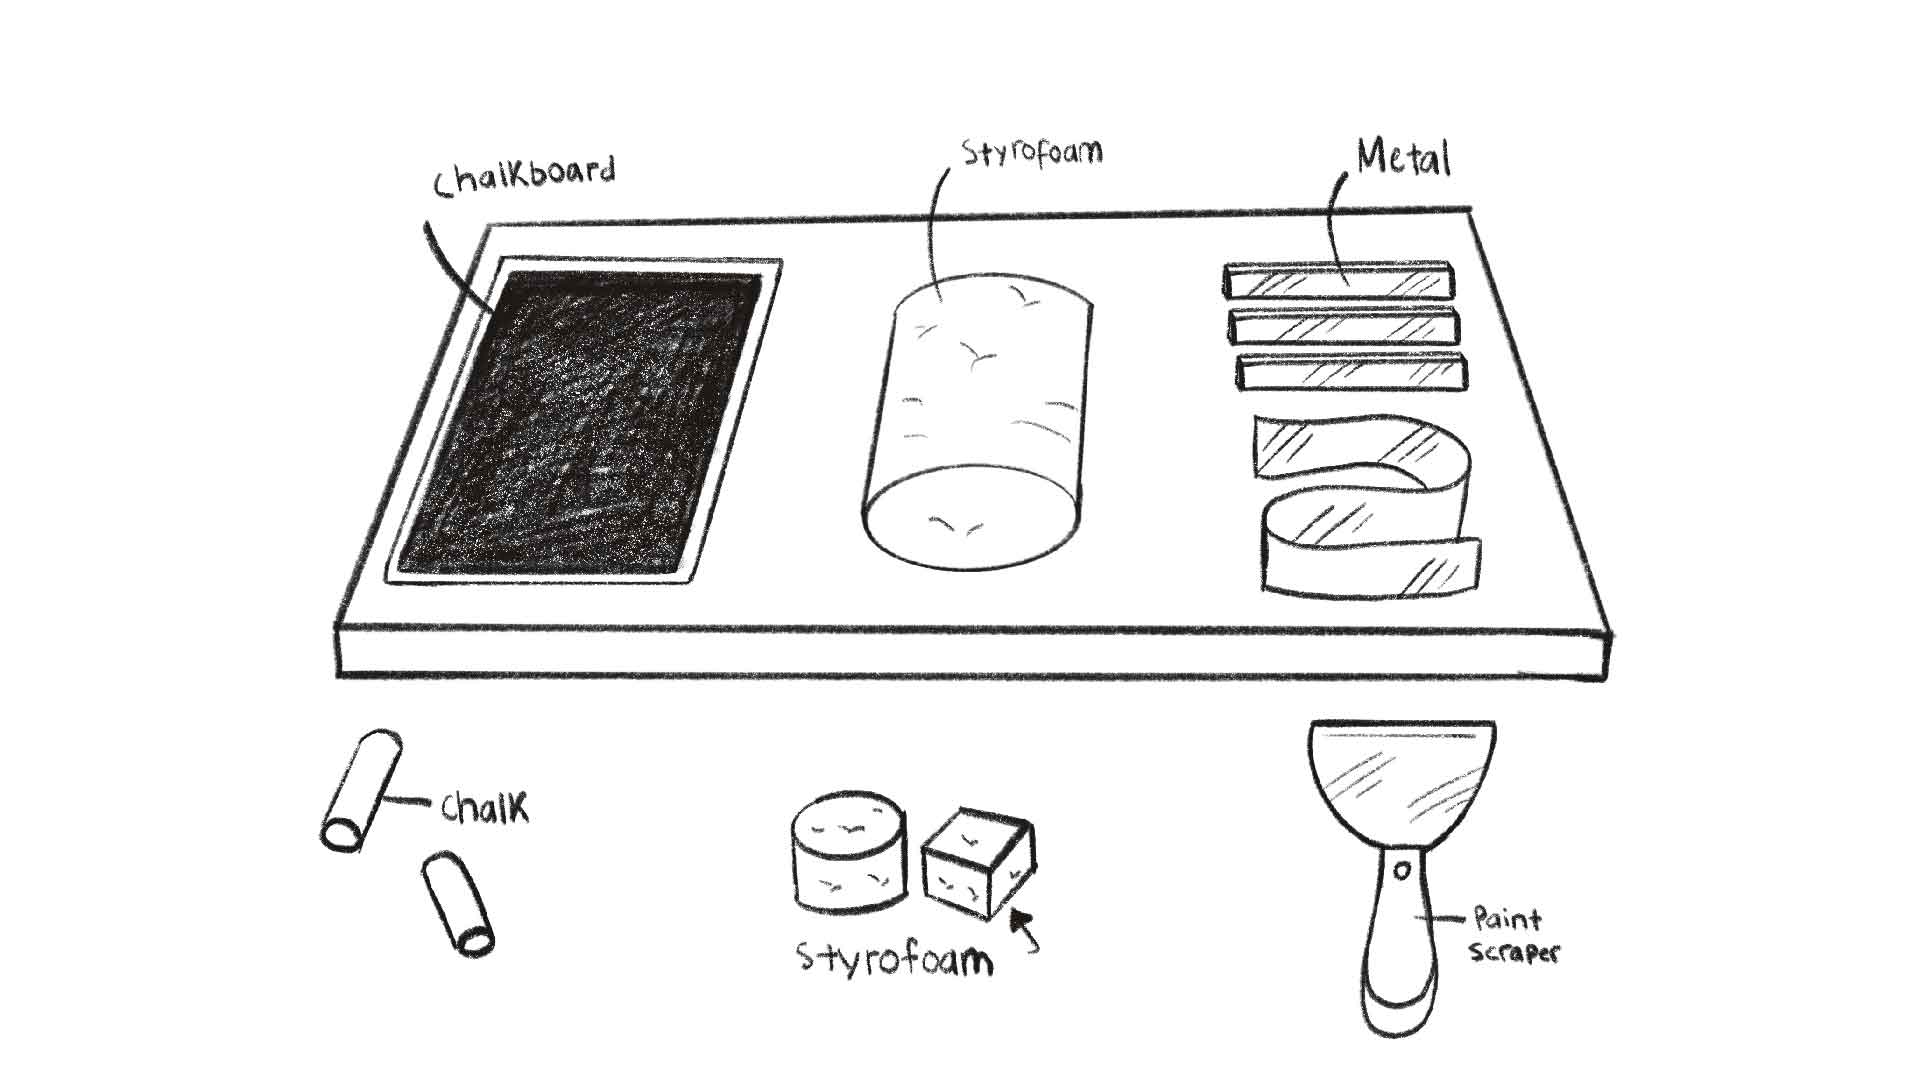
To allow users to feel and turn the cube around to play with the sound of different materials on each side, I laid out and pasted my textile materials into a cube. I purchased textile items such as chalkboards, whiteboards, styrofoam, sandpaper, metal sheets, and graters. Sandpaper produced the best textile texture, whereas the whiteboard had the worst textile noise. At first, I used a metal piece, but the results were not satisfactory. As a replacement, the grater performed better.
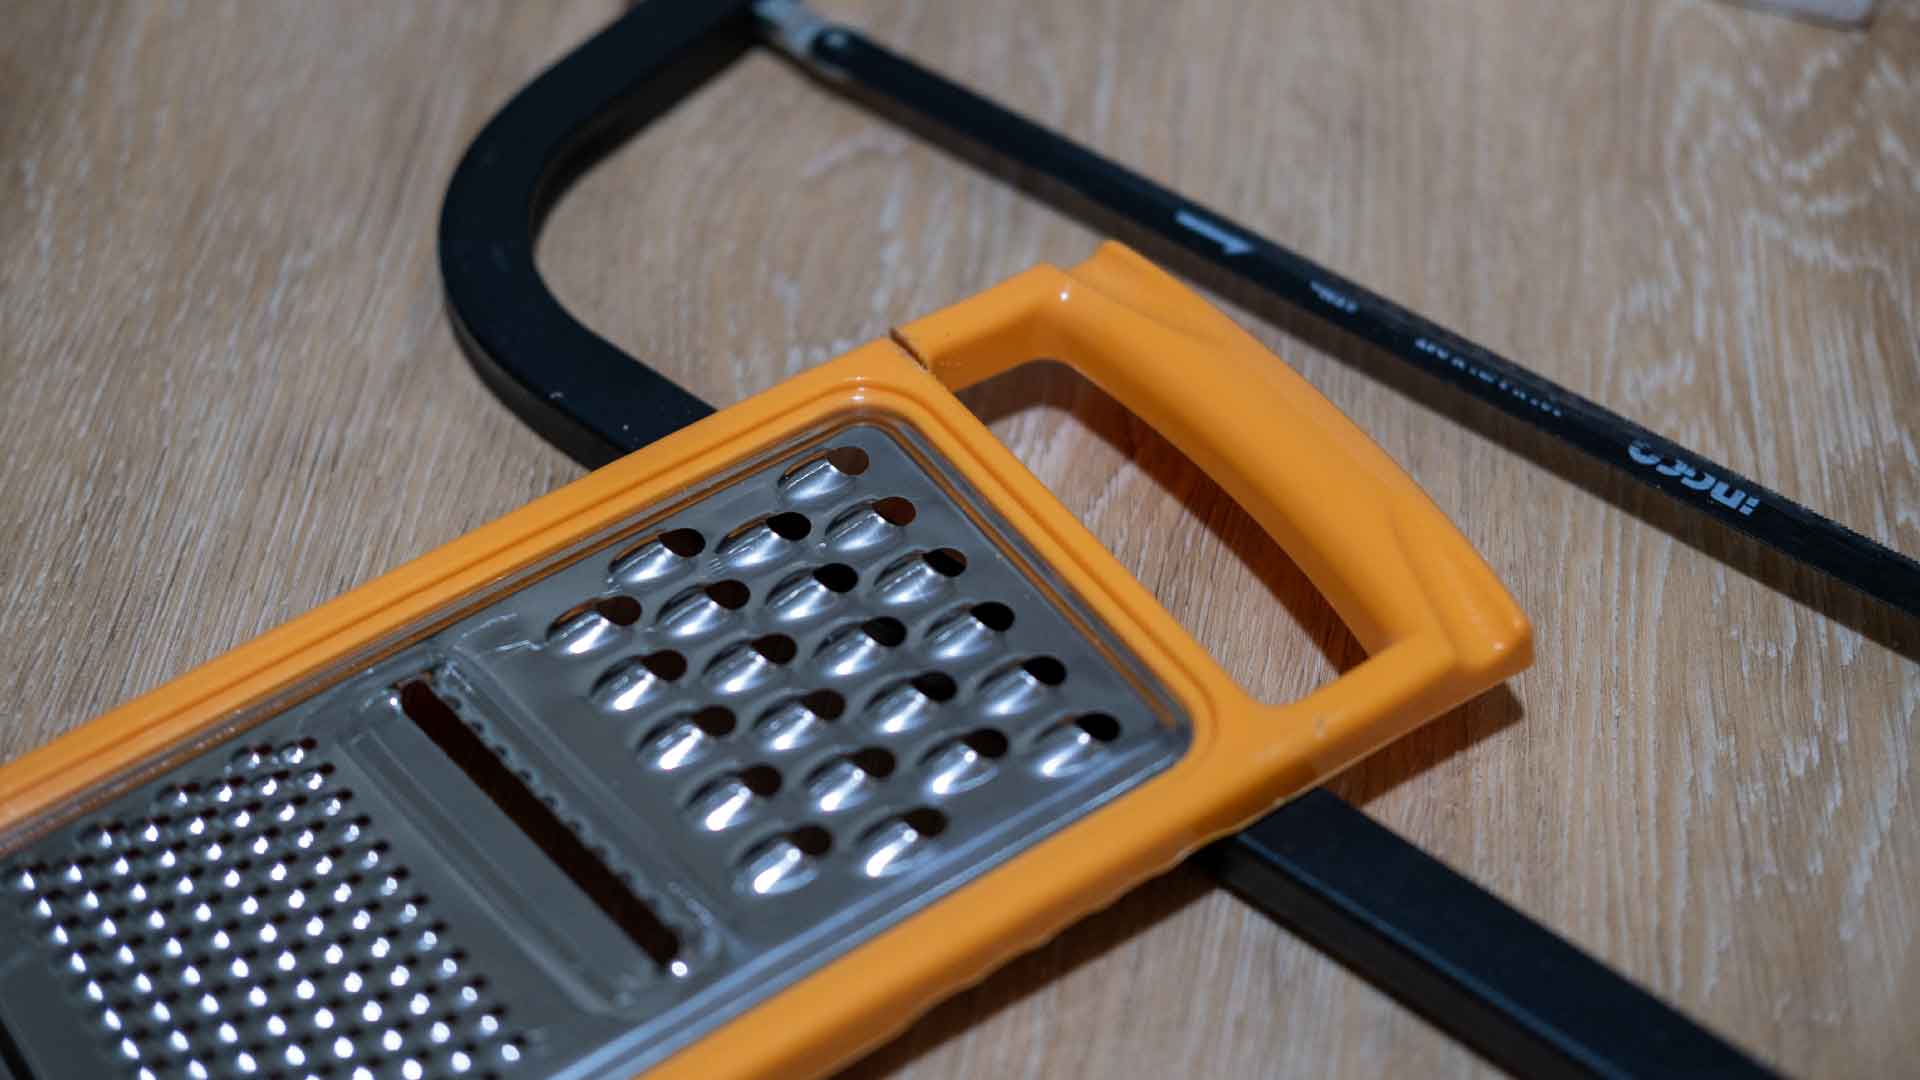
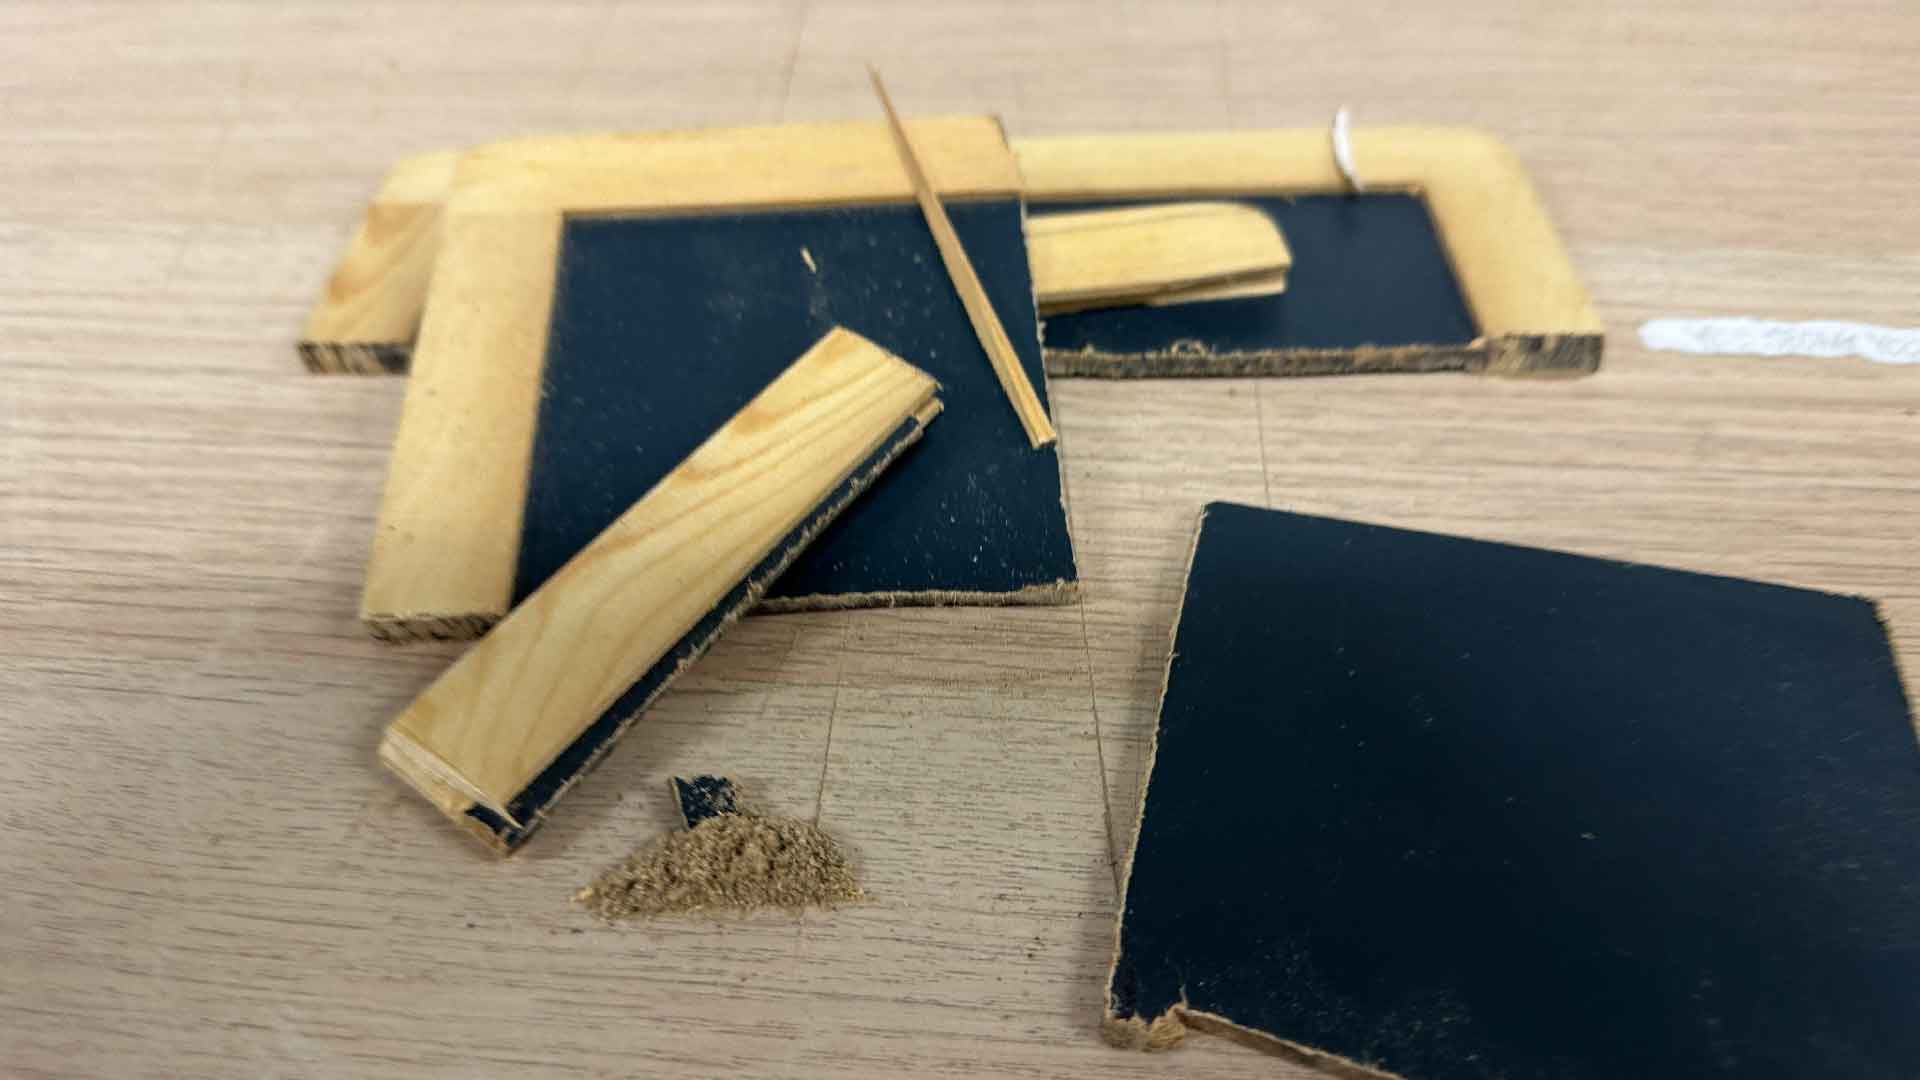
It was difficult for me to cut most of the texture with the expectation of using sandpaper because I was using a home handsaw with a smaller blade. I gave up using the whiteboard because the one I bought did not produce the textile noise I was looking for the prototype.
According to the lecturer, the textile noise maker does not relate well to the topic of urban noise pollution. As a result, I will need to find another approach to connect the textile noise maker to my research.
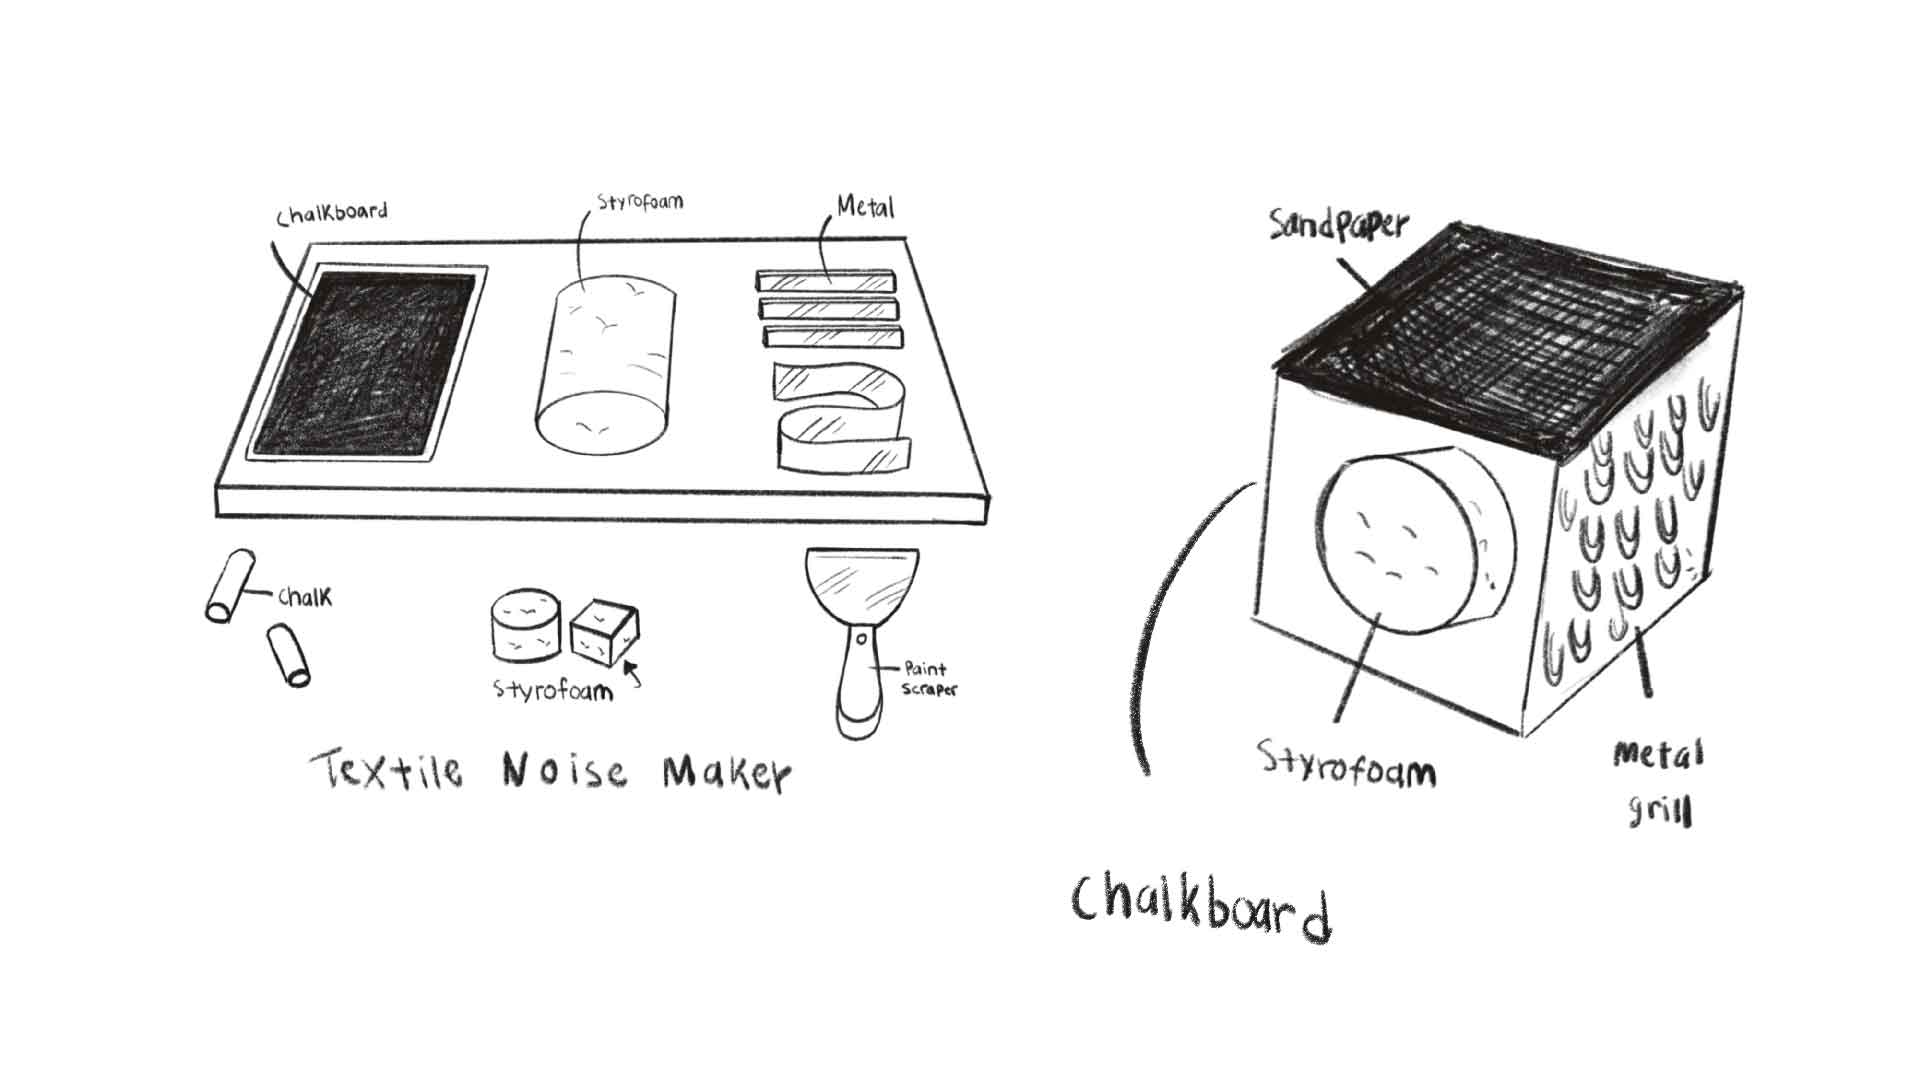
New Textile Noise Maker Design
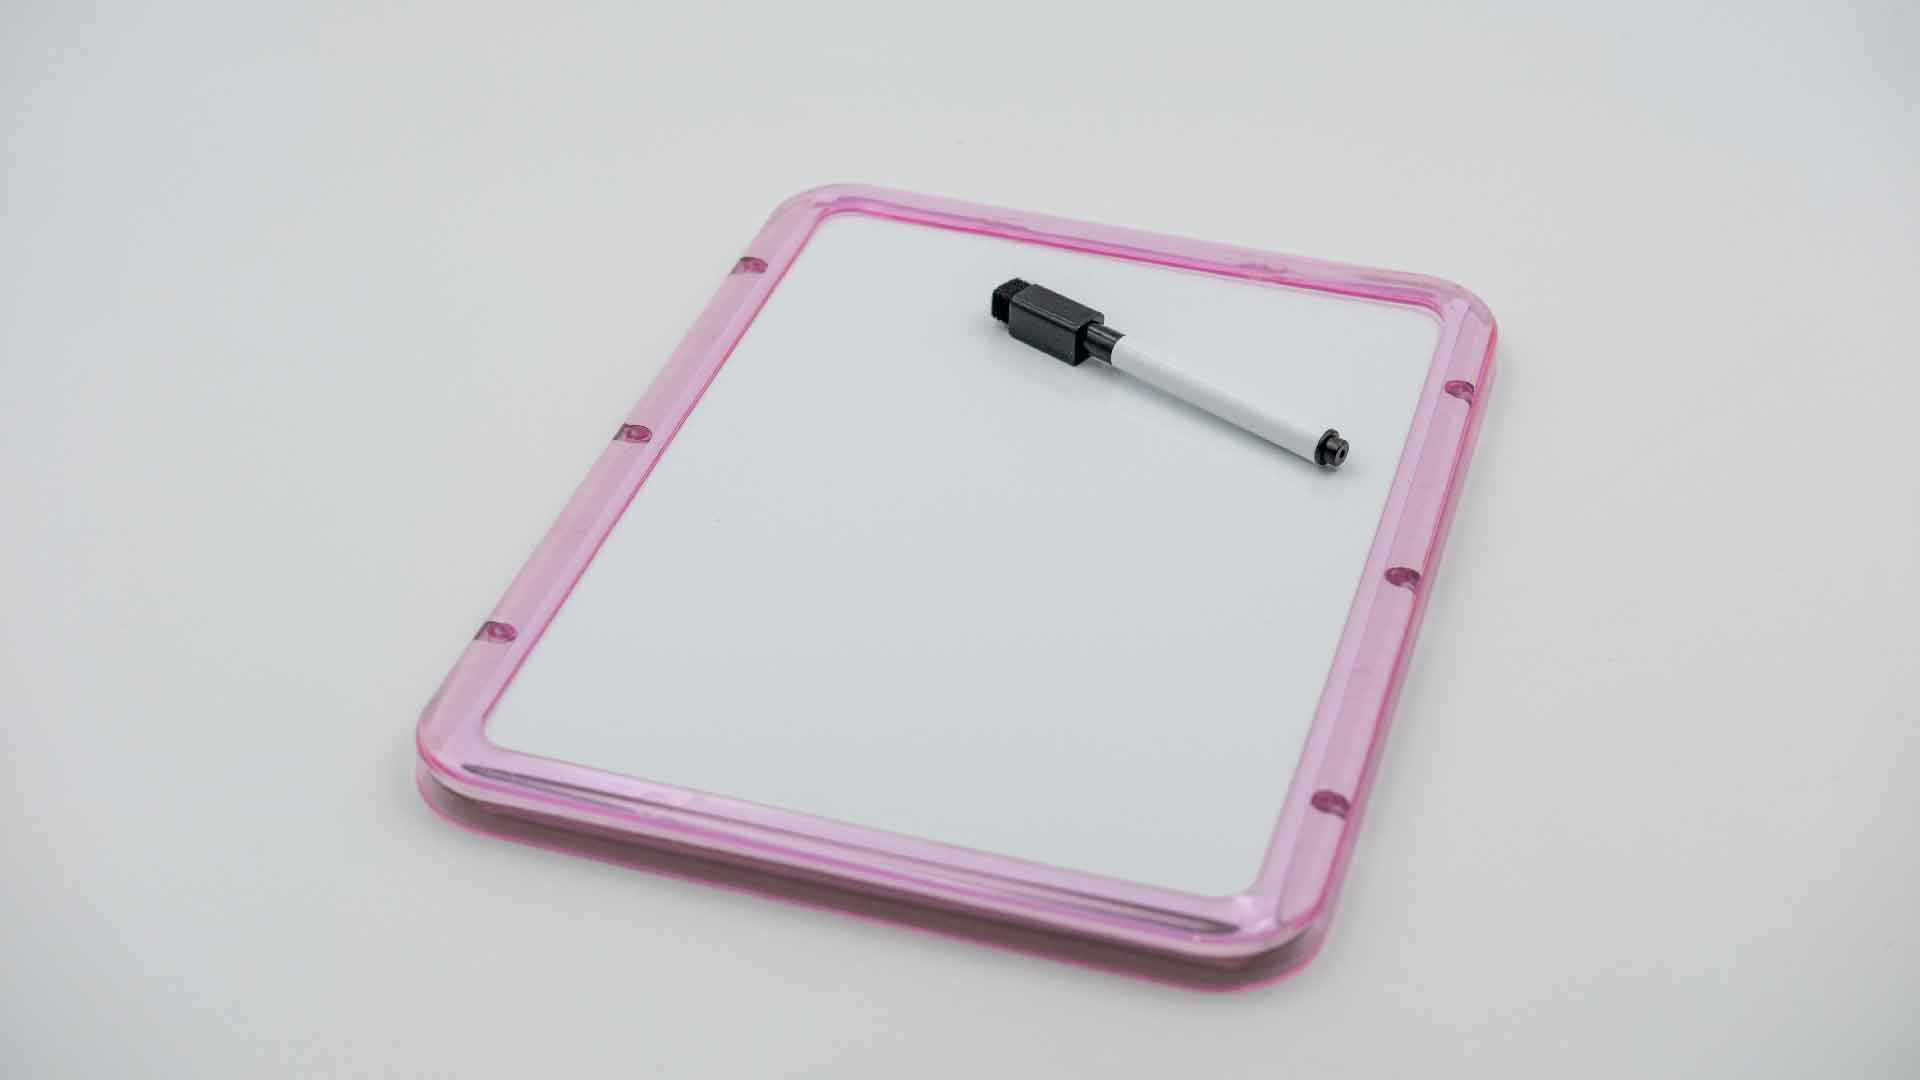
Whiteboard 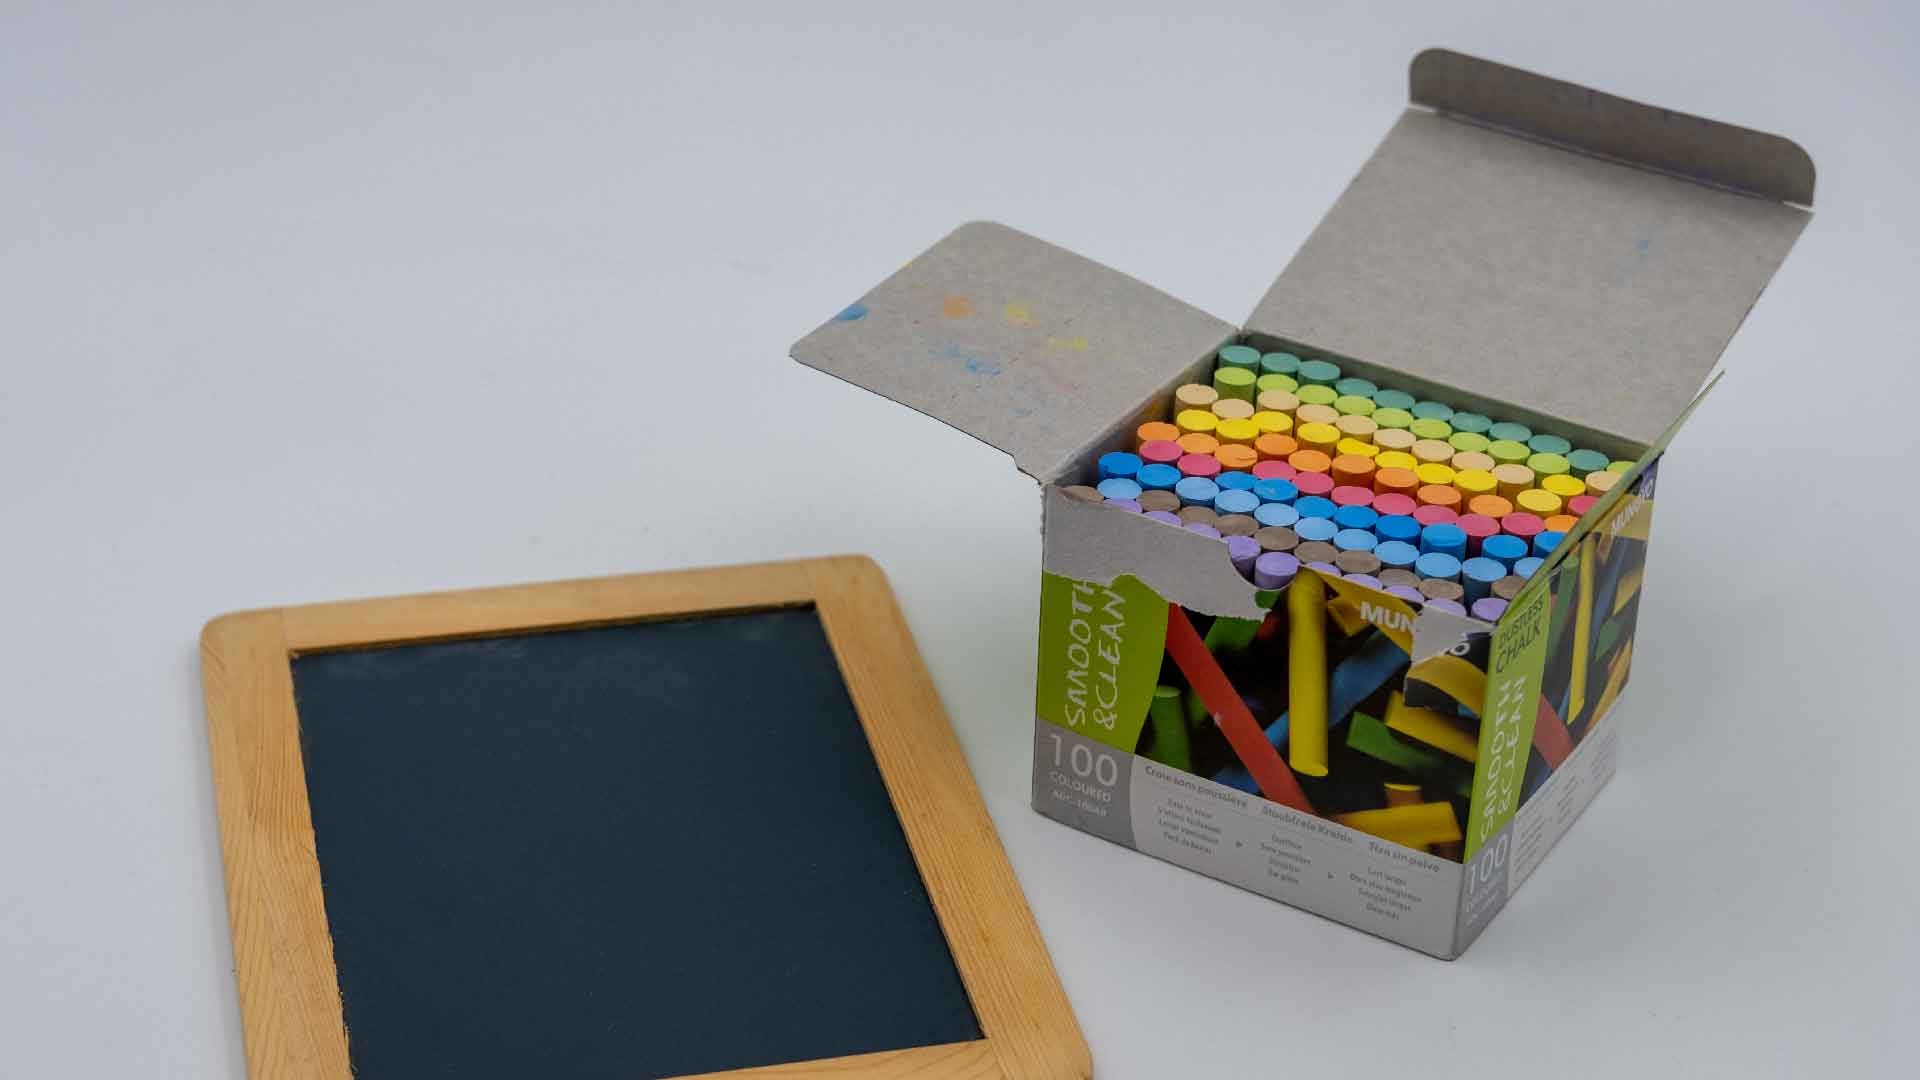
Chalkboard 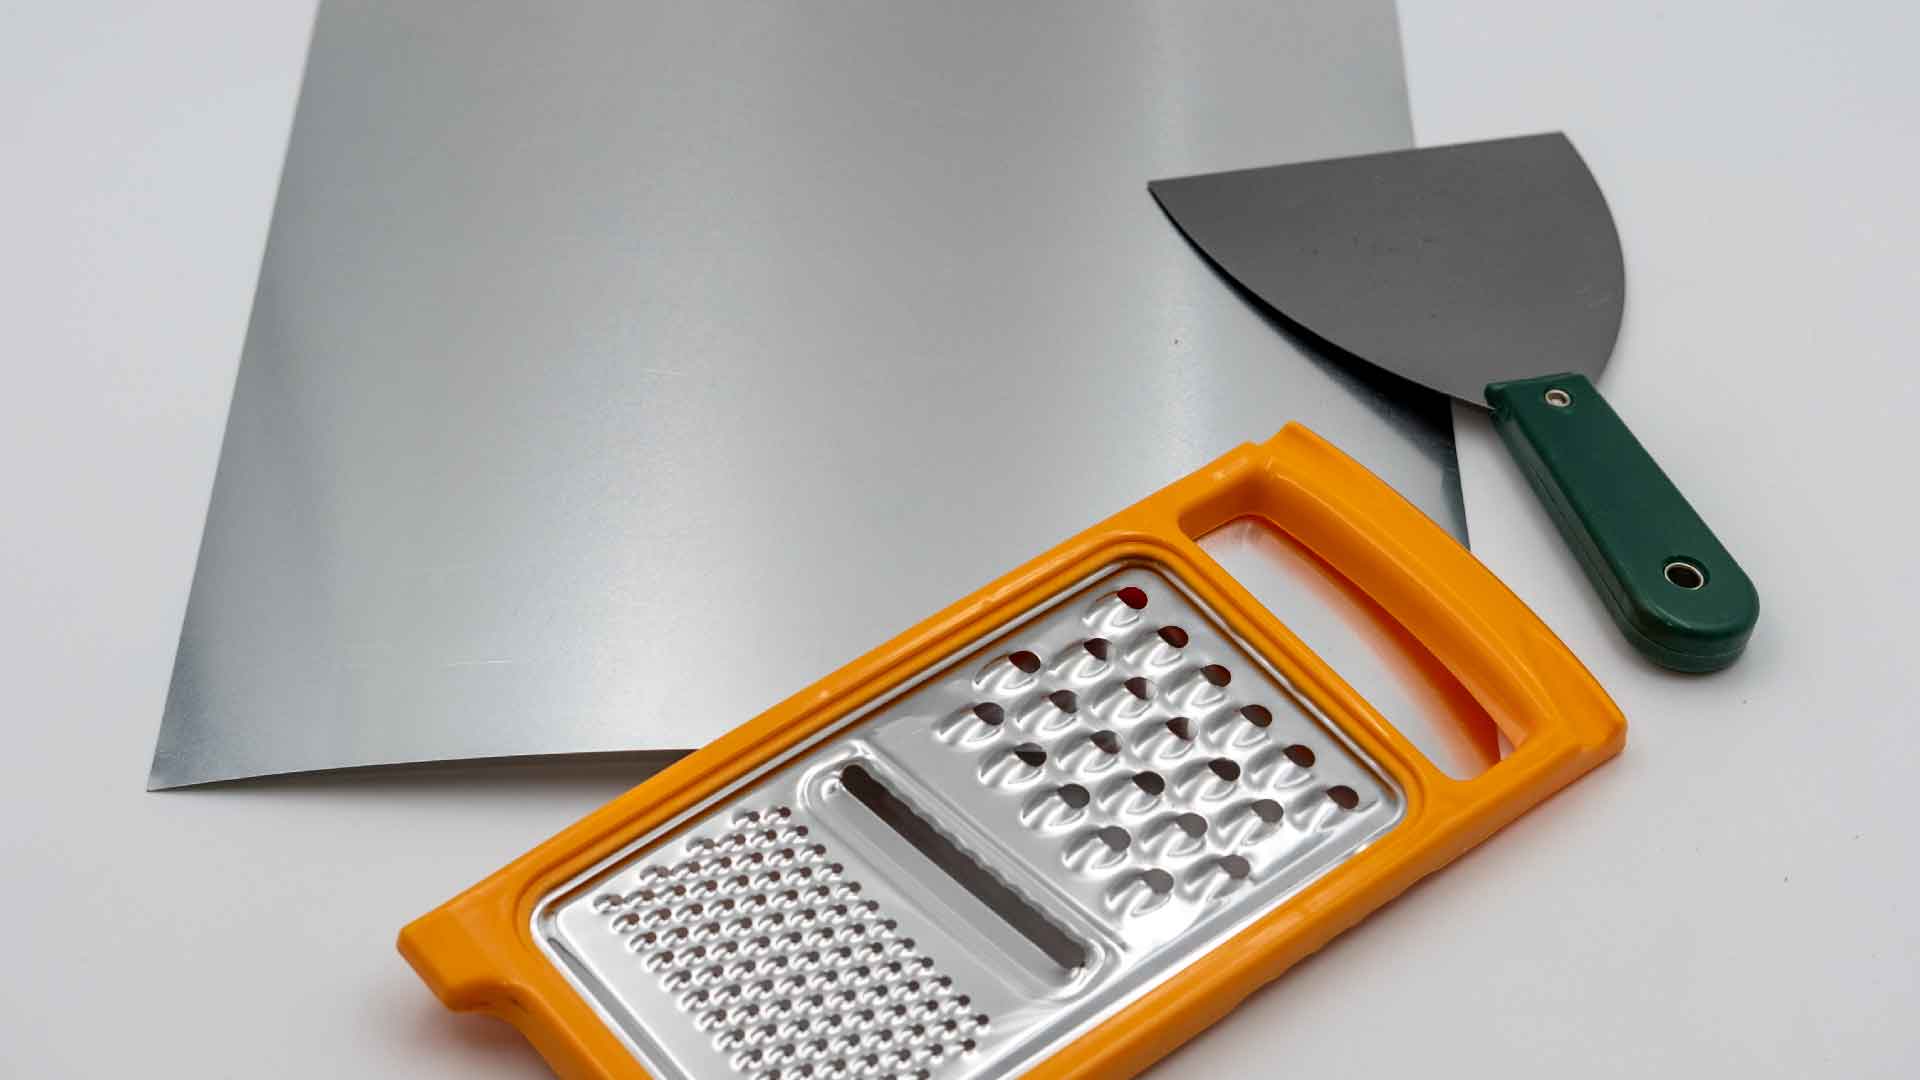
Metallic Surface
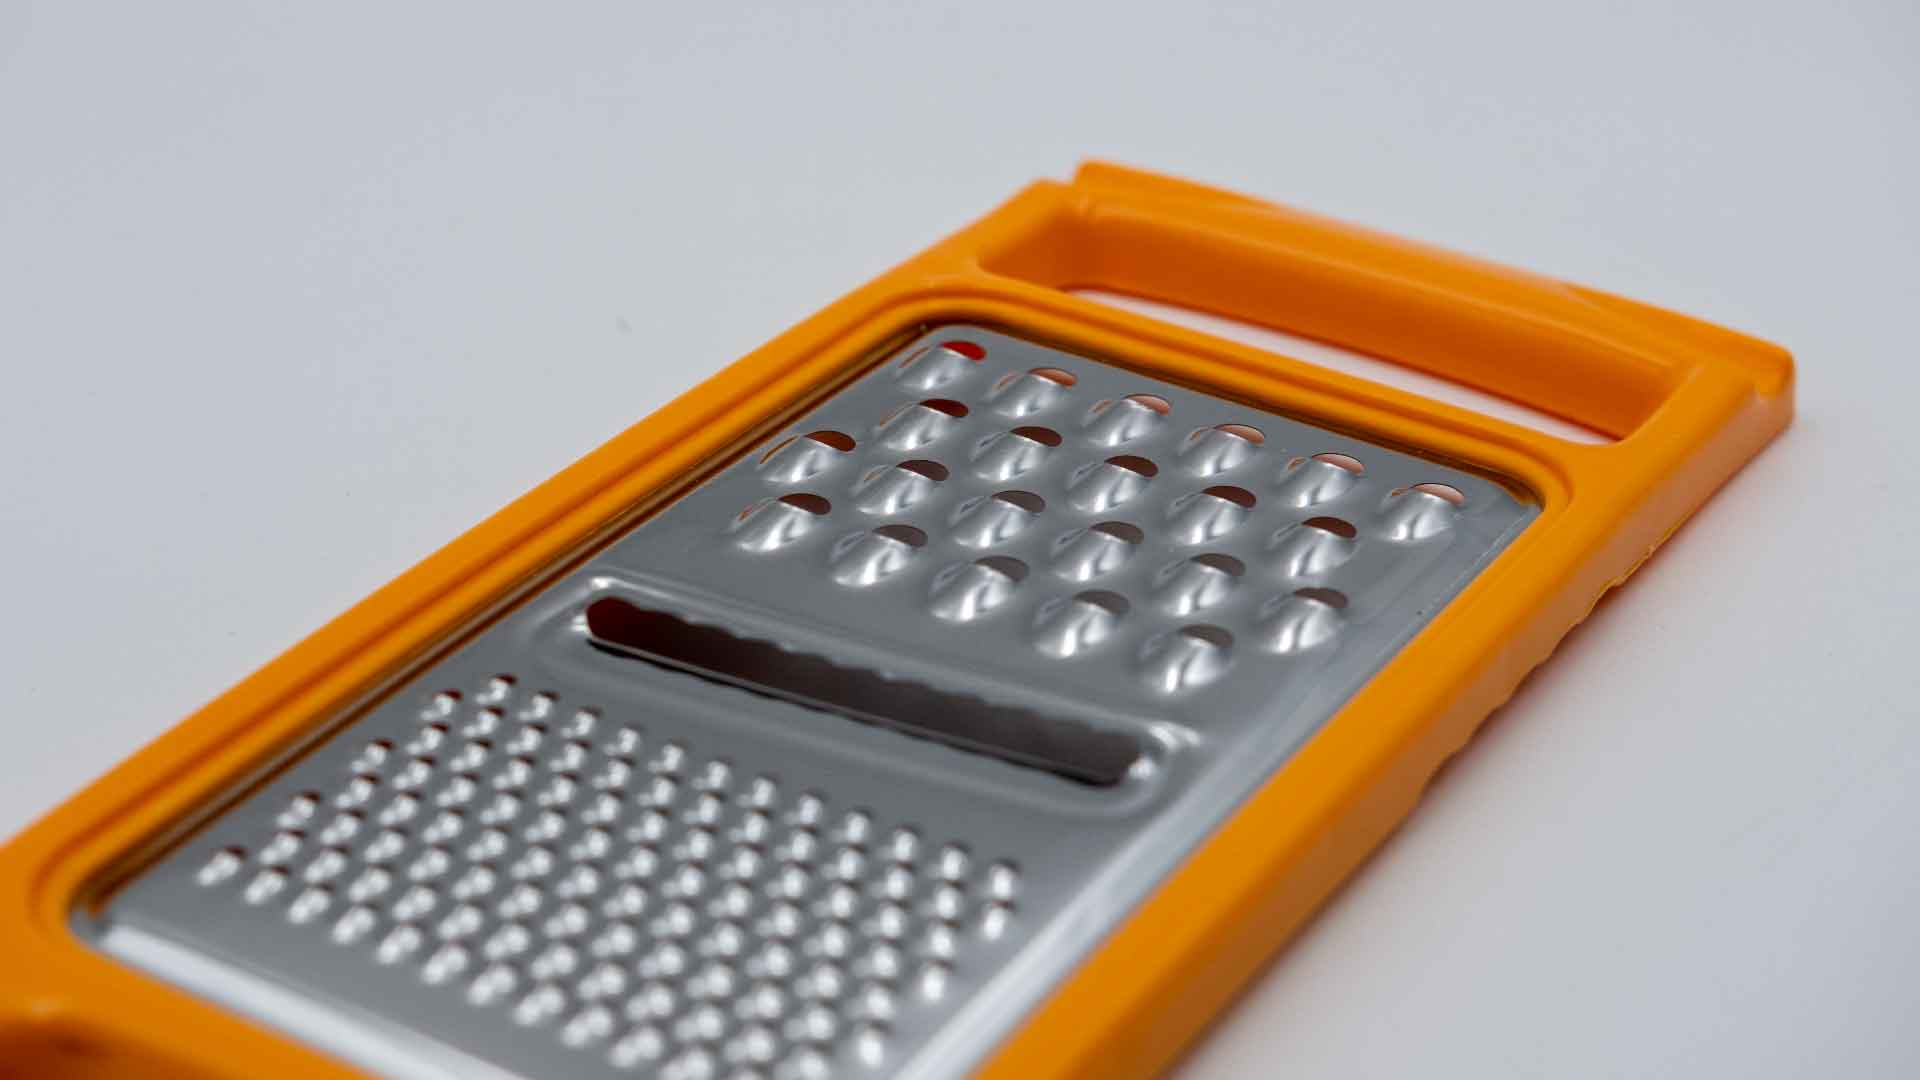
Grater 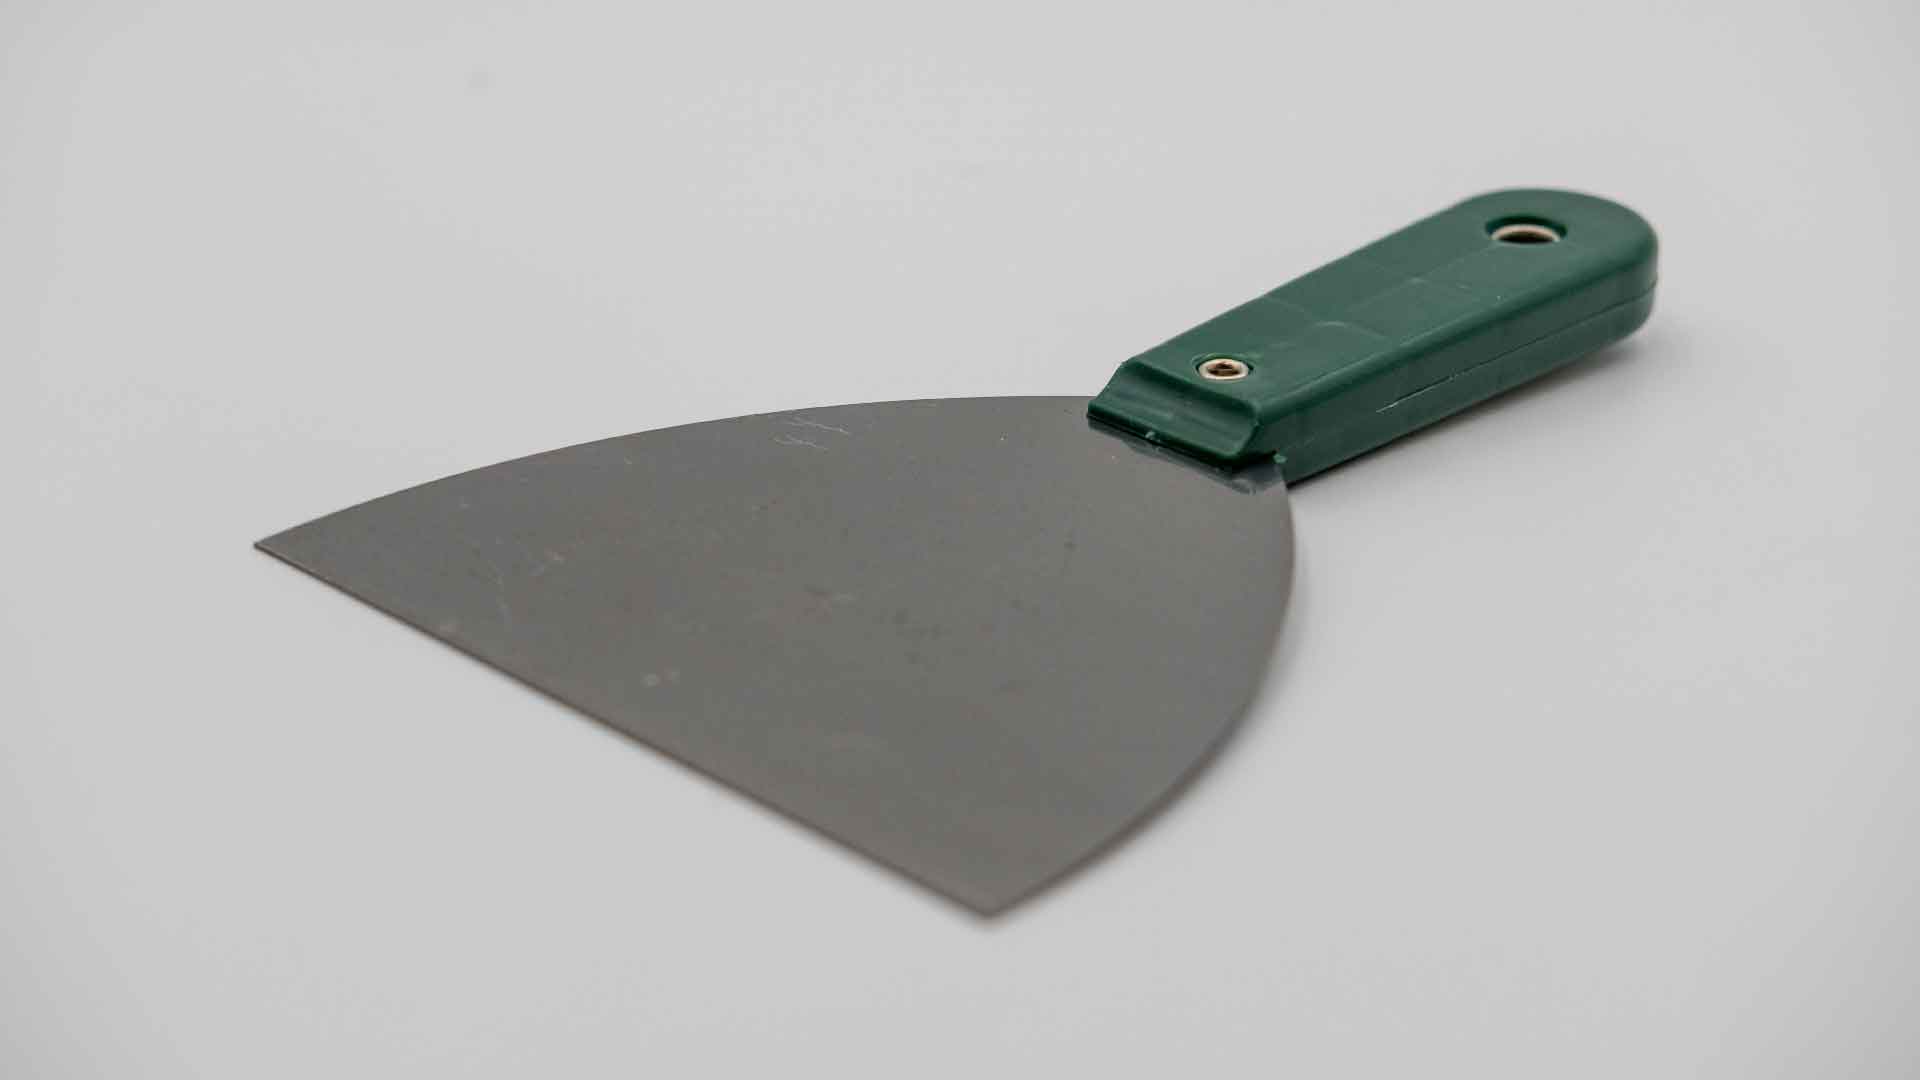
Paint Scraper 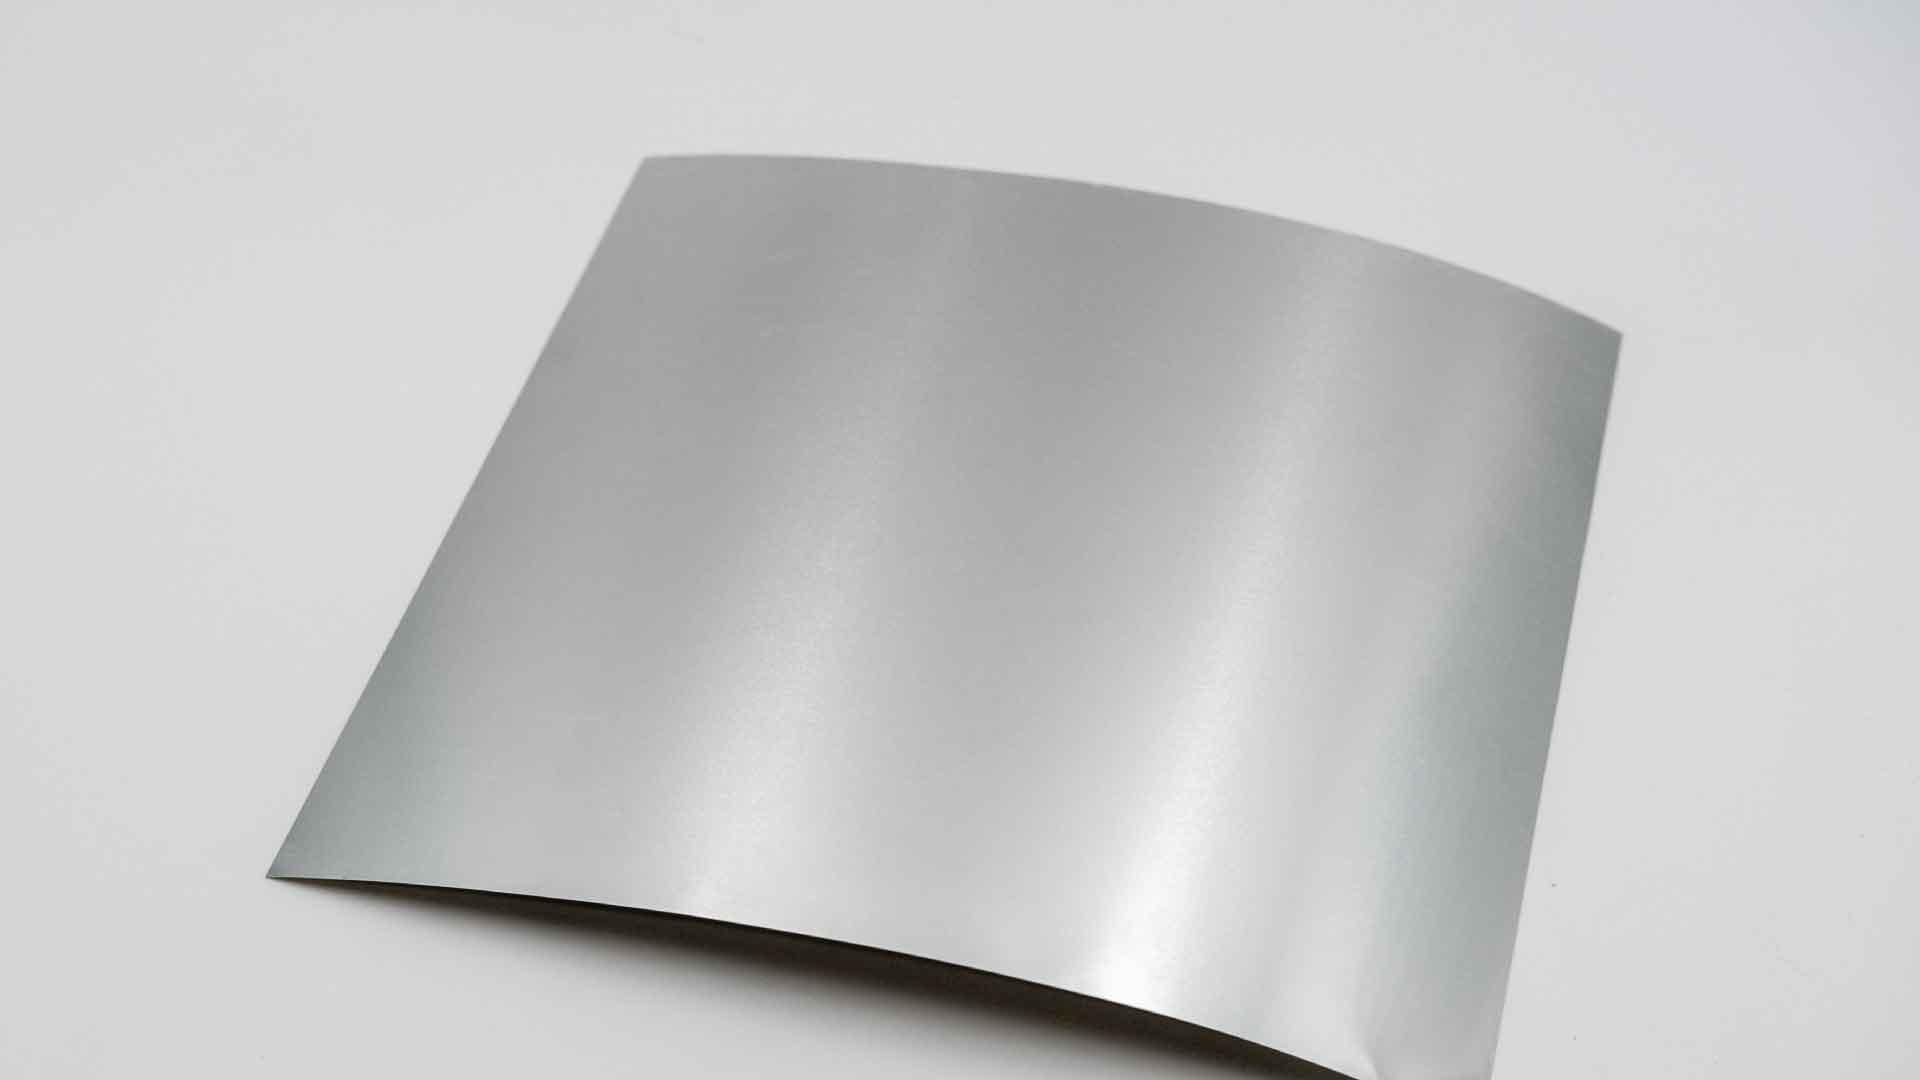
Metal Sheet
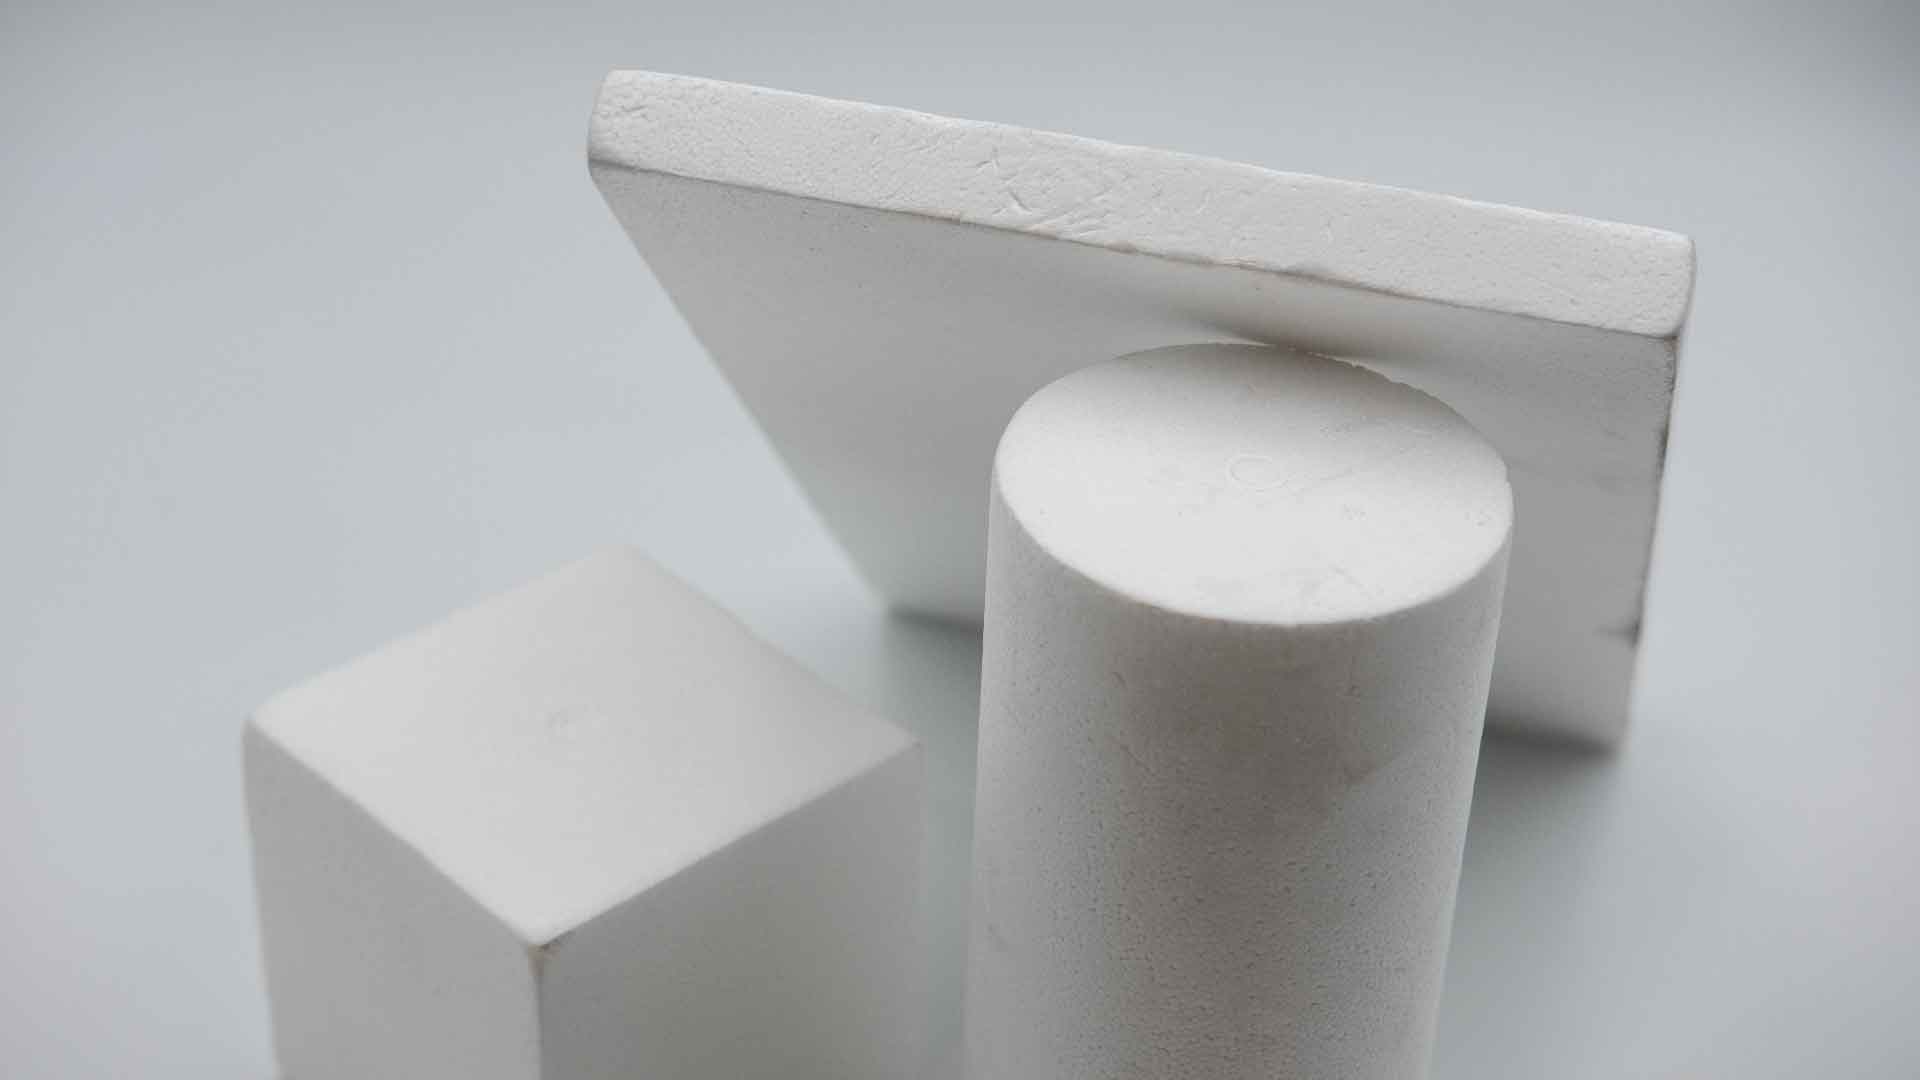
Styrofoam 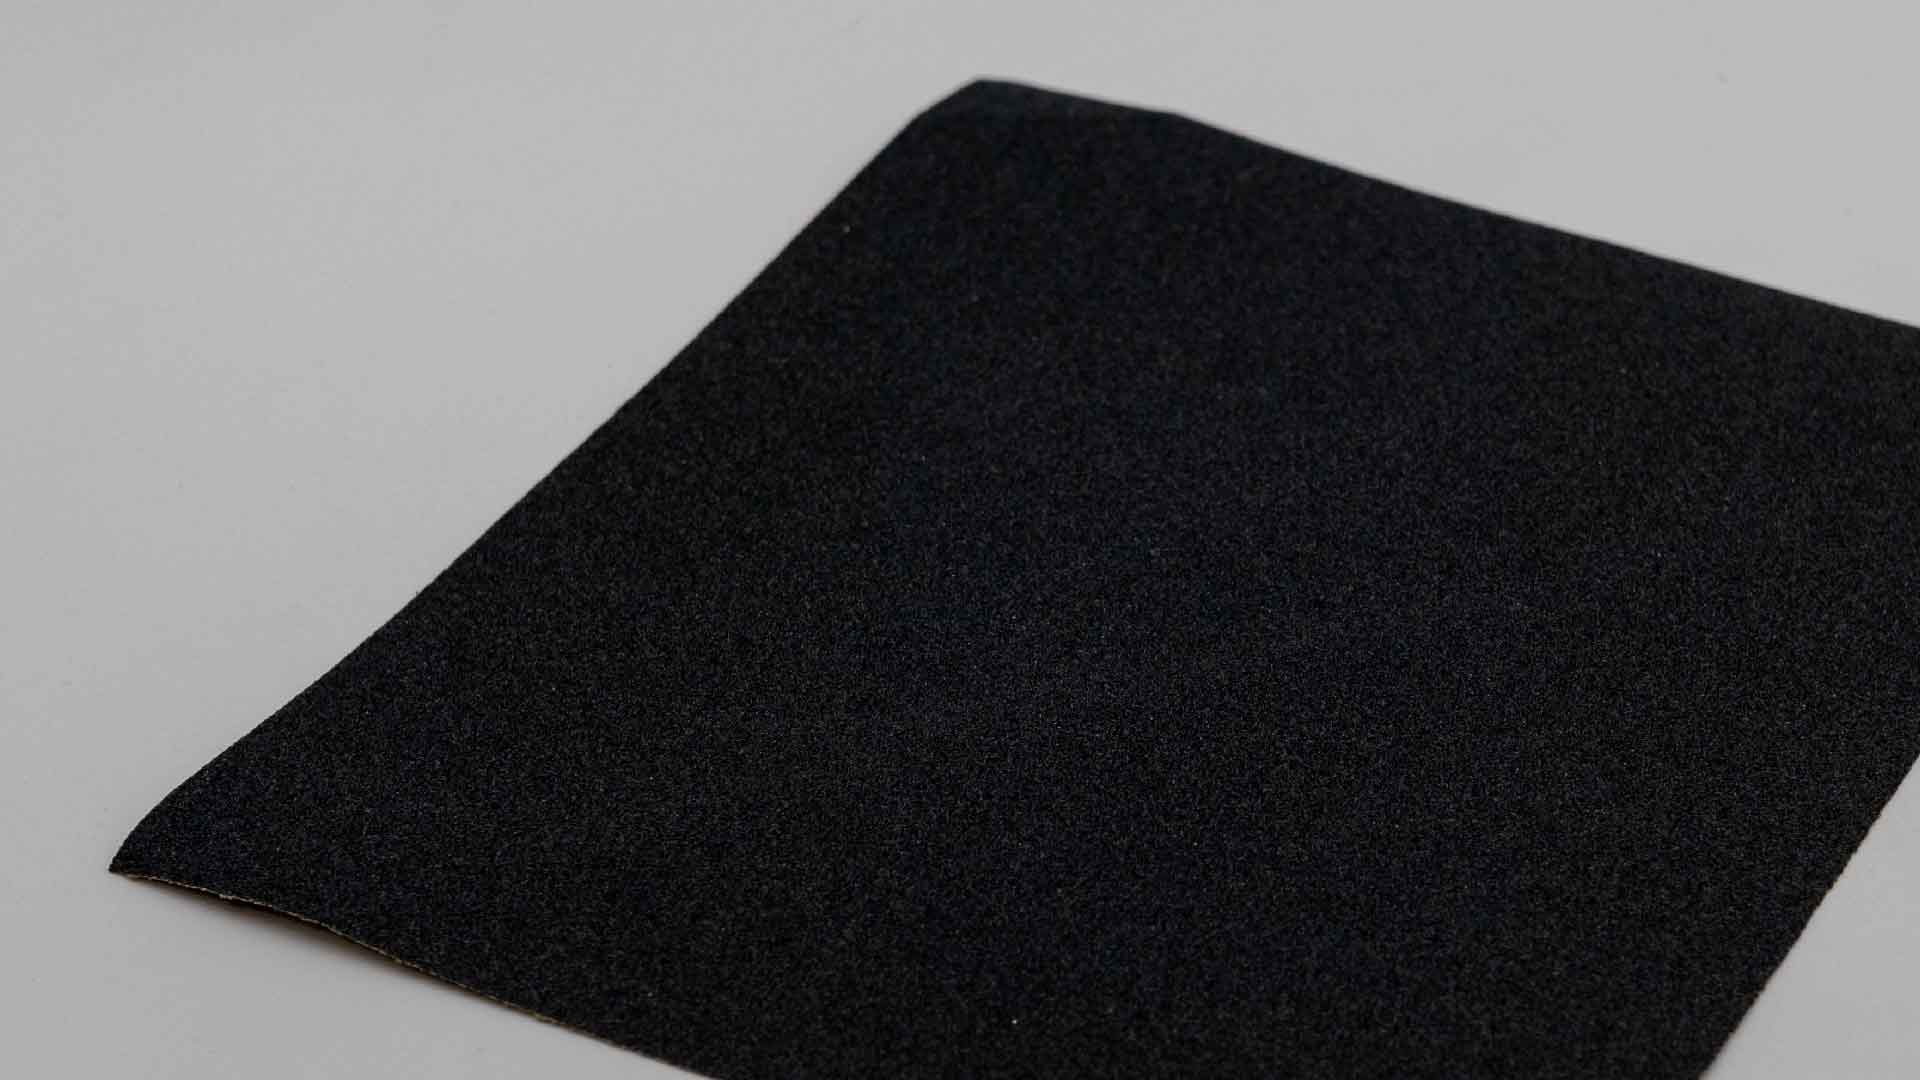
Sandpaper 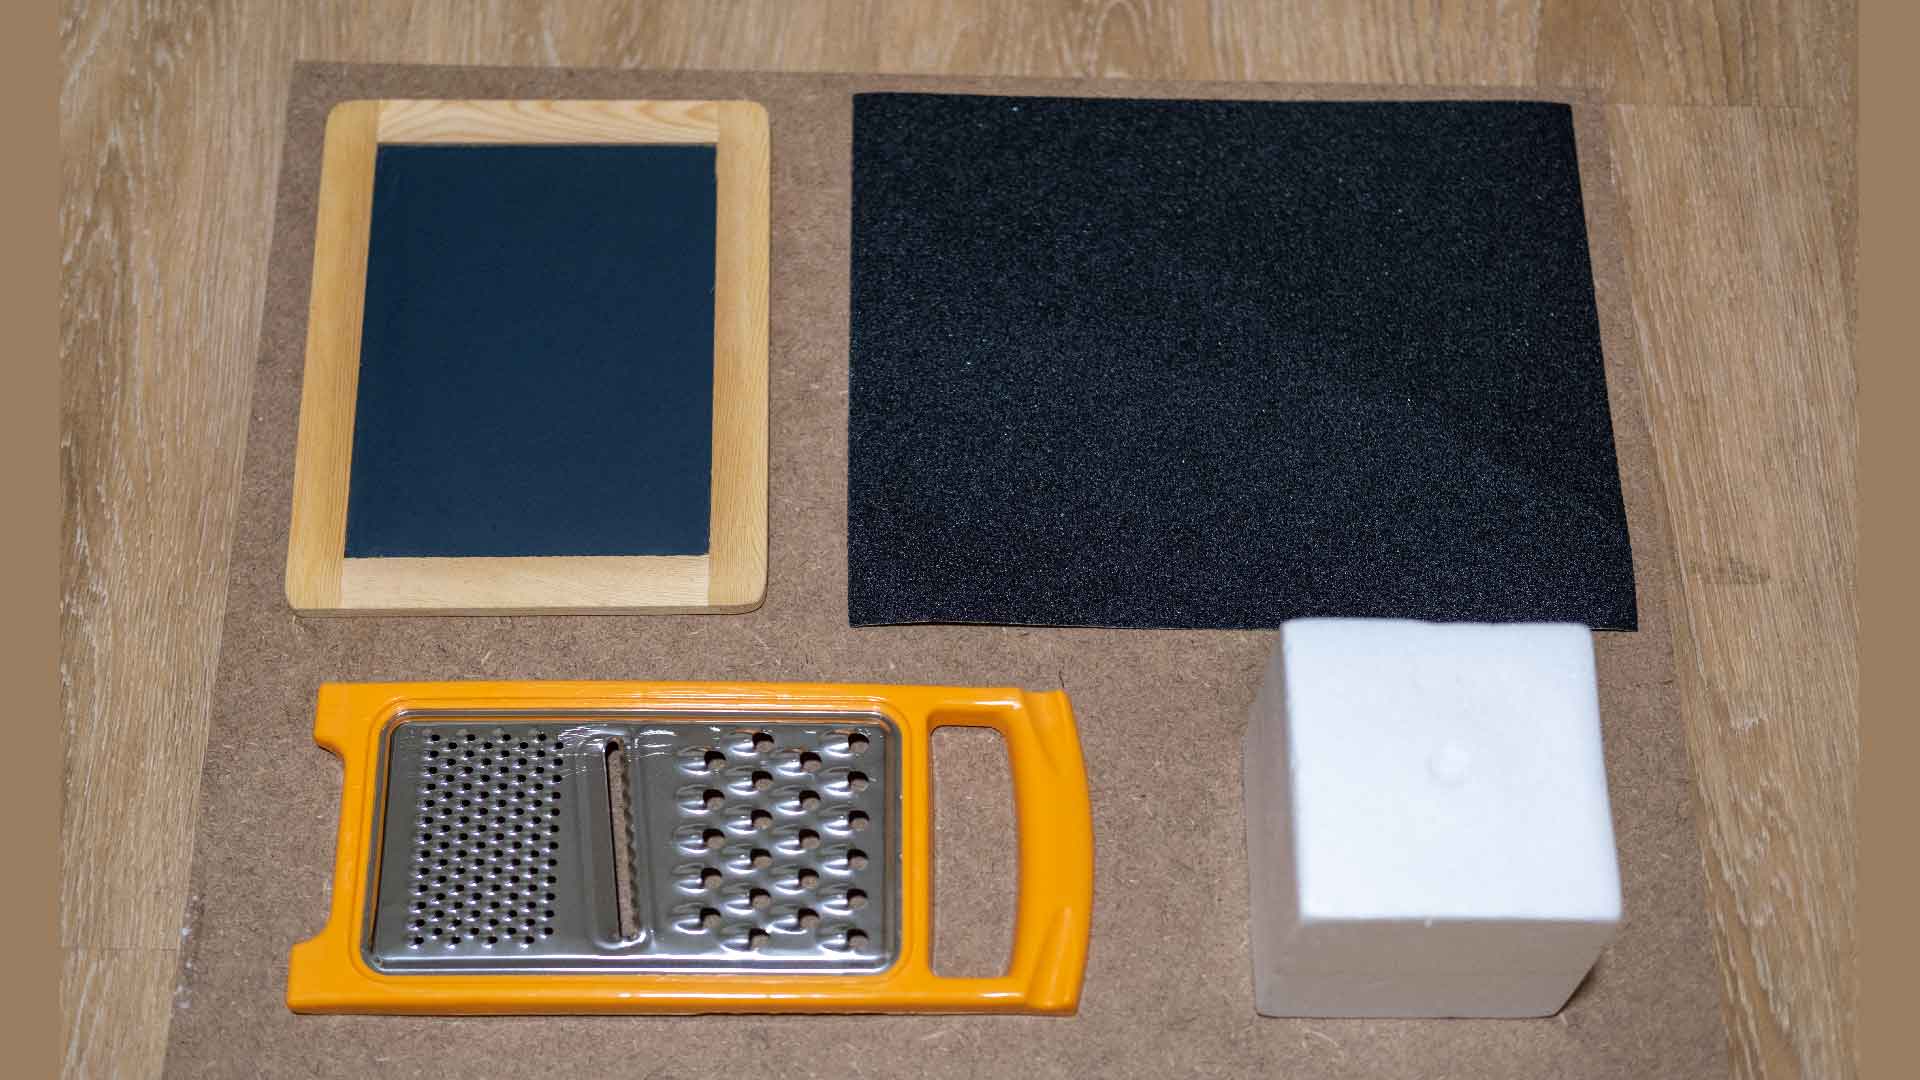
Textile Board
Experimenting with Textile Noise
As part of the noise maker prototype, I experimented with different textile surfaces to choose the most suitable surface. For the rubbing objects, I used chalk, markers, paint scraper, and styrofoam. Sandpaper is my favourite texture because after scraping over the rough surface with the paint scraper, I felt goosebumps.
The whiteboard did not work as expected. I believe that it is due to the poor quality of the whiteboard I purchased. My whiteboard markers do not squeak when I rub them on the surface with the felt tip.
Textile Cube
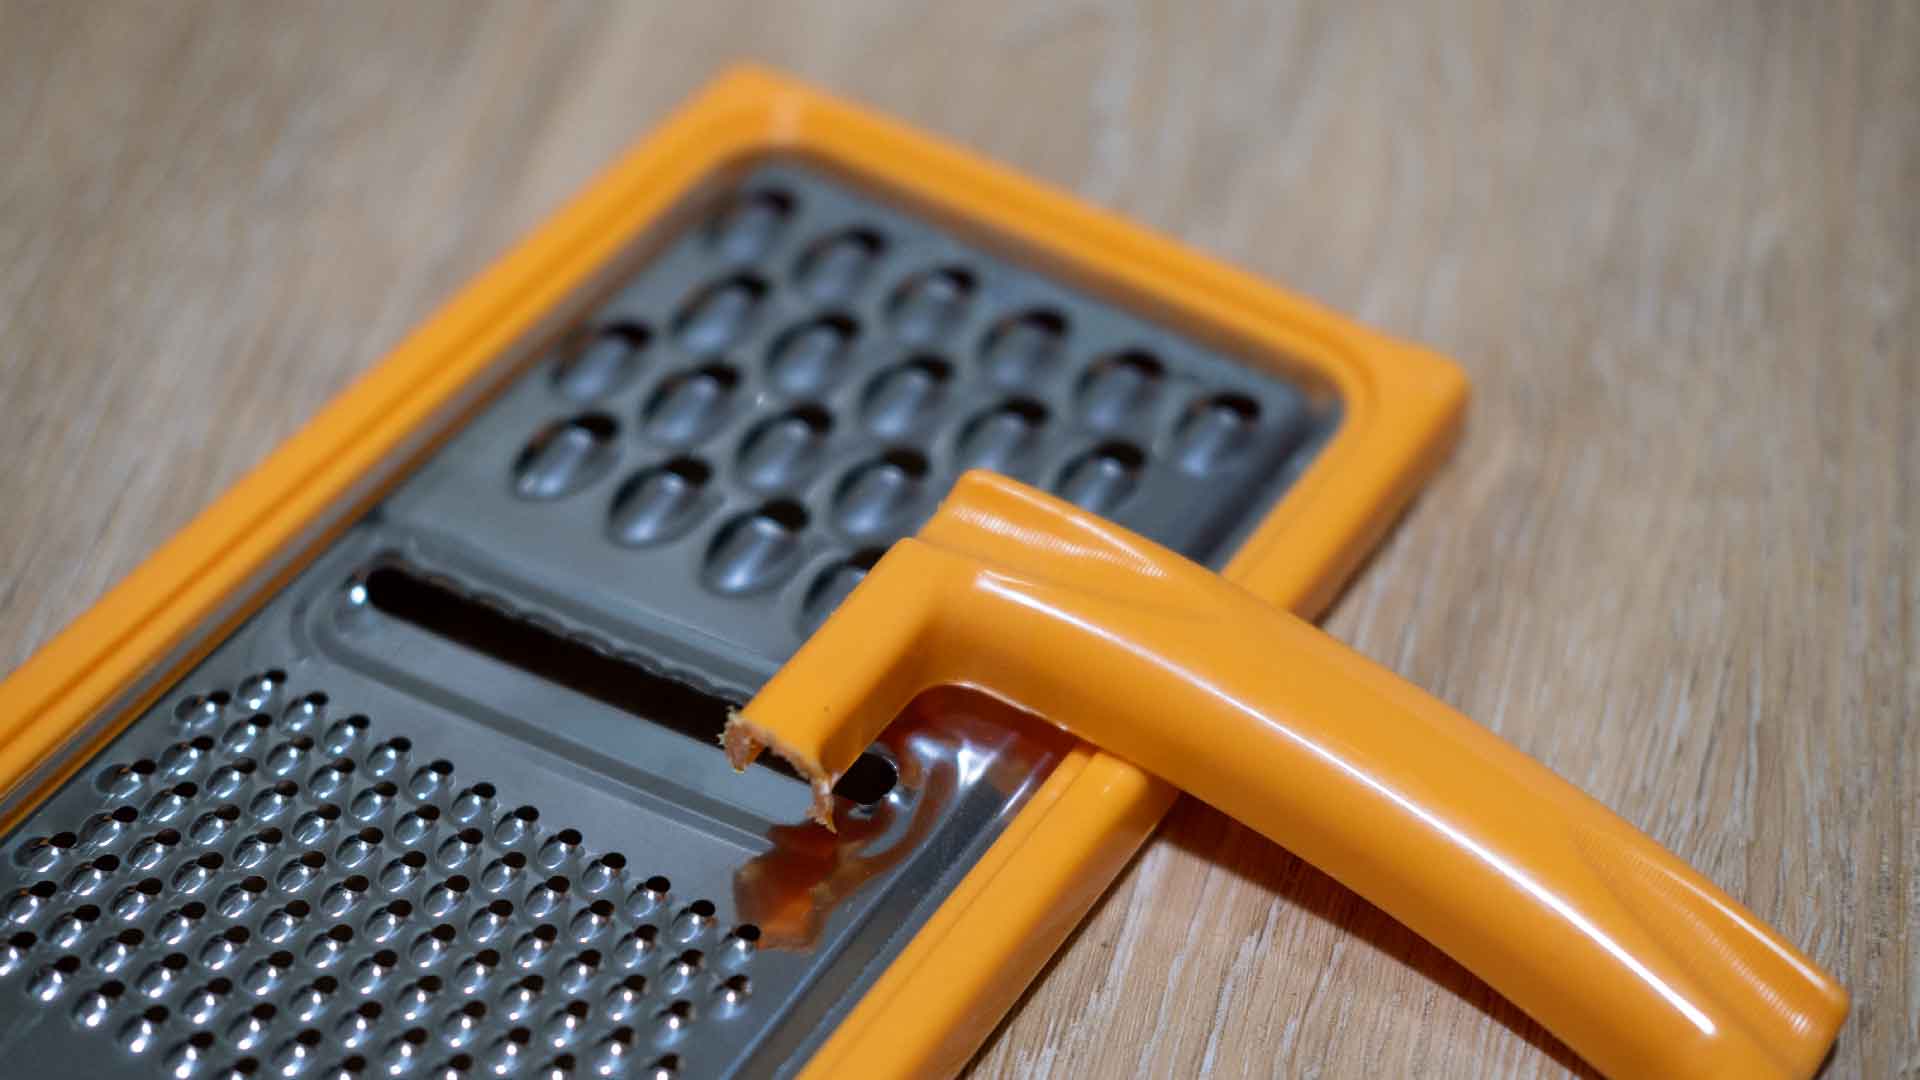
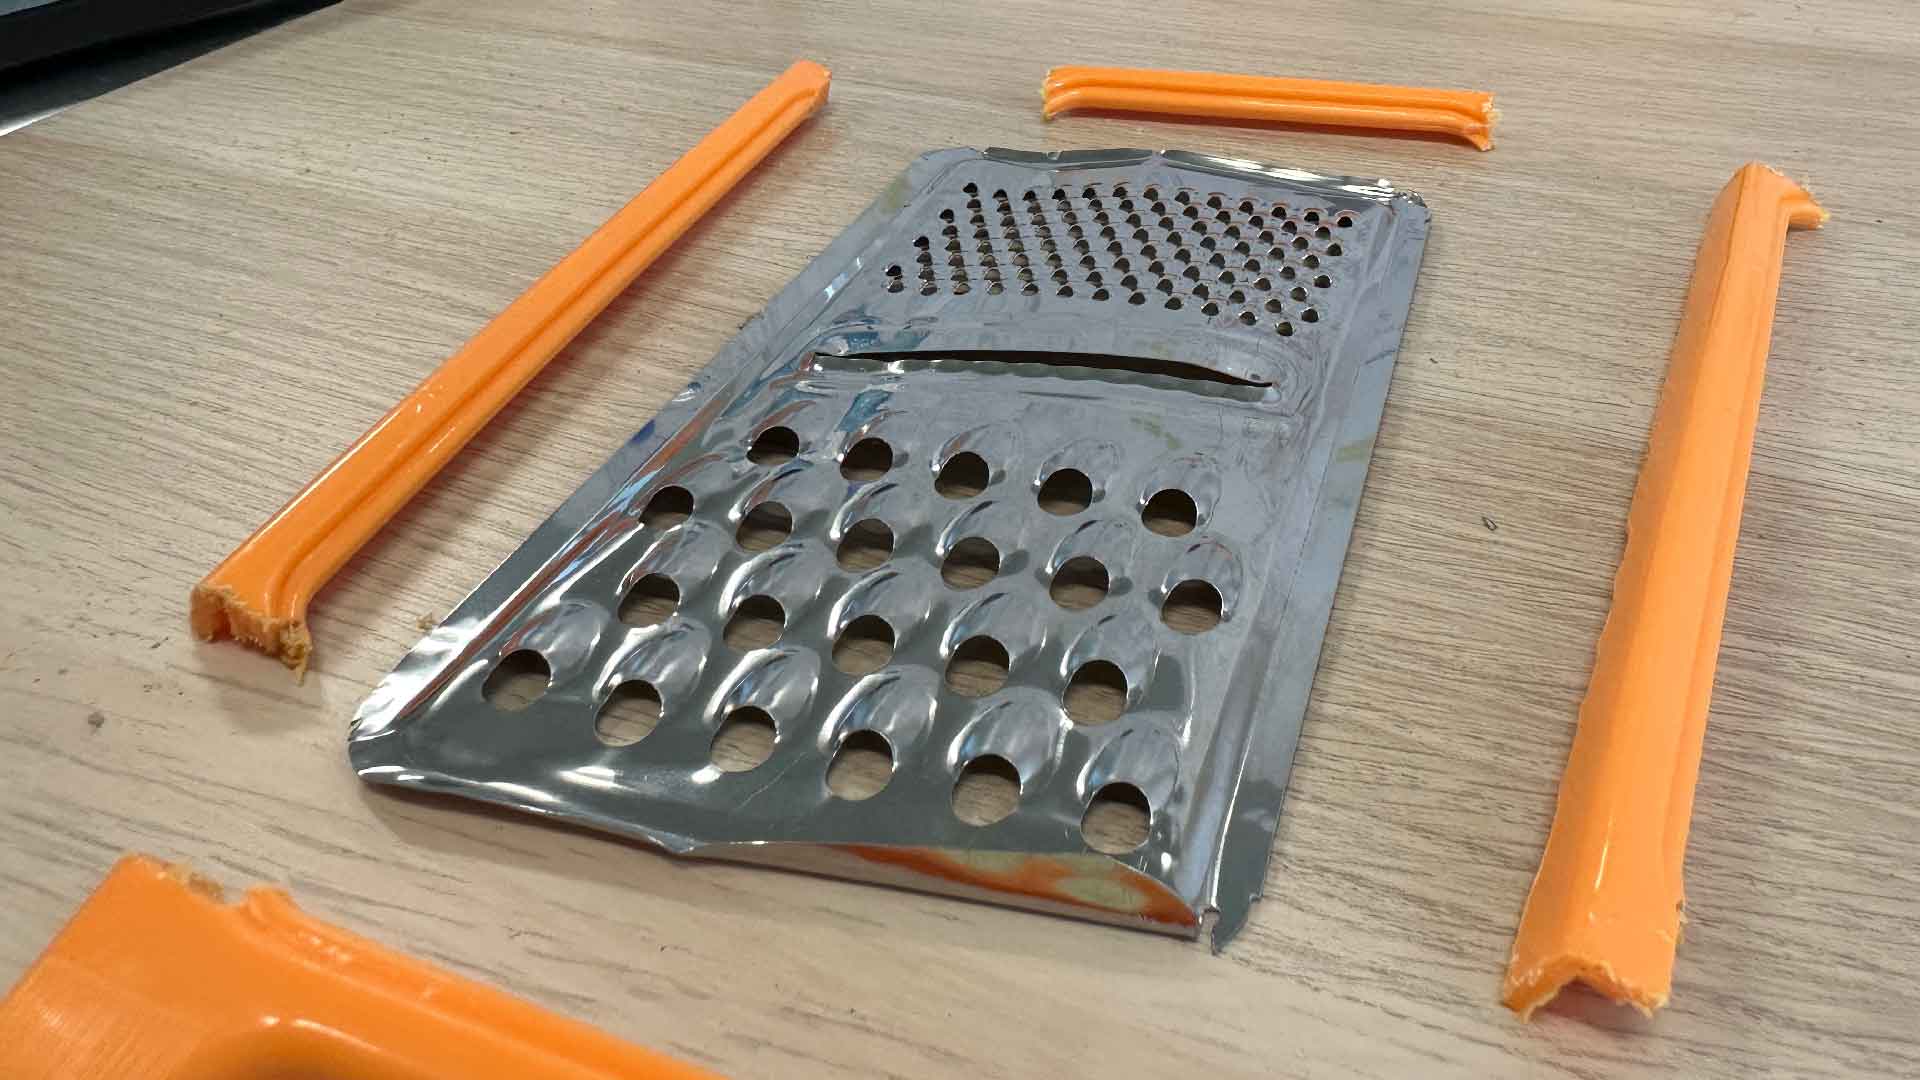
In order to paste the different textures on my styrofoam cube, I had to cut them into smaller sizes. Due to the combination of plastic and metal materials, the grater texture will be the most difficult to cut. The sandpaper was easily cut with the scissors to the appropriate size without any problems.
I did not use the whiteboard, as based on my previous experiment, the whiteboard I purchased was not suitable for creating textile noise.
Prototyping Process
Prototype Photos
28 February 2023
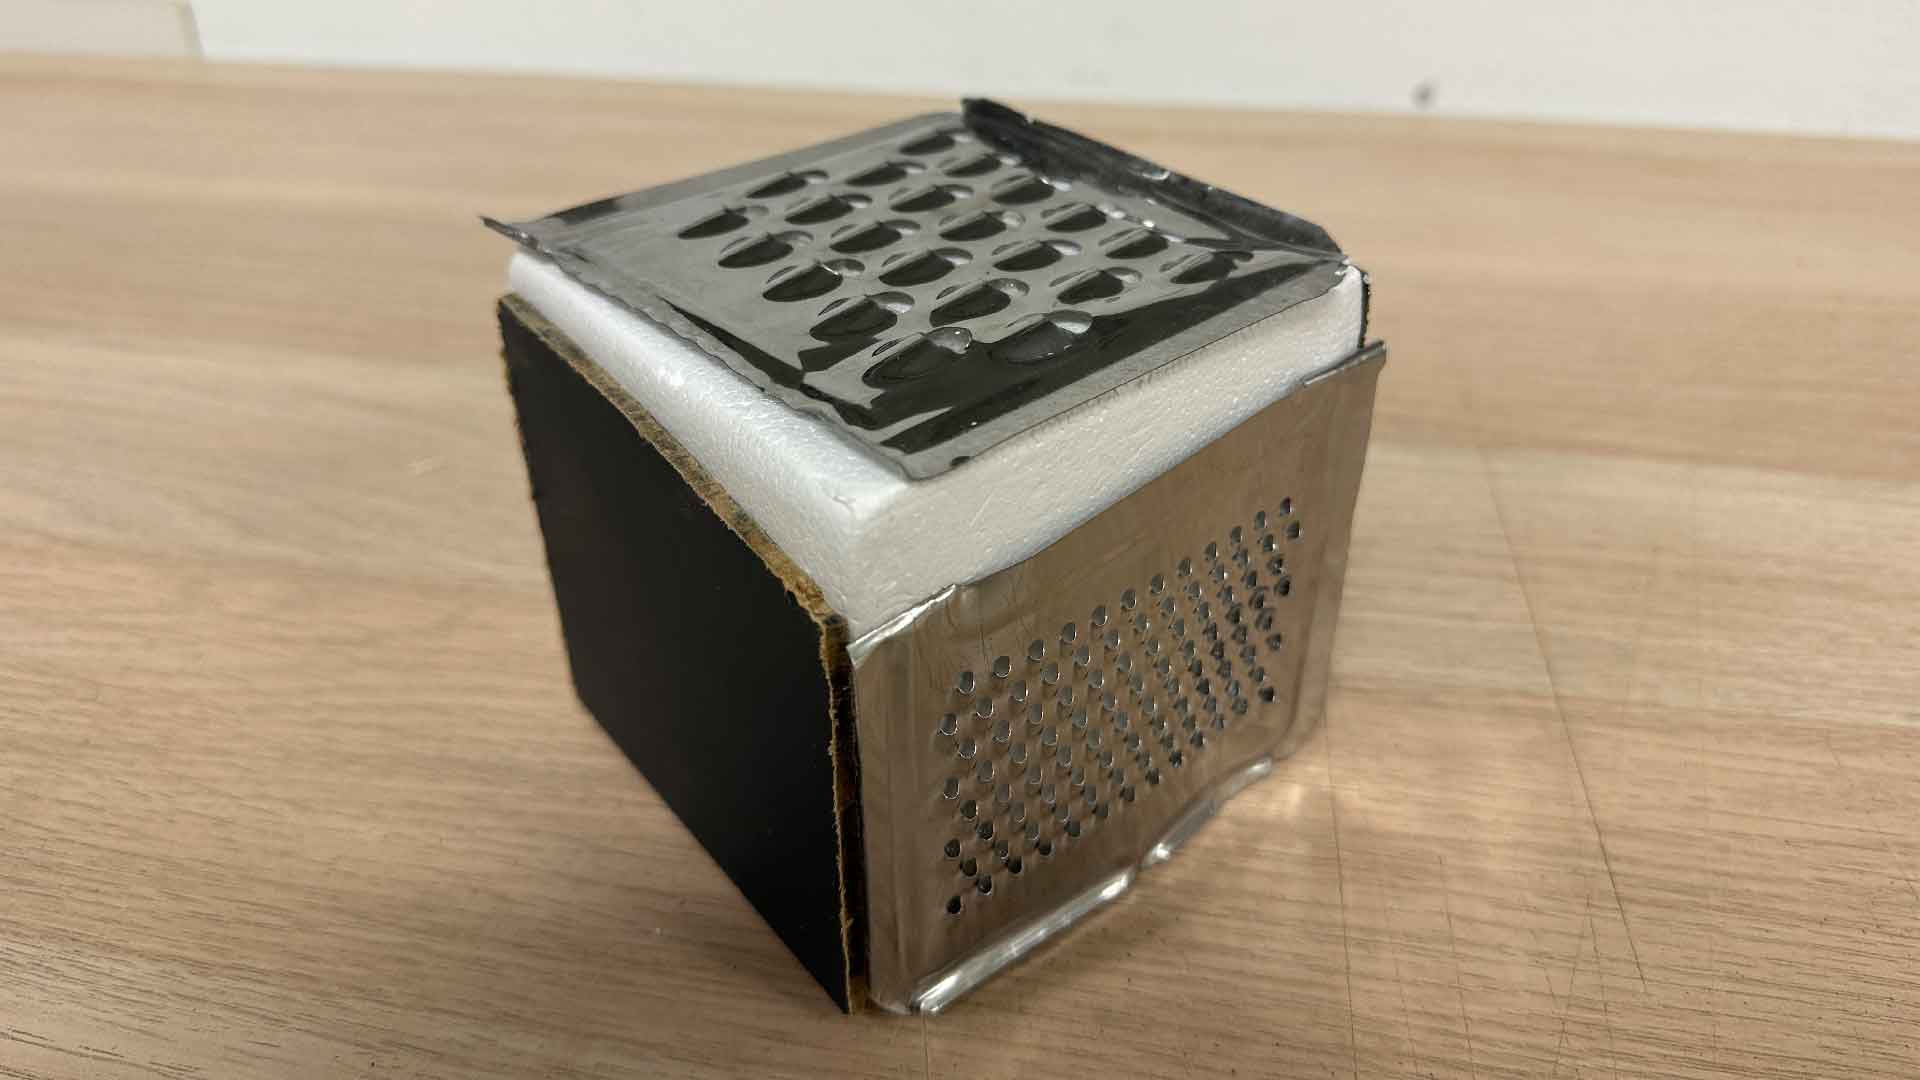
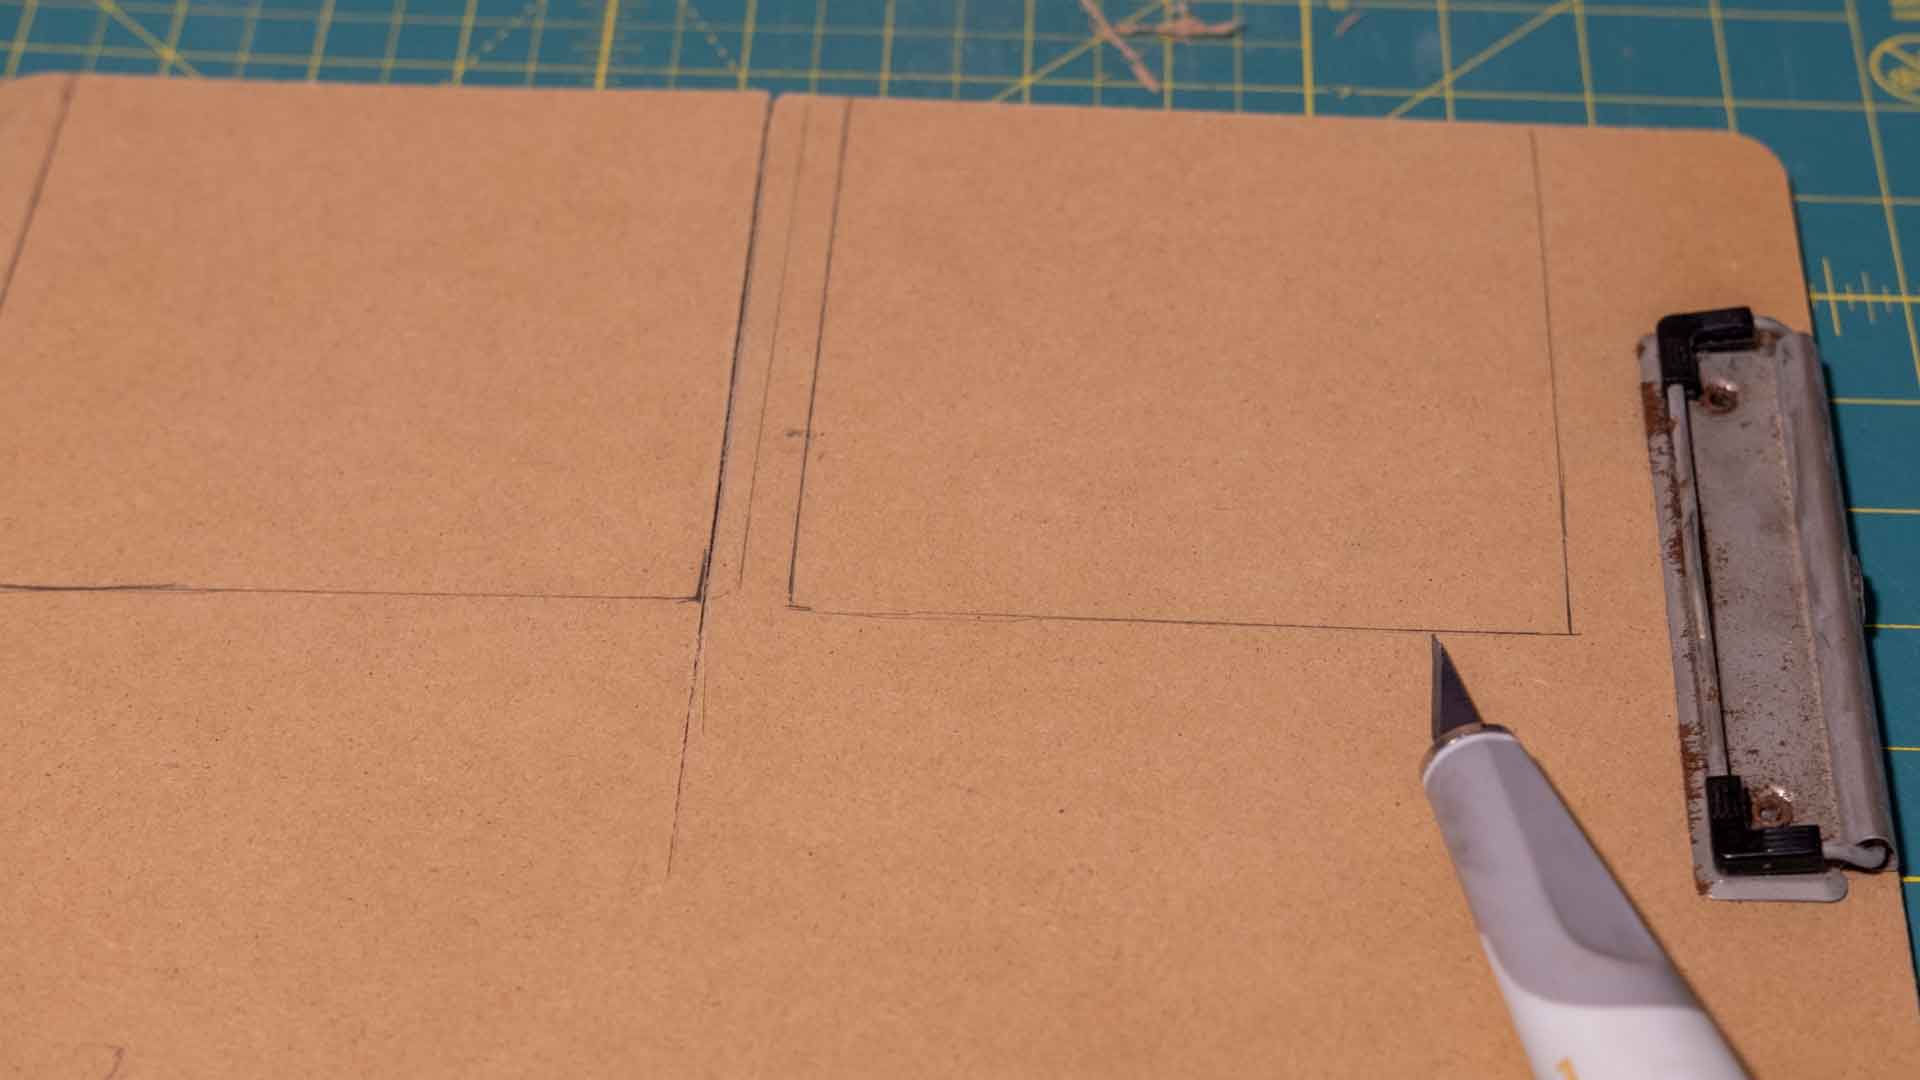
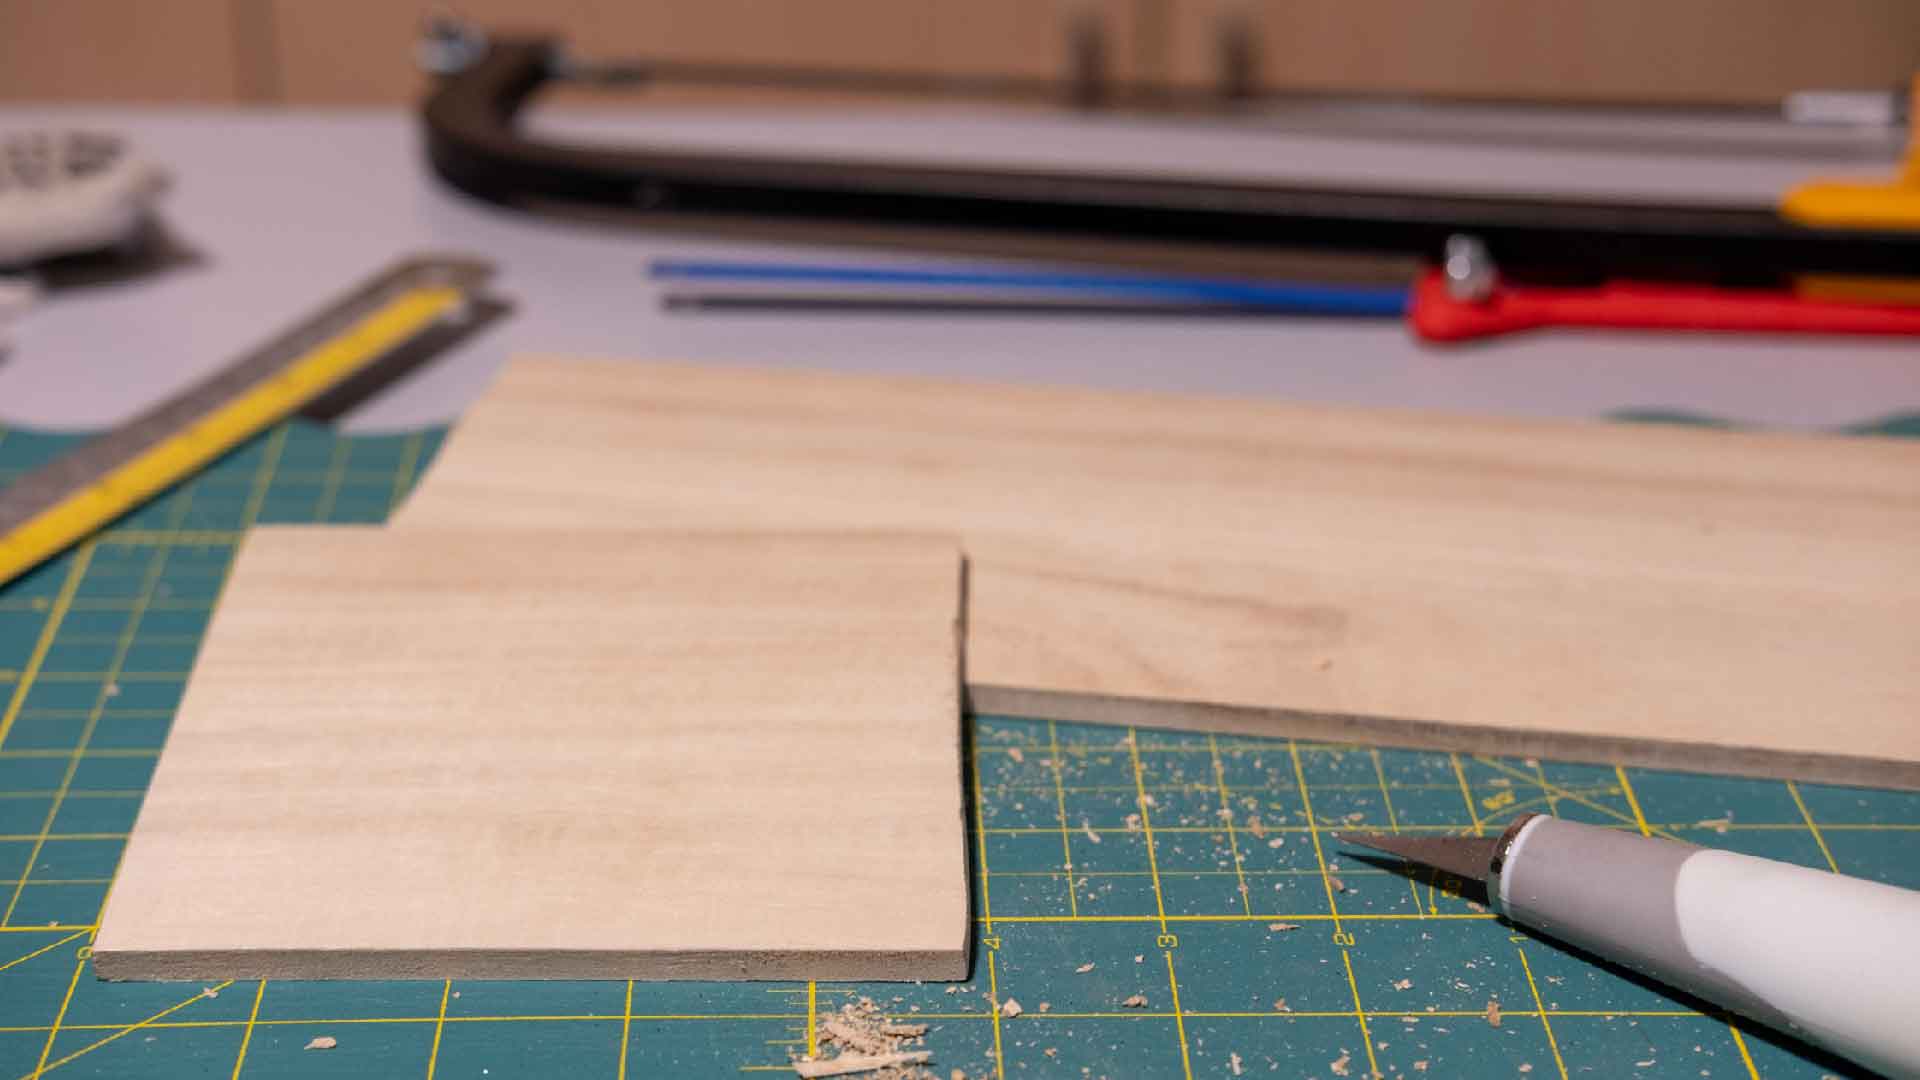
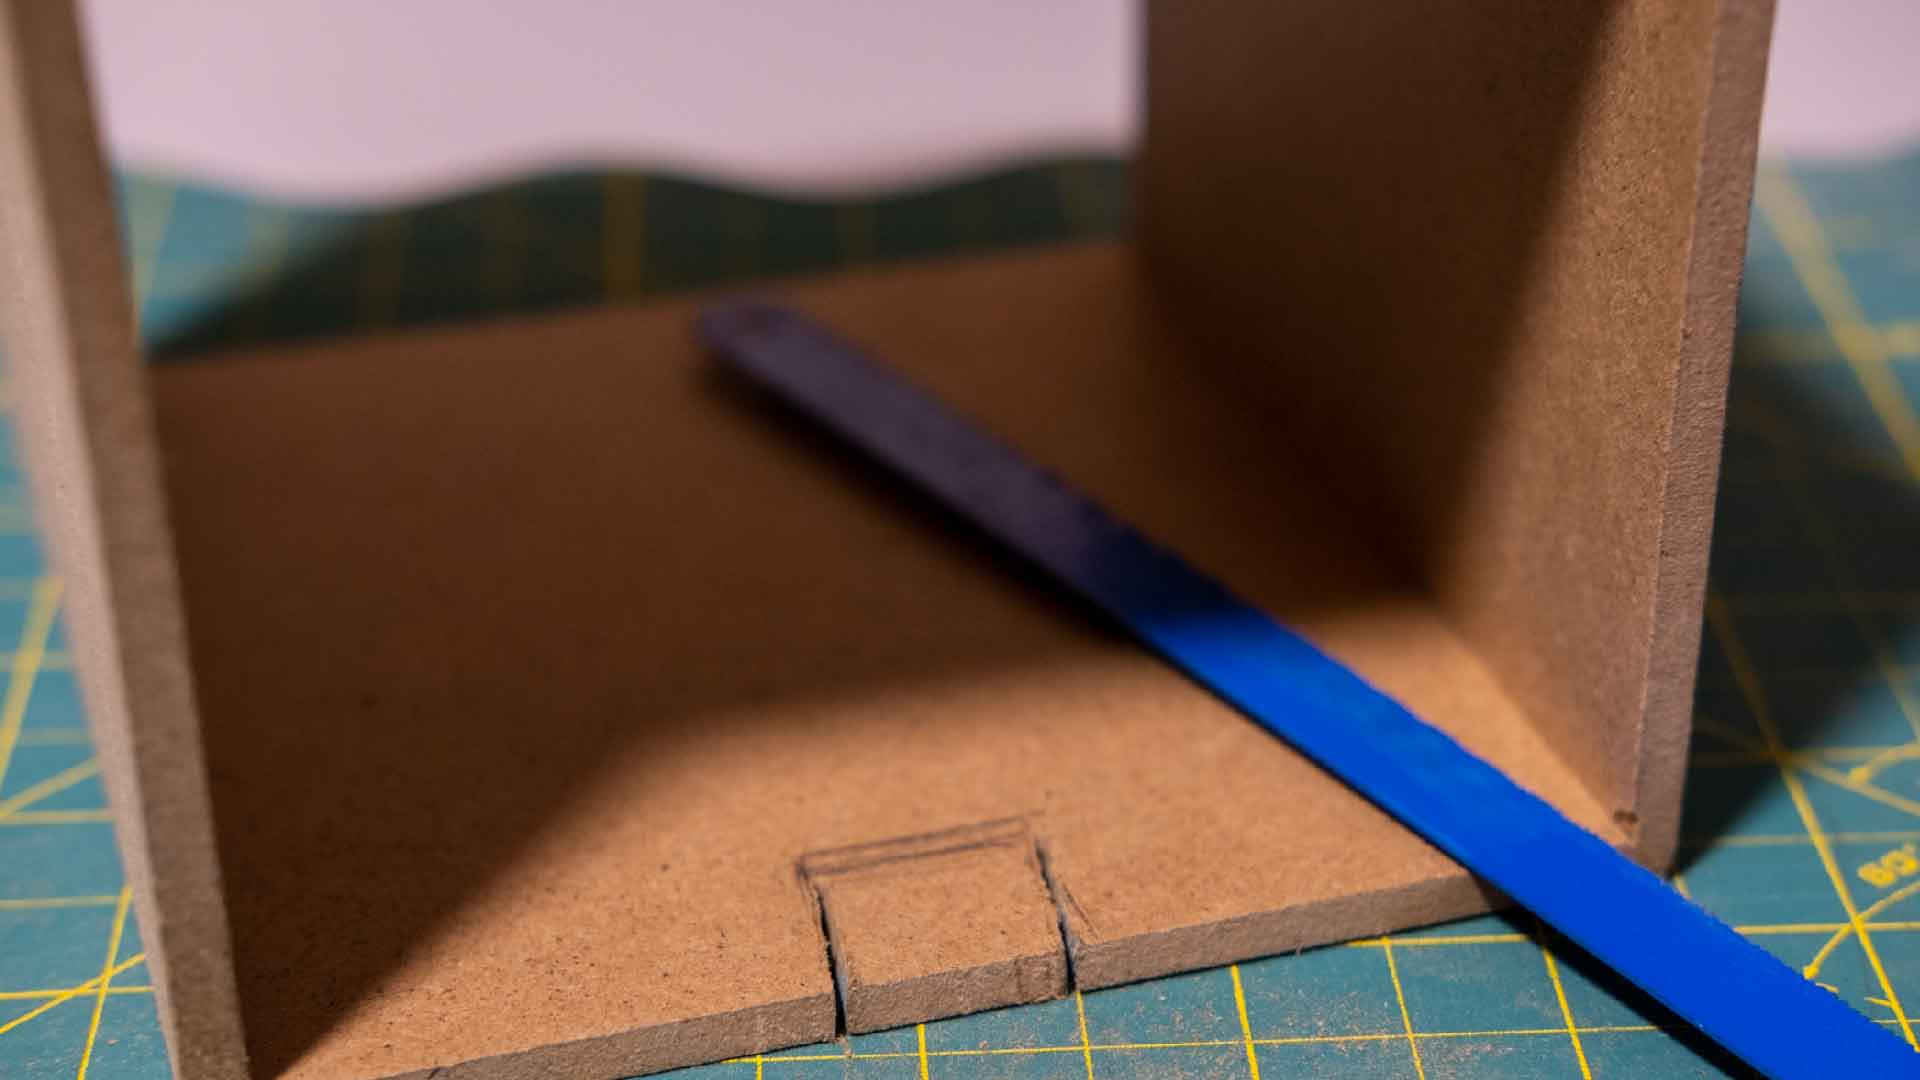
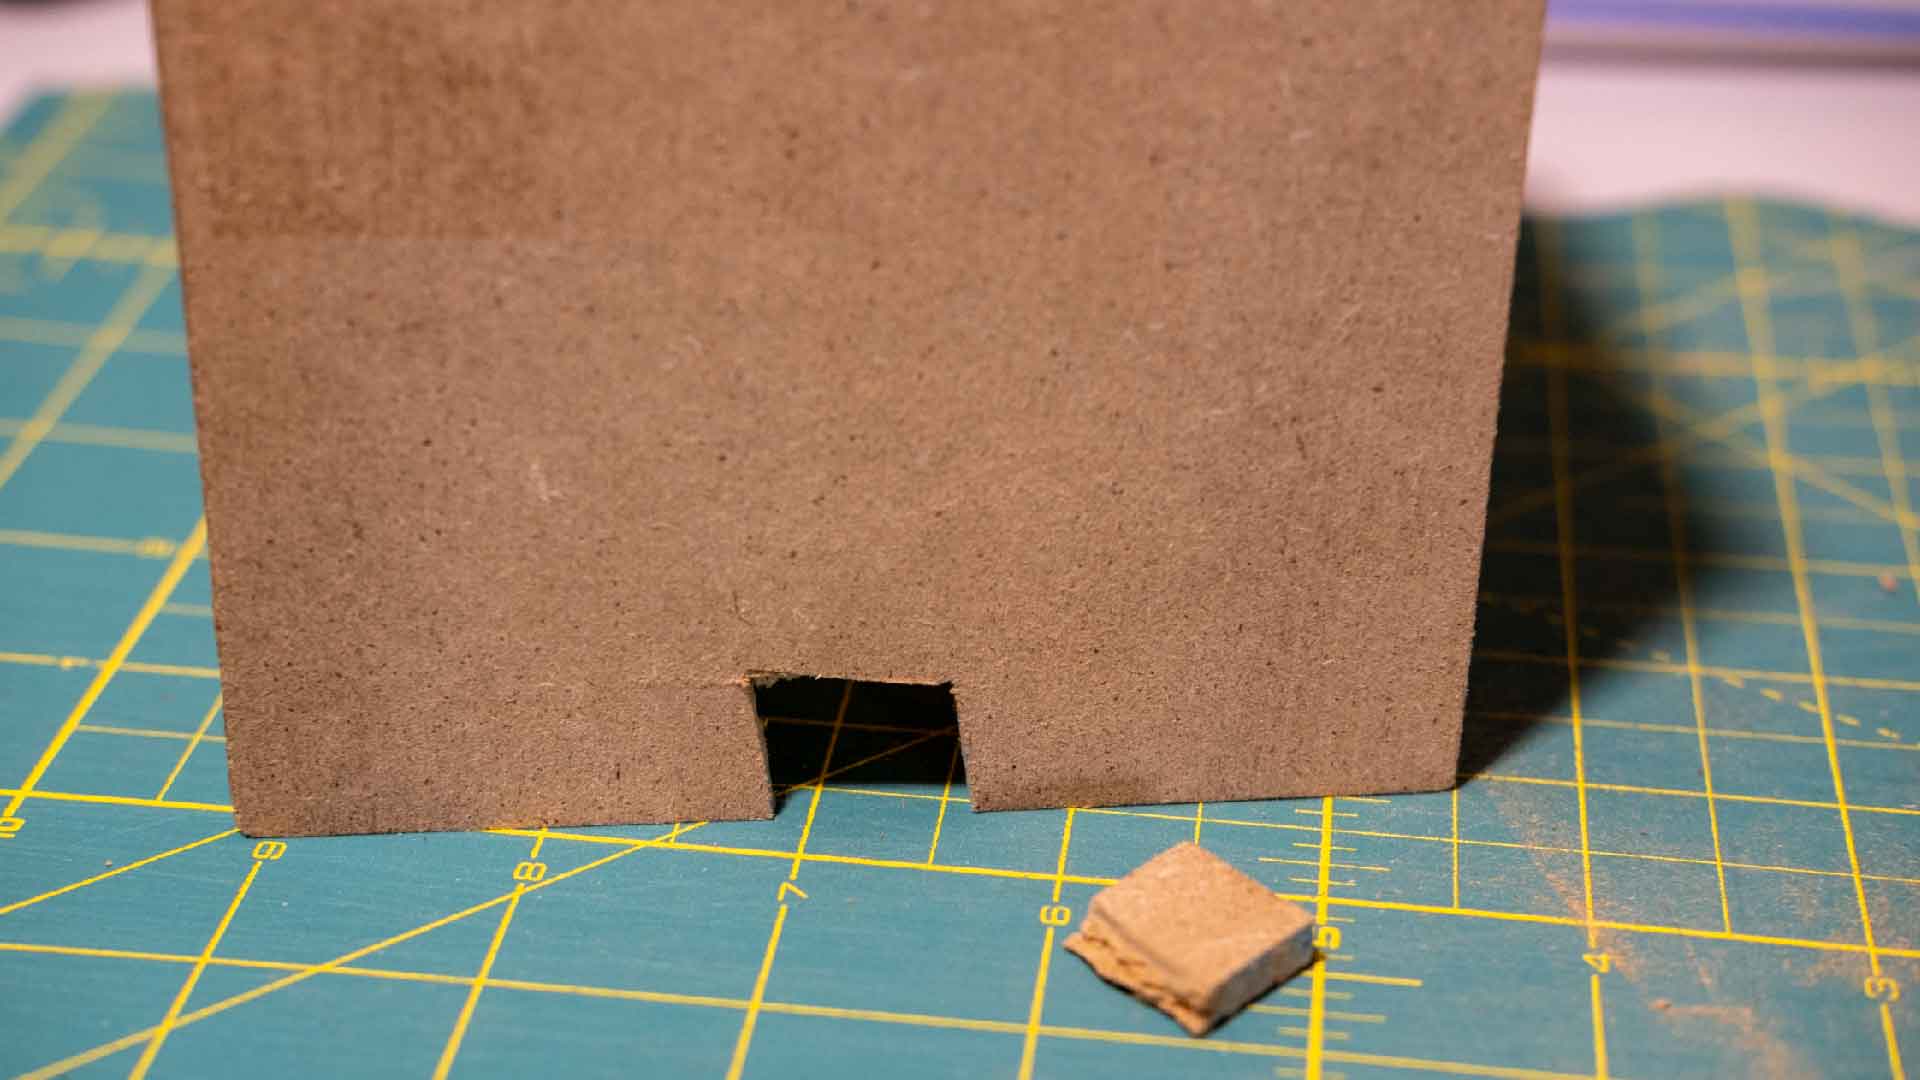
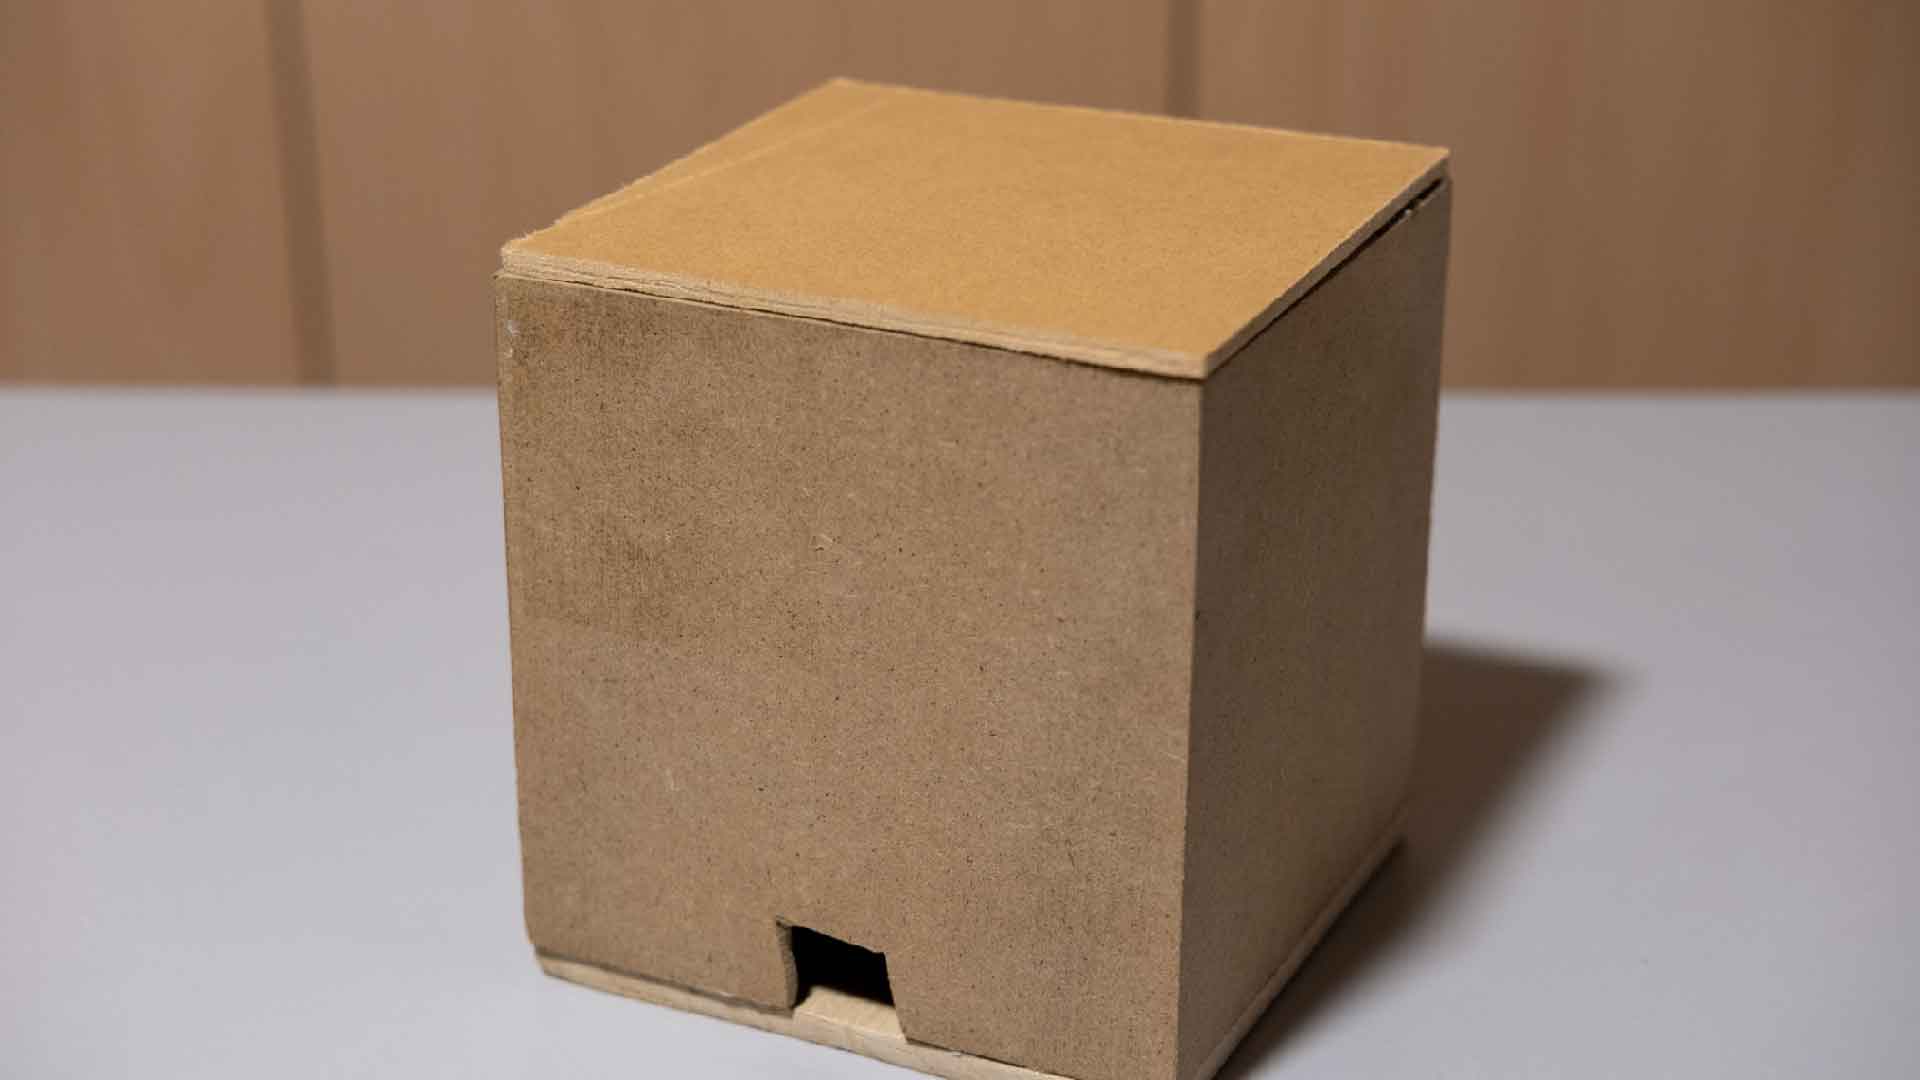
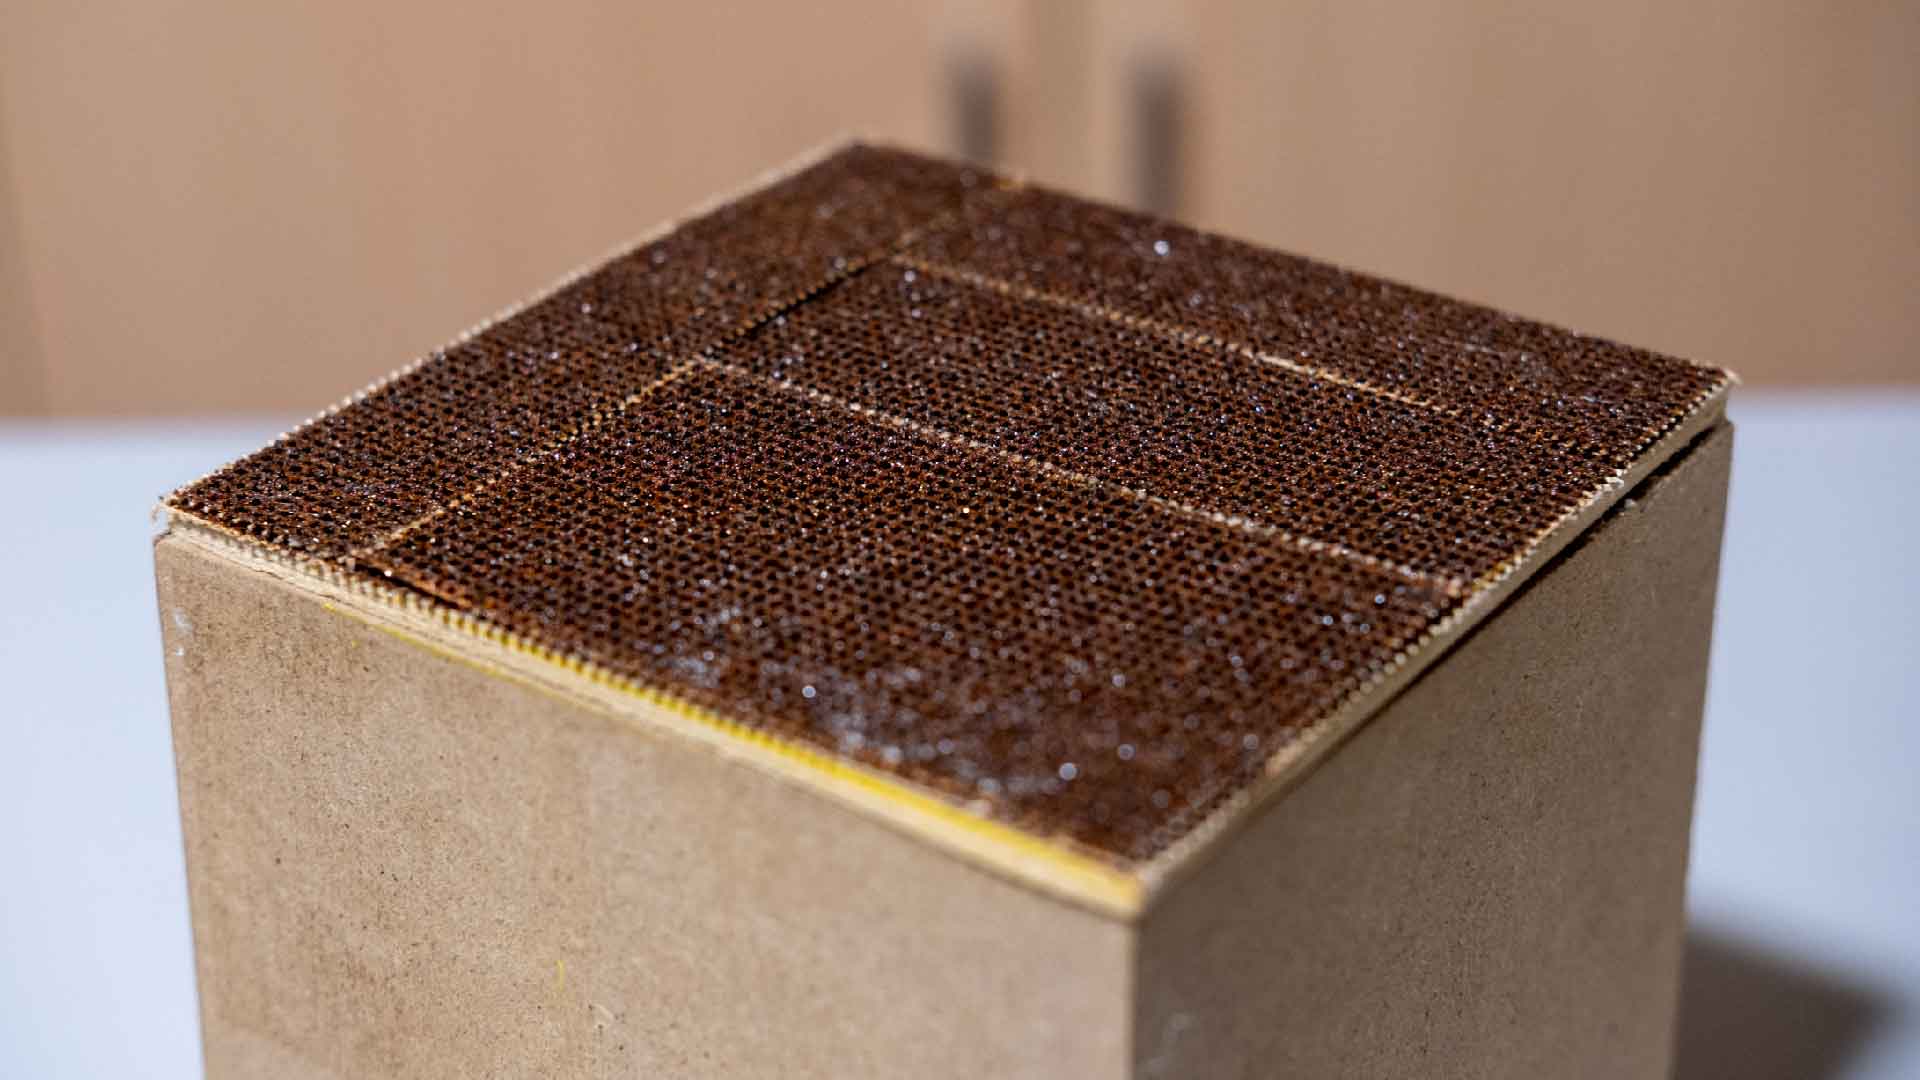
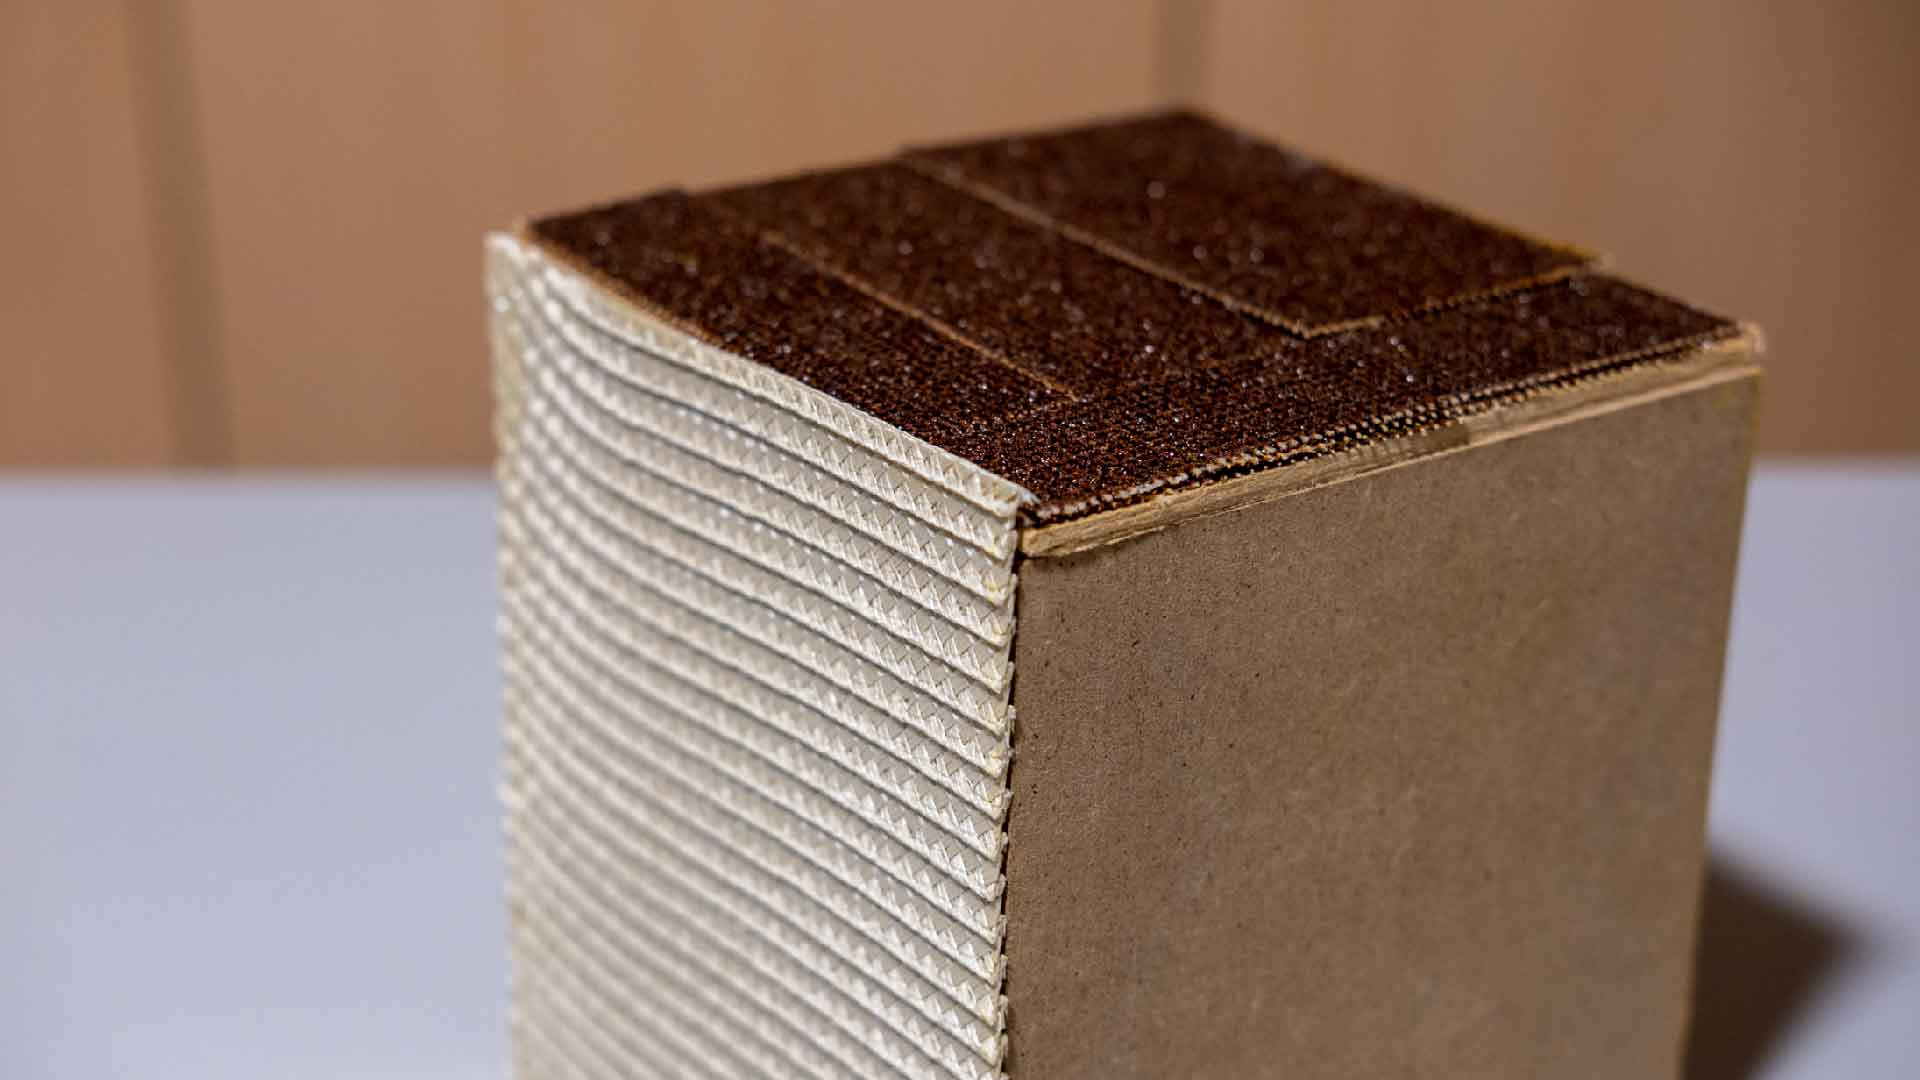
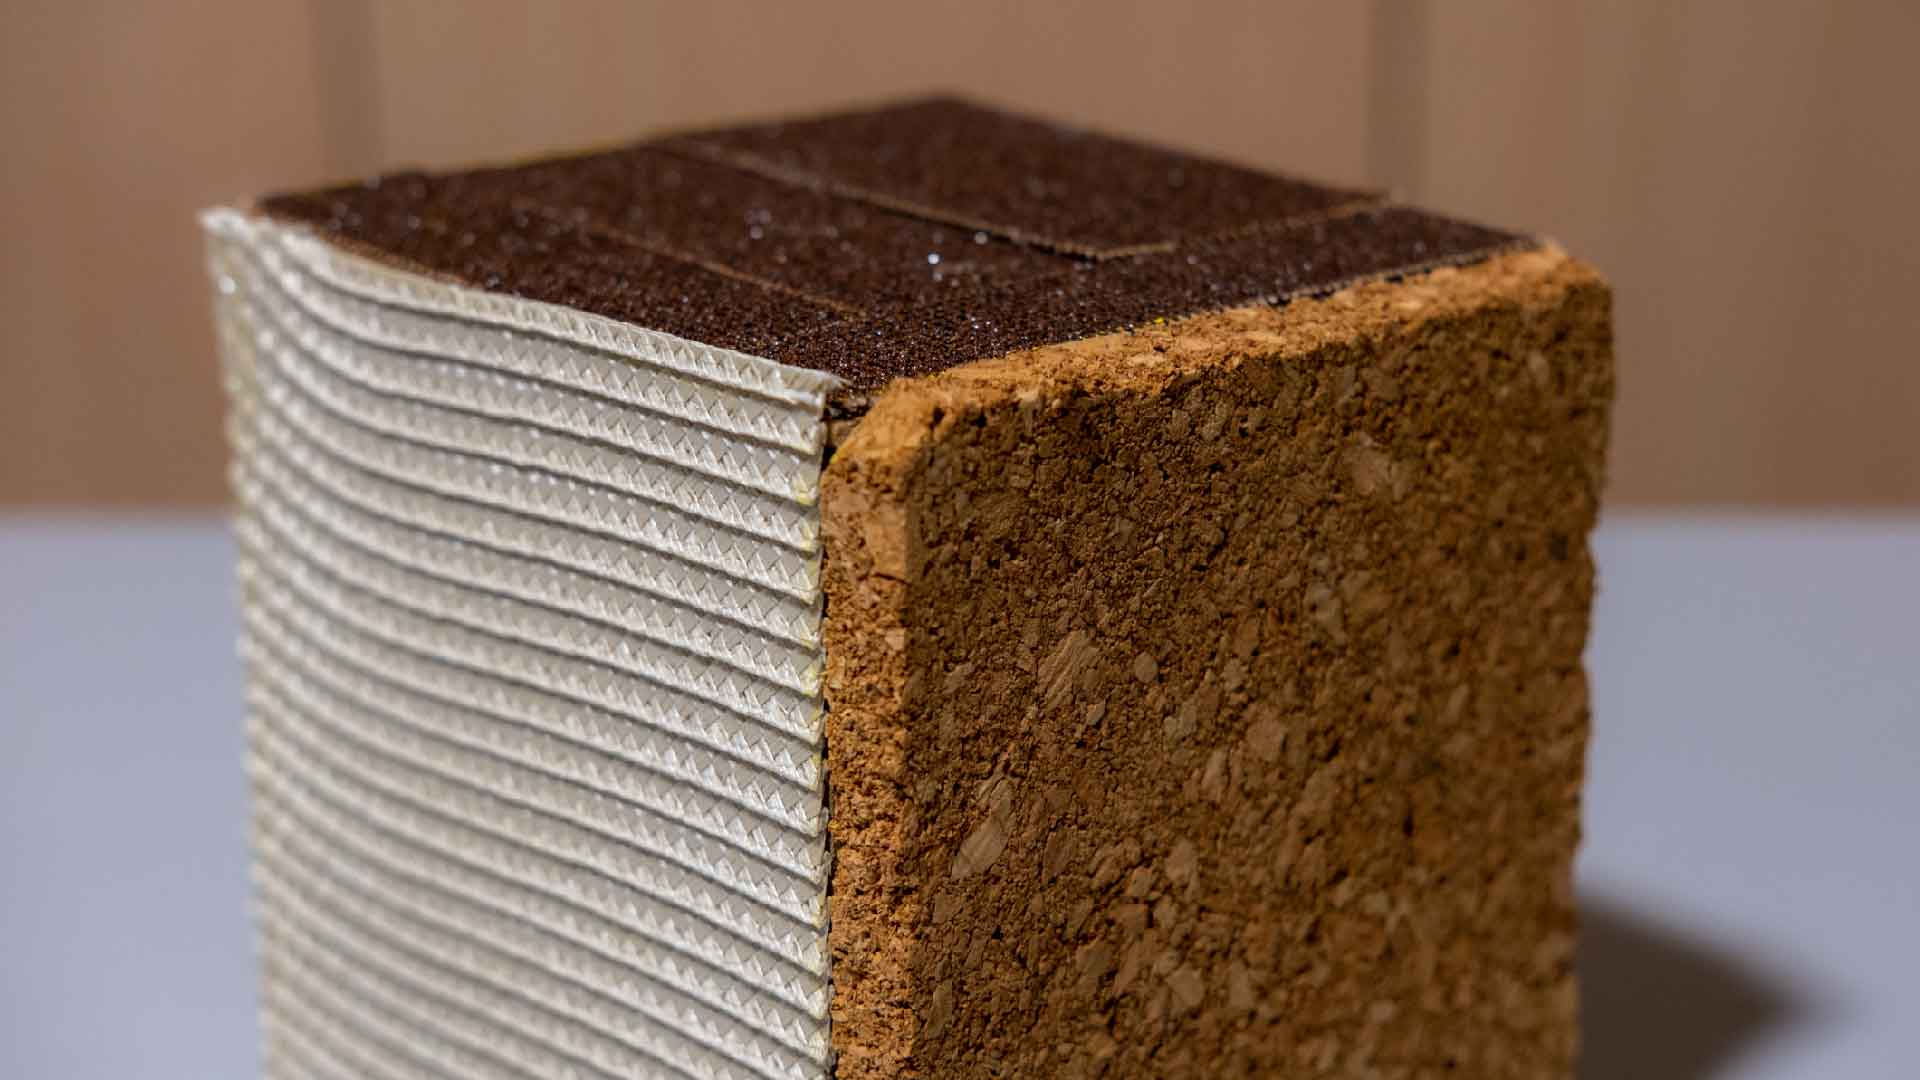
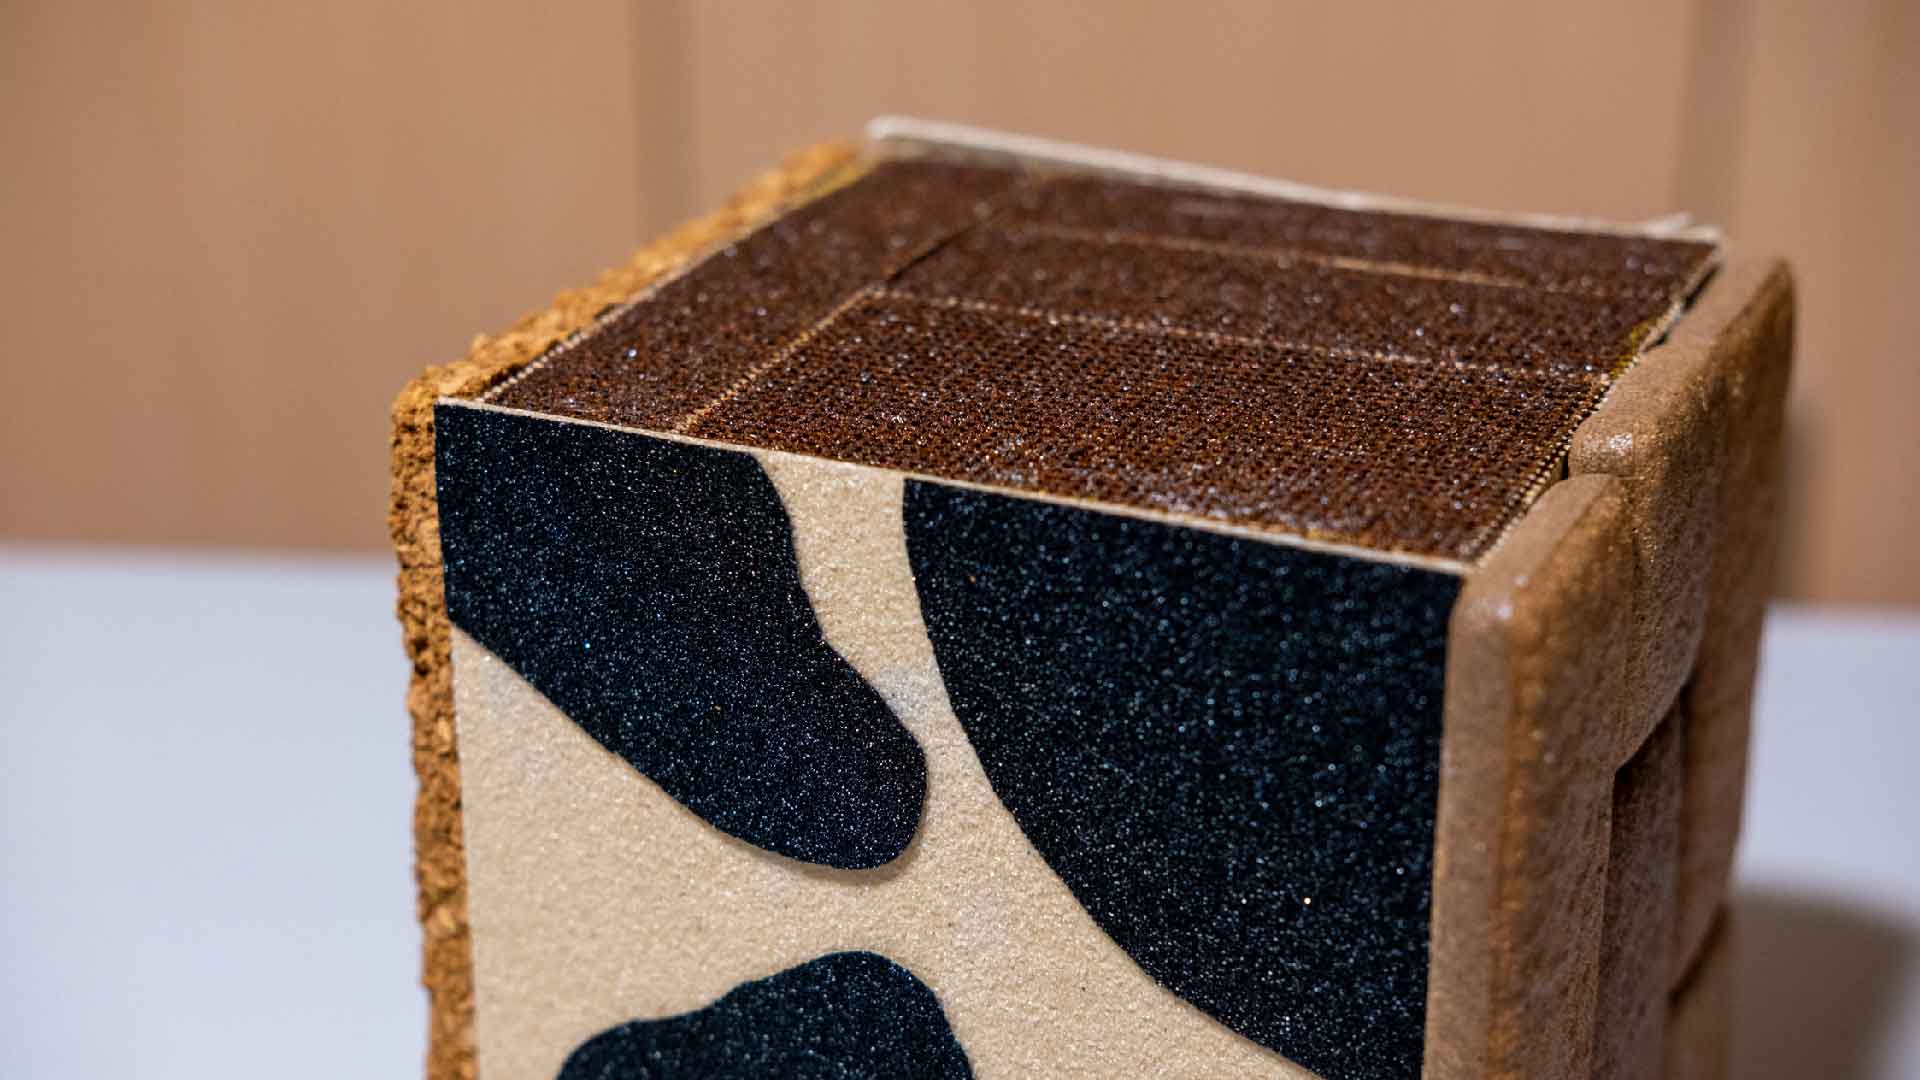
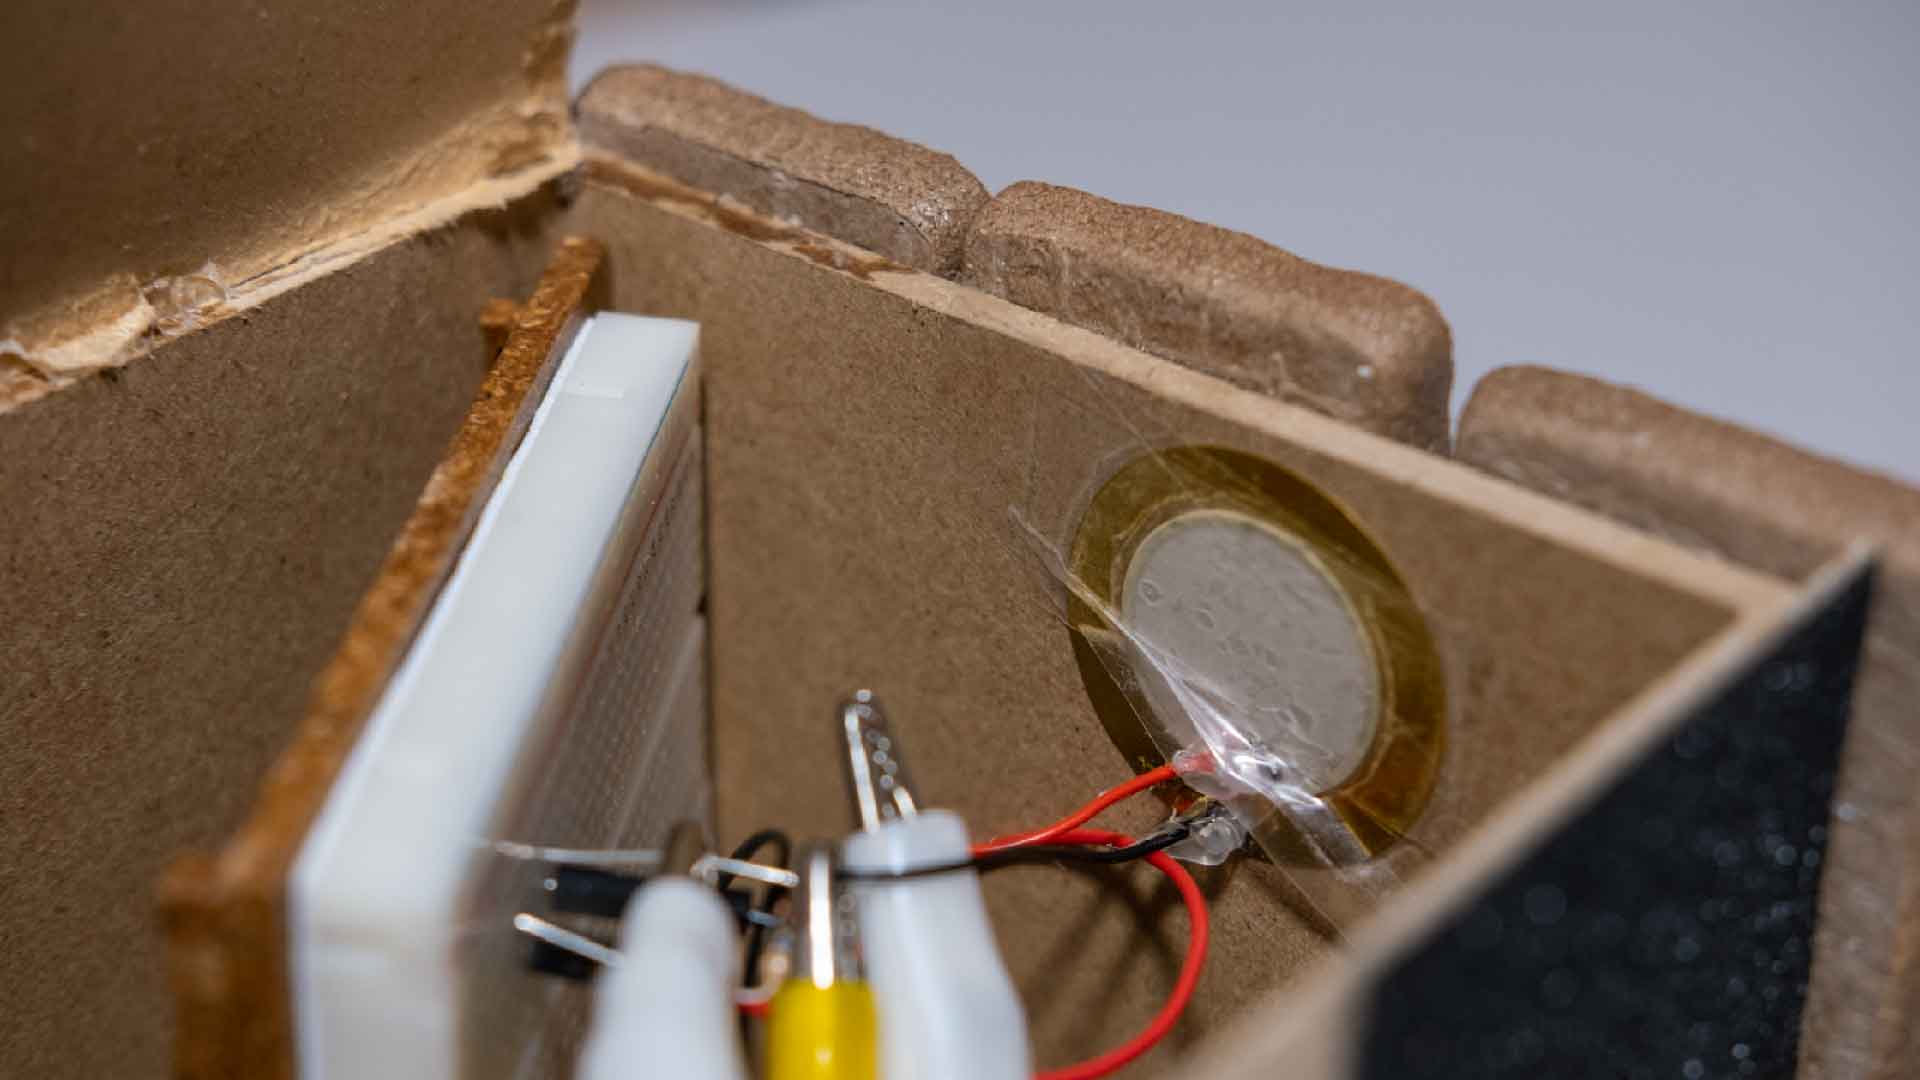
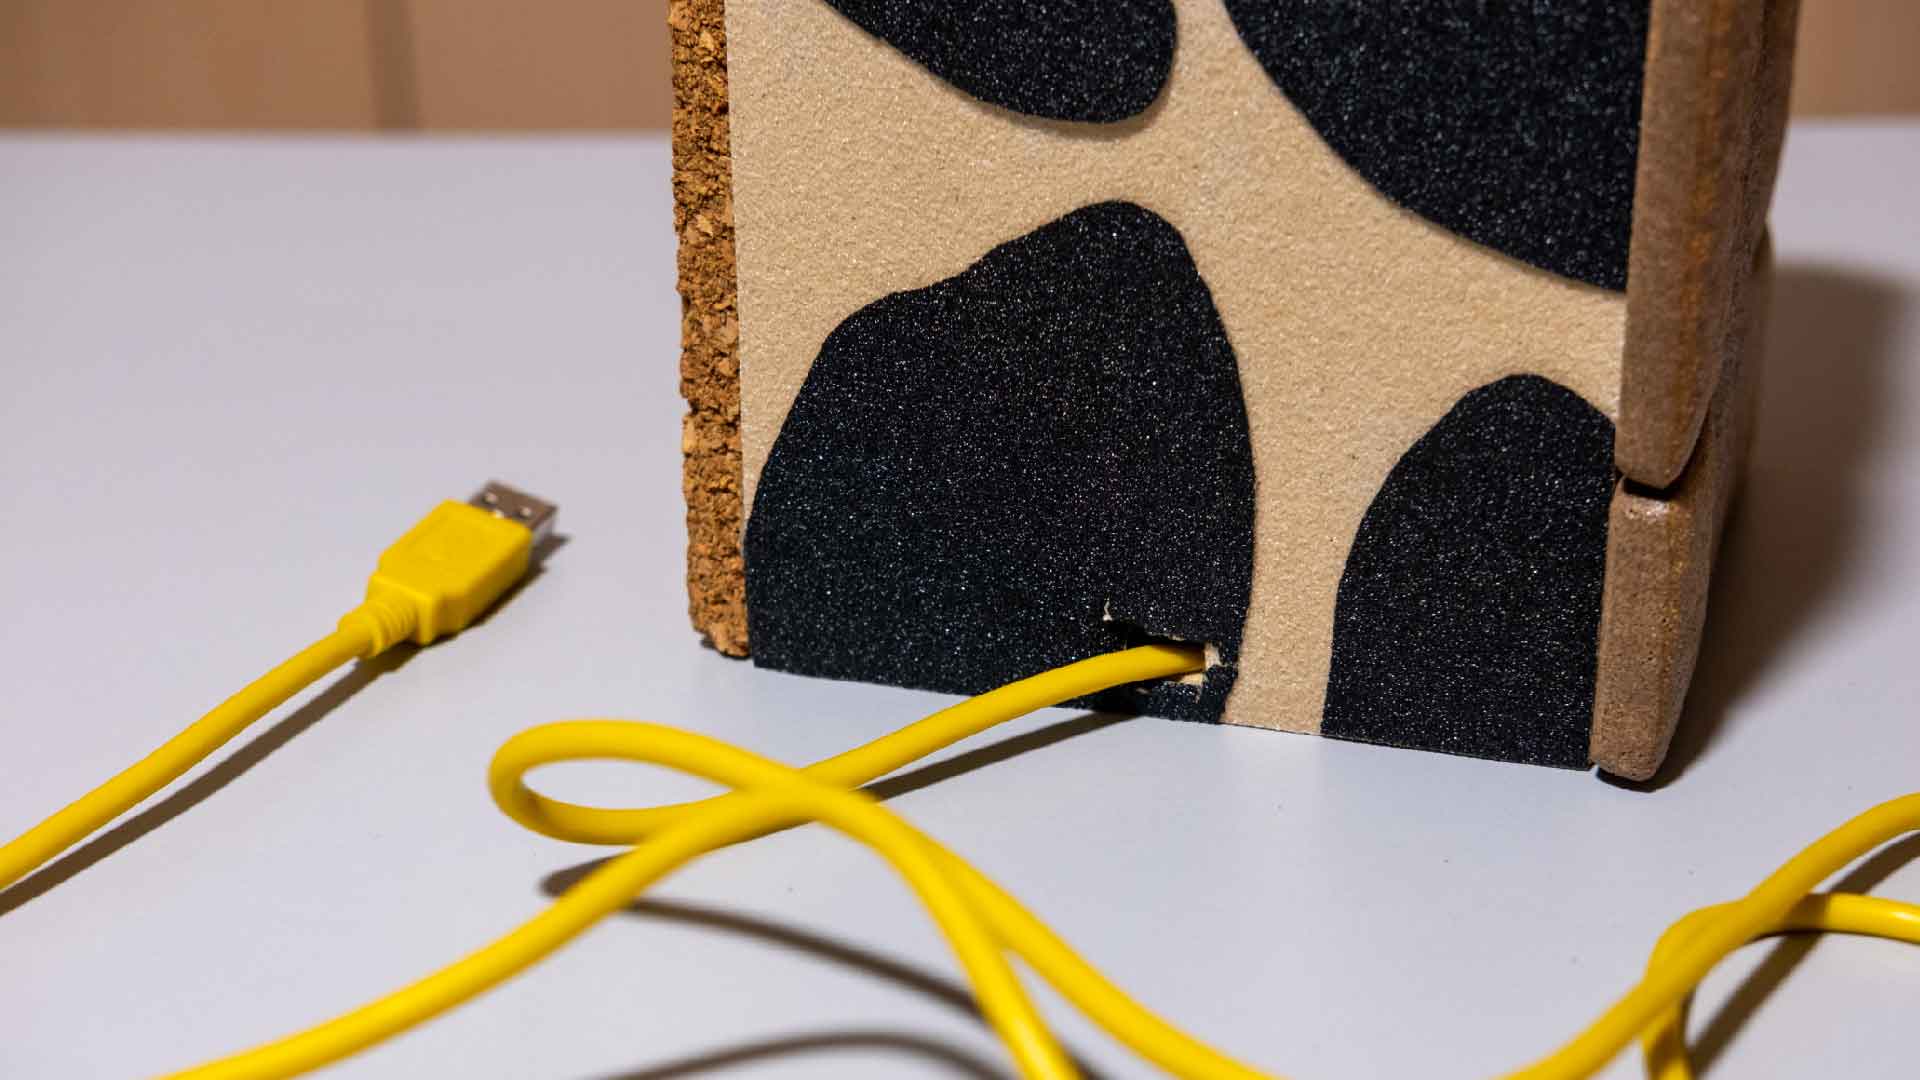
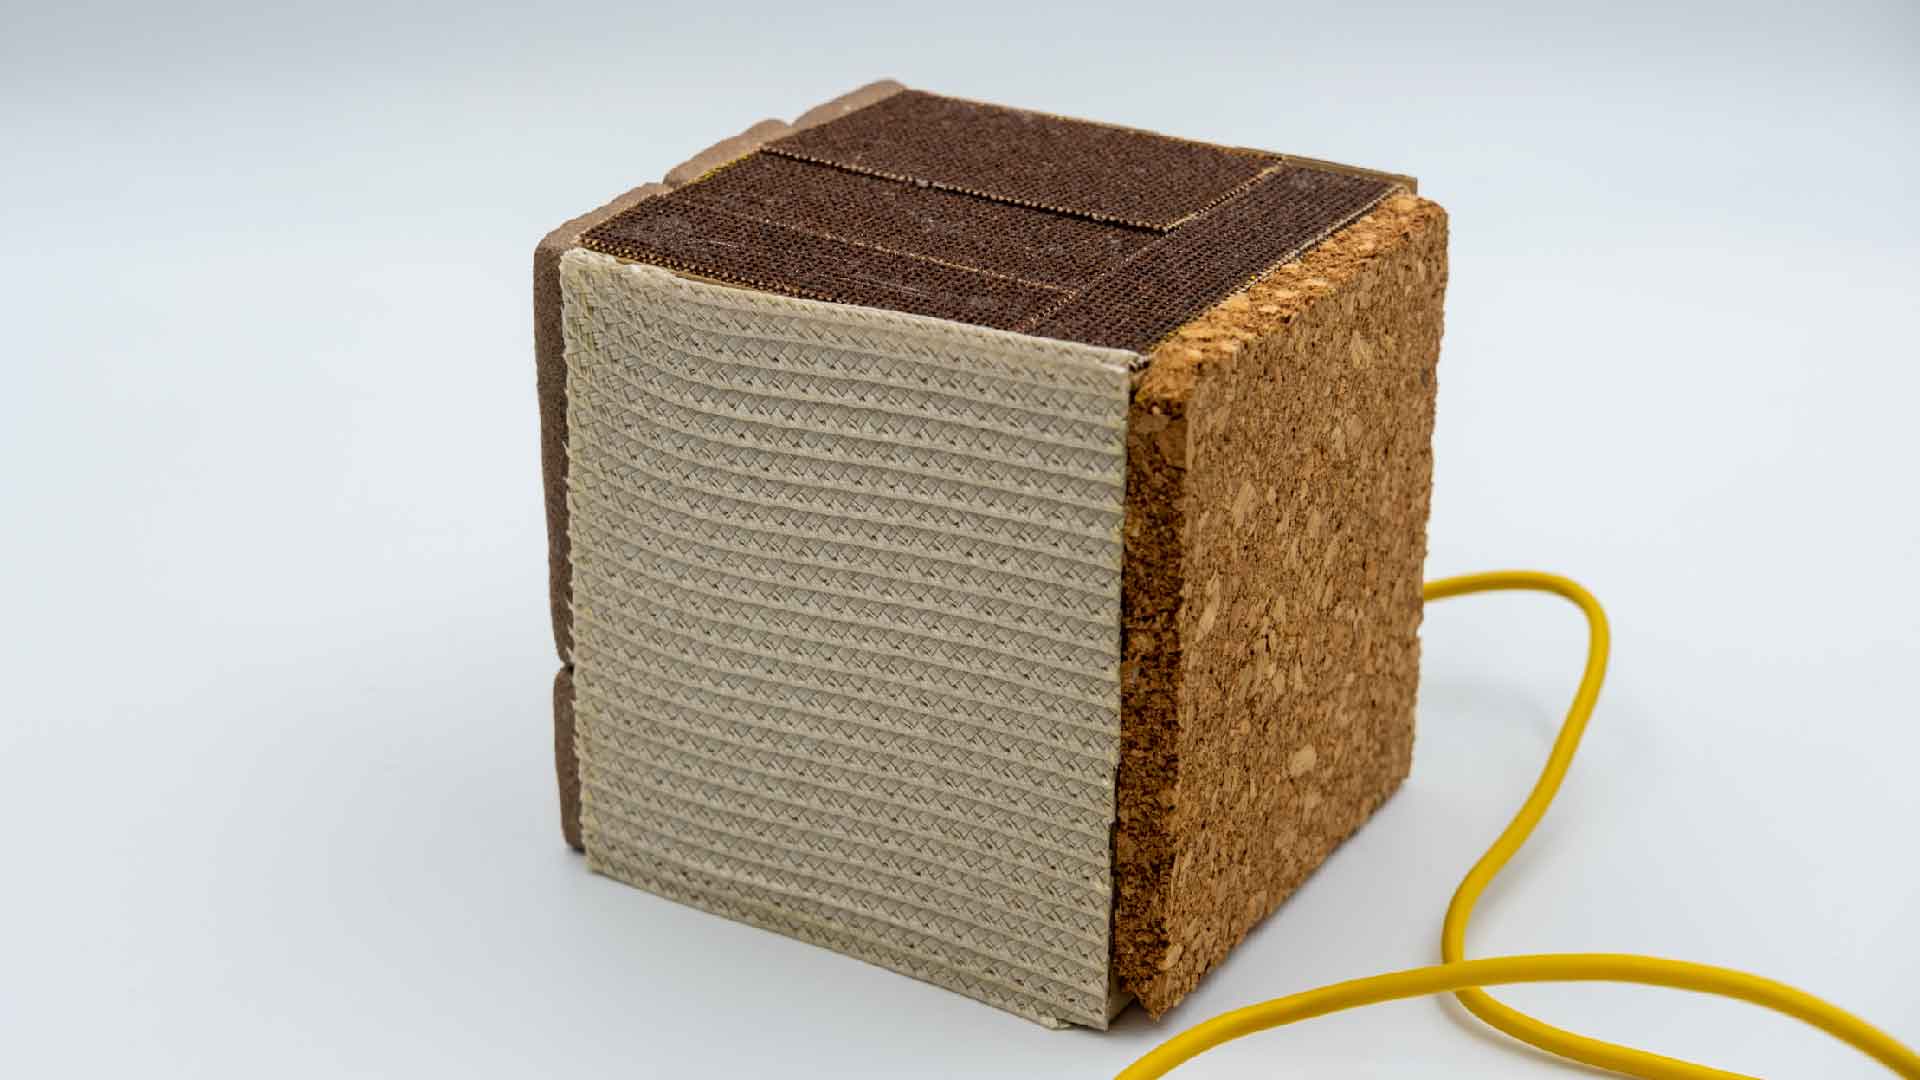
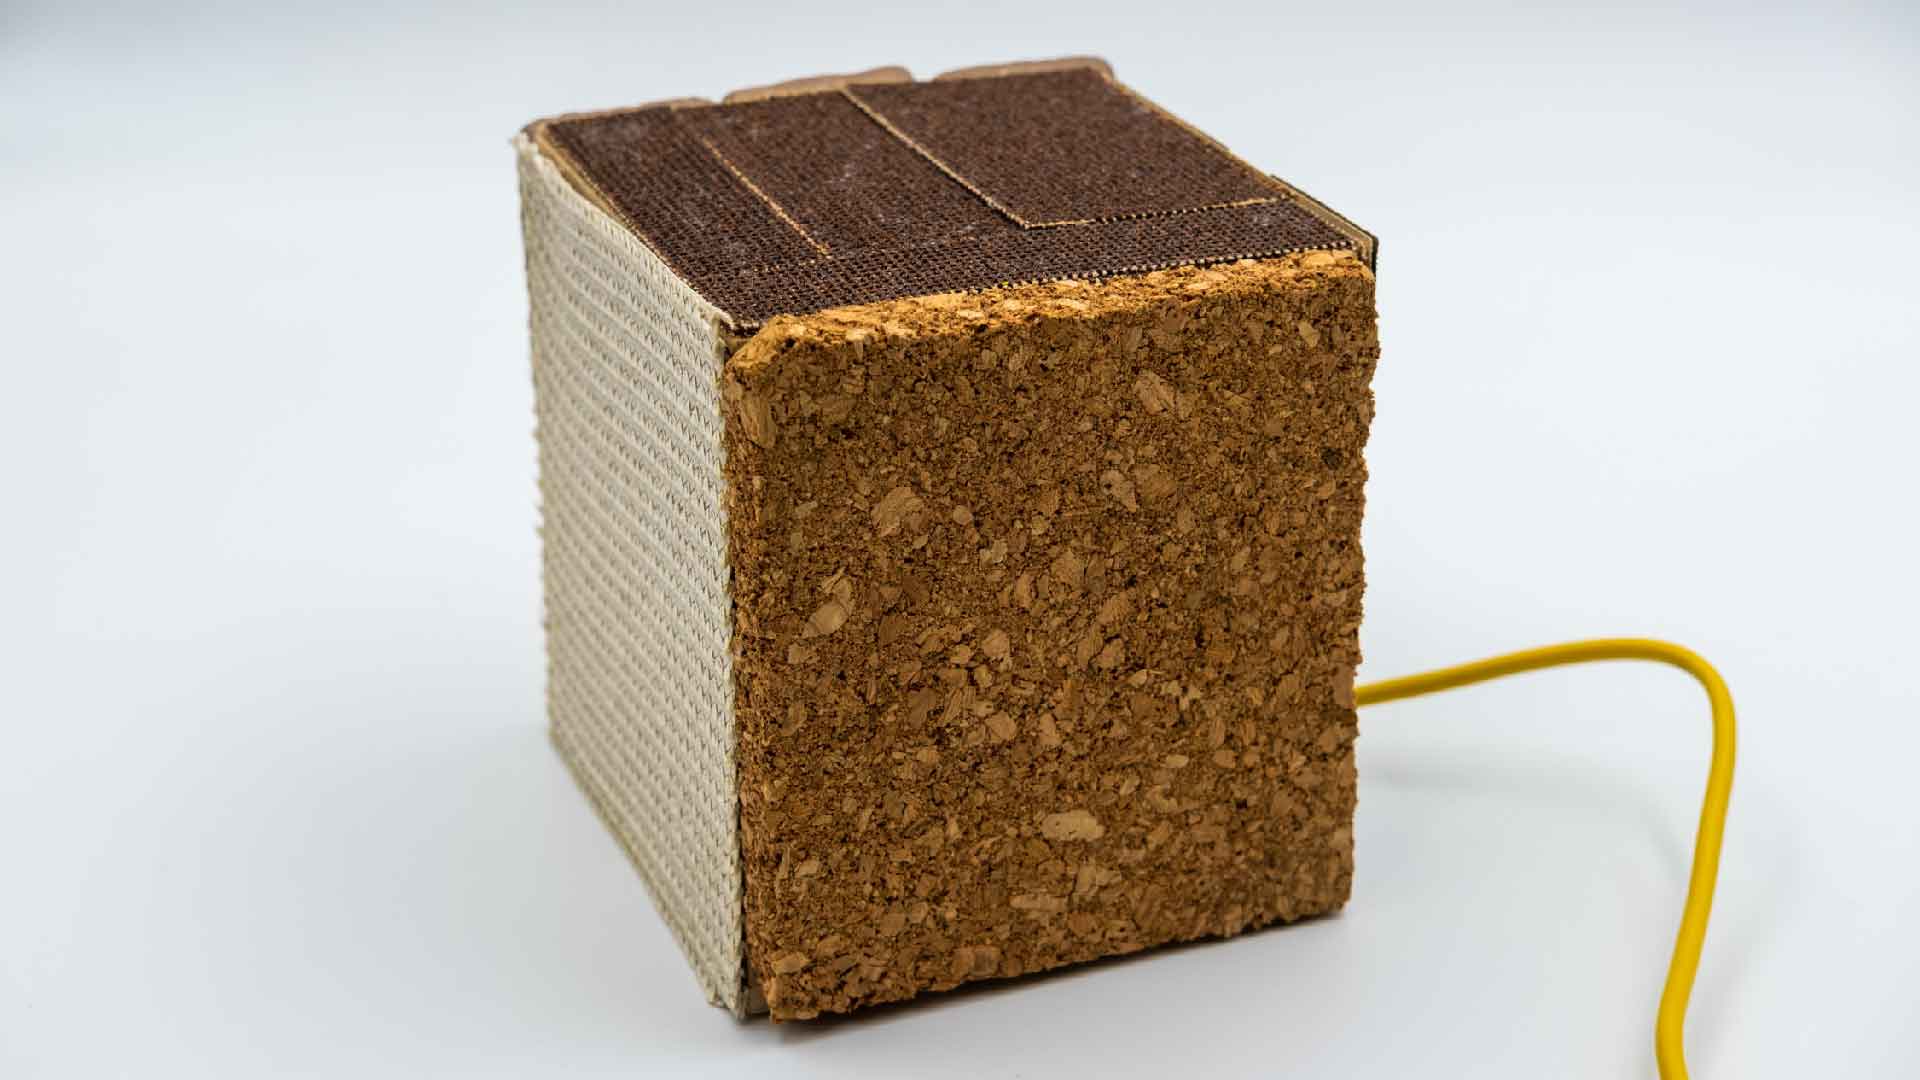
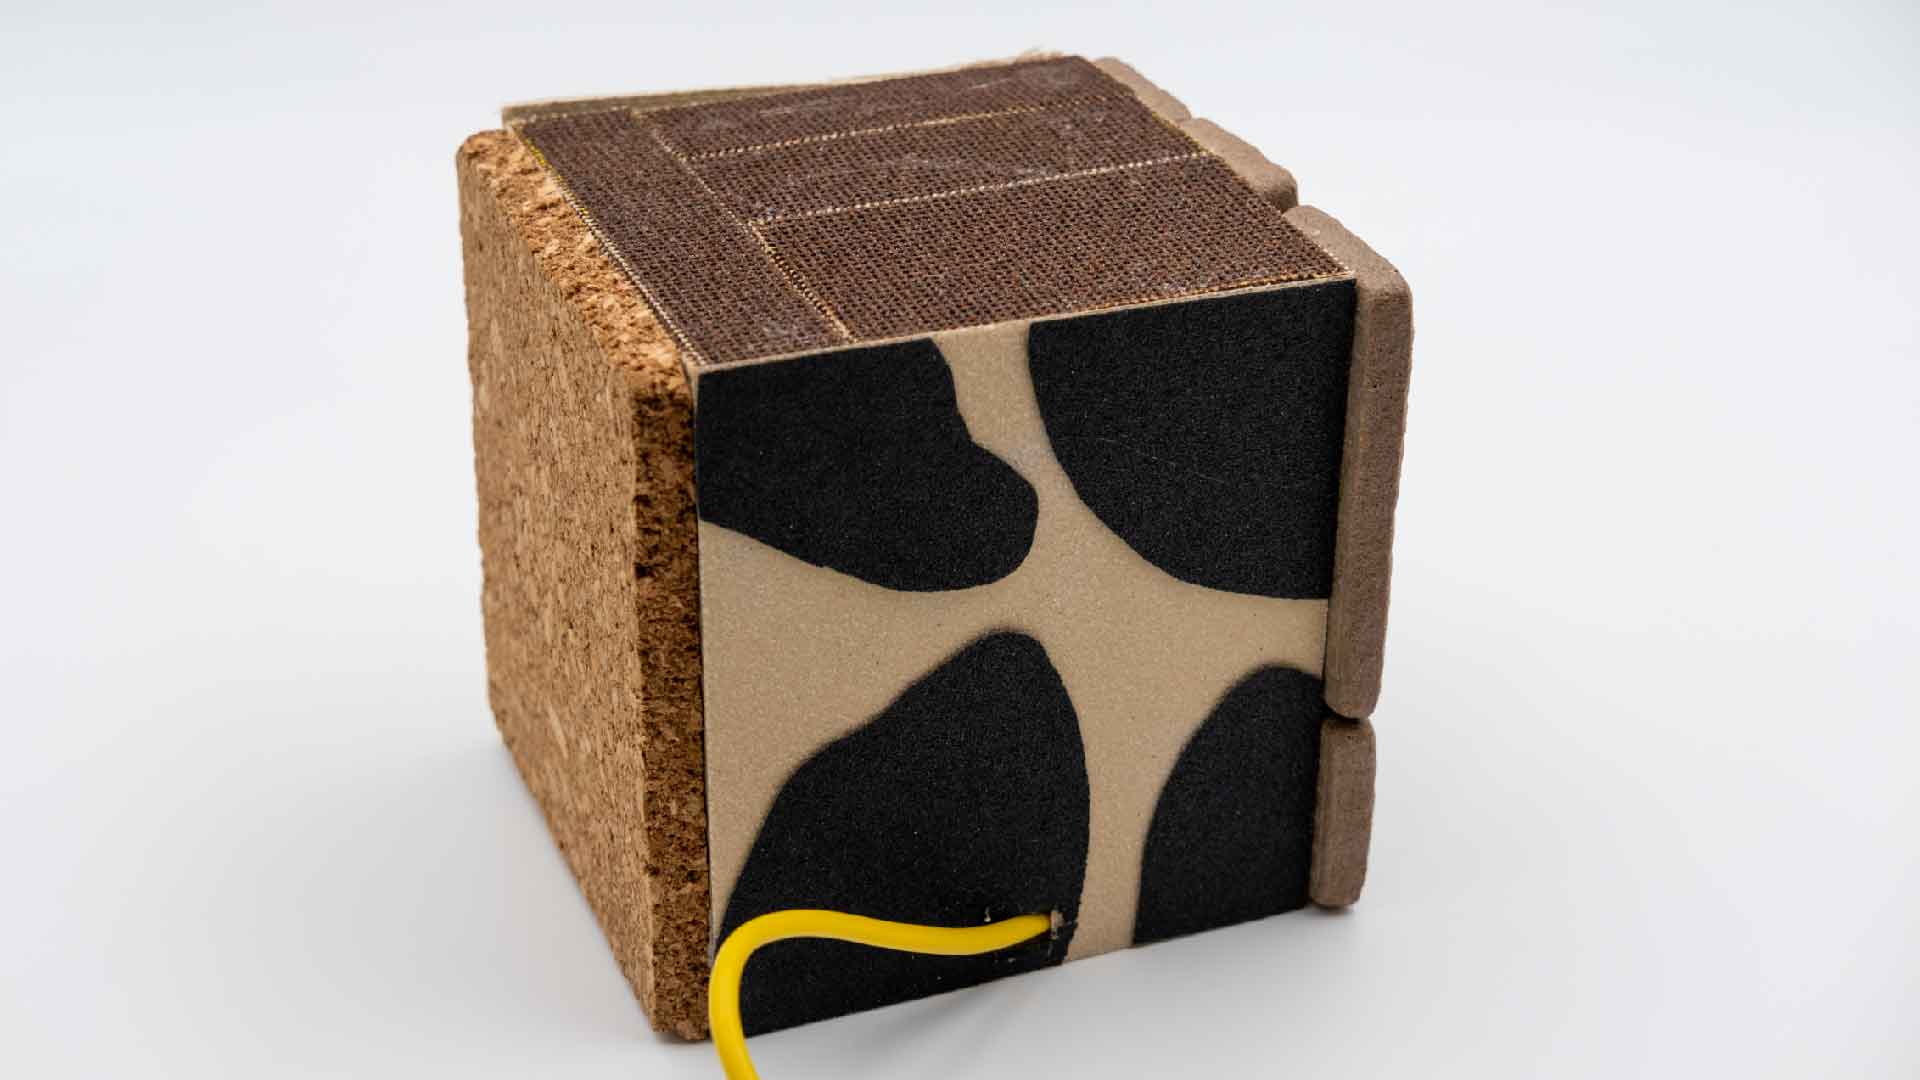
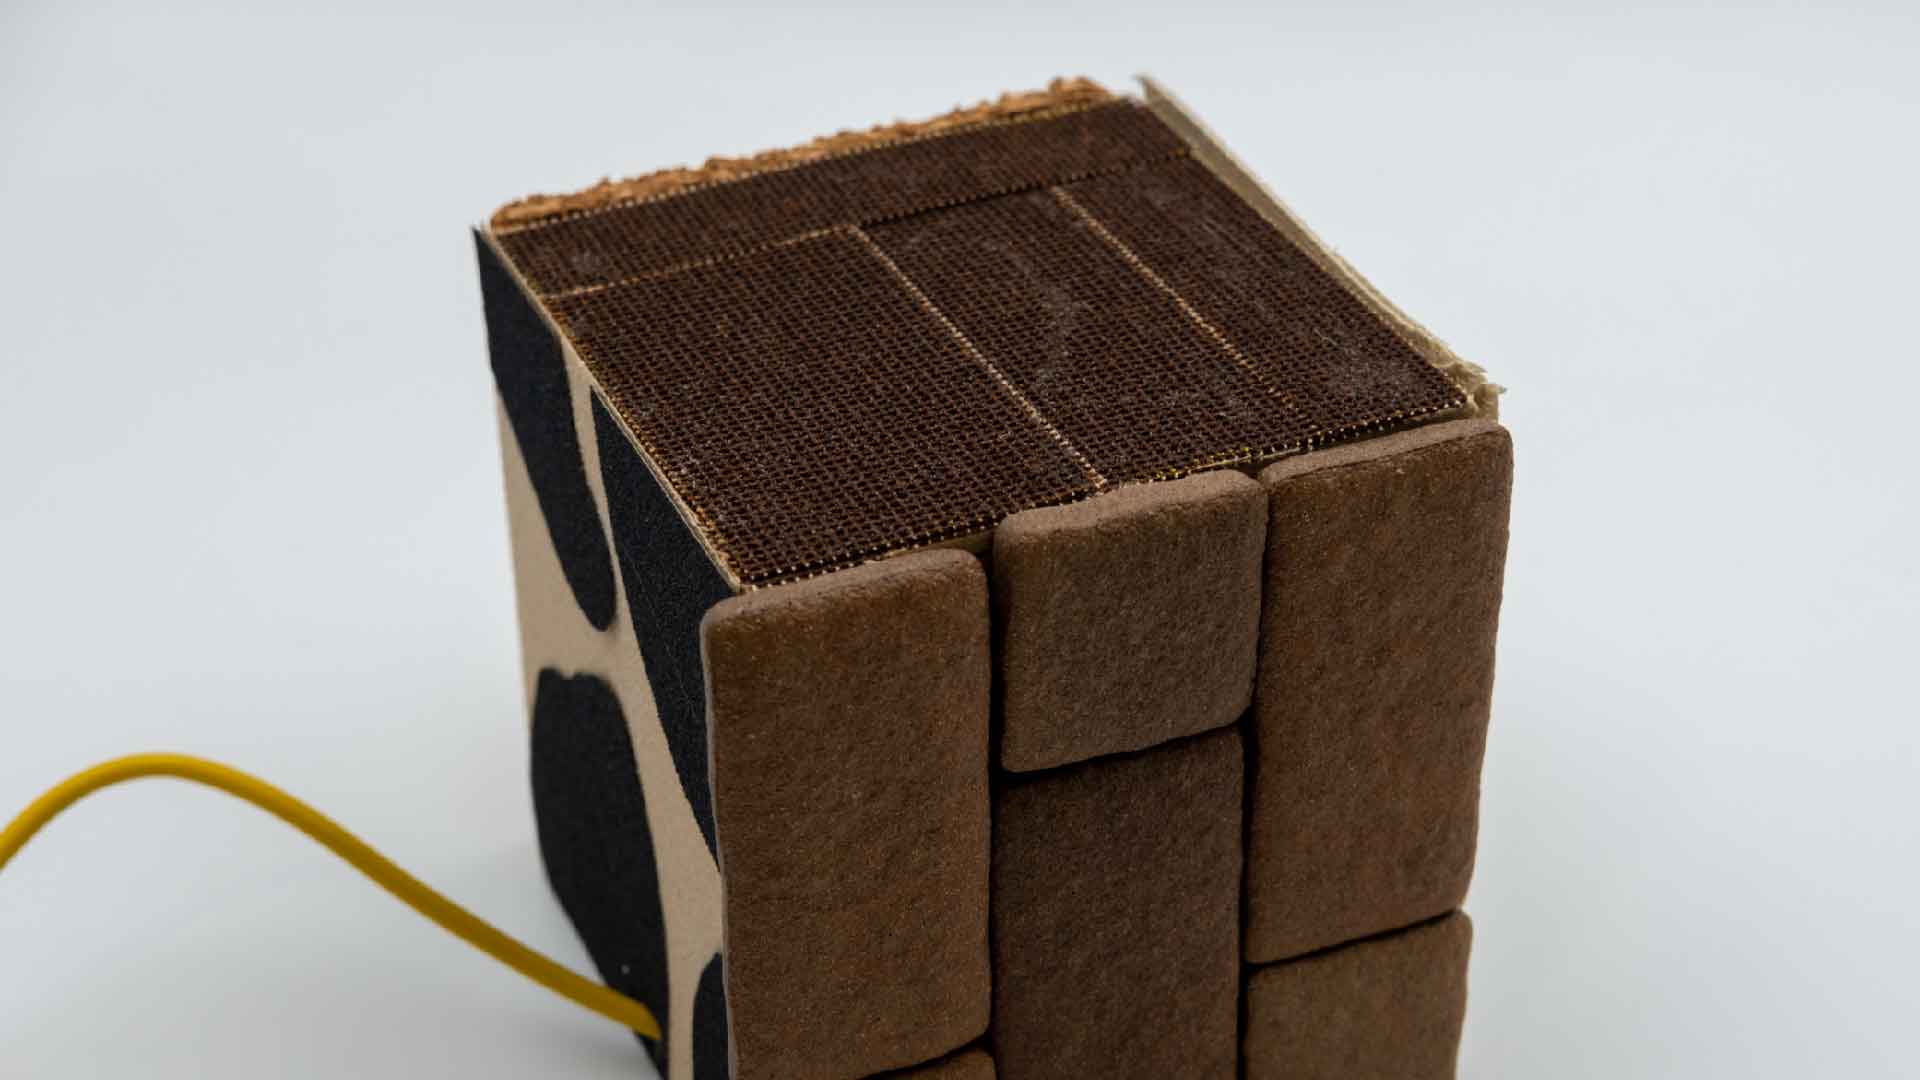
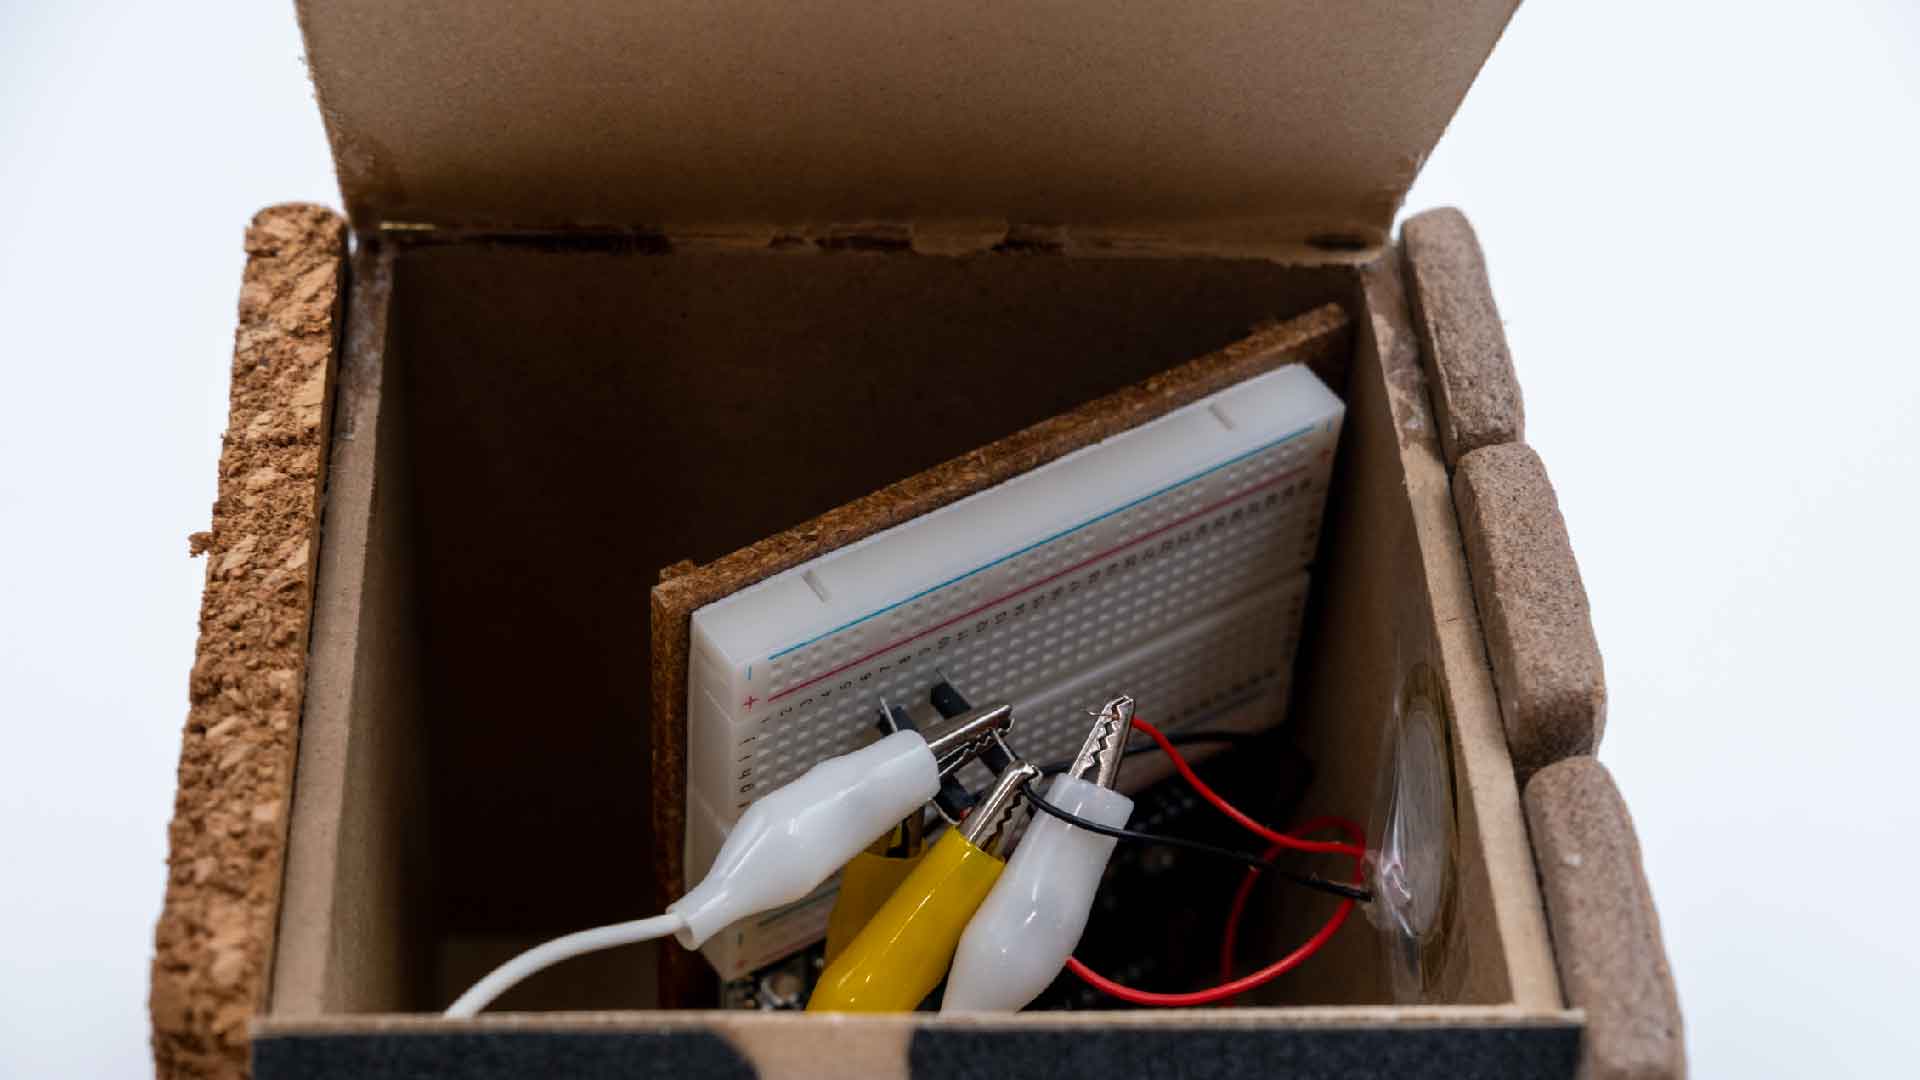
Using different materials, I created a second prototype of the textile noise maker. I used a wooden cube to conceal the electronic components inside the cube. The base and cover of the cube were made by cutting two pieces of wood, as the cube I purchased was hollow. I changed the chalkboard and grater to another material because I had difficulty cutting them.
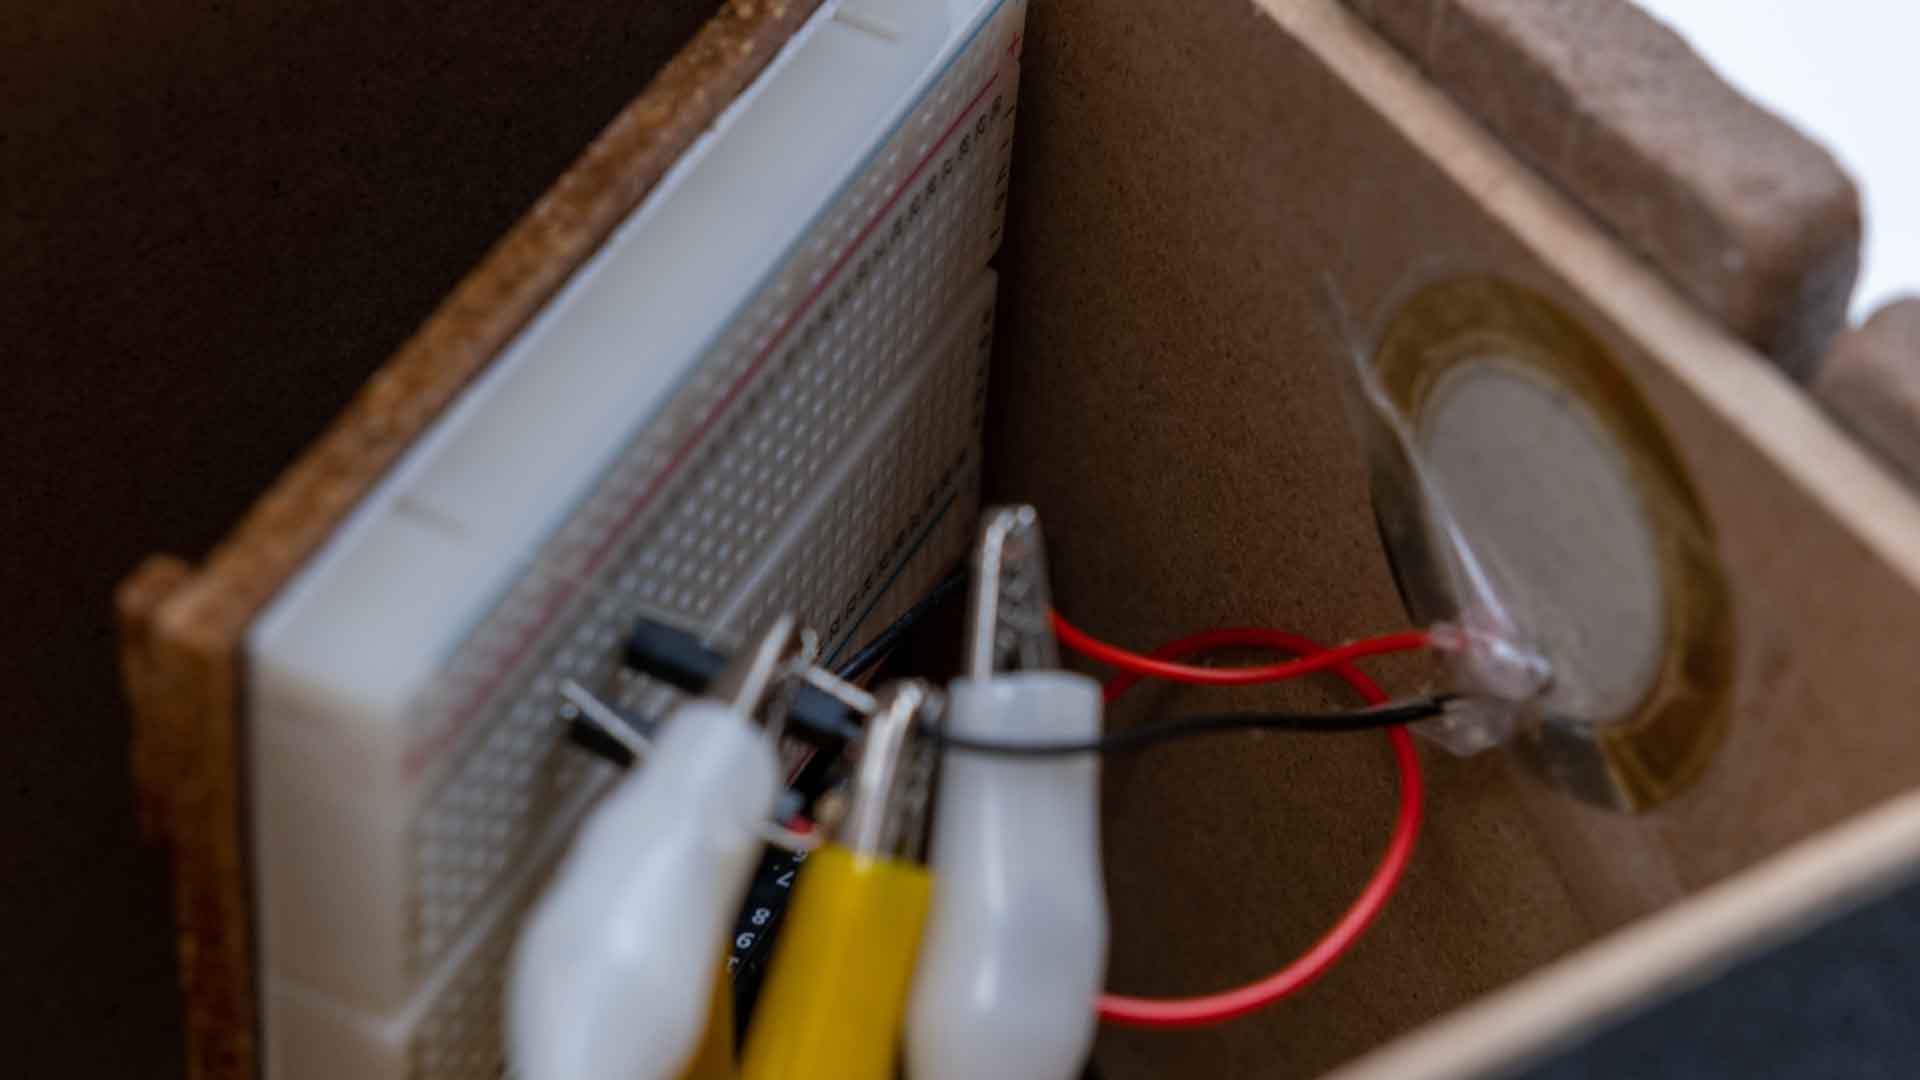
Upon completion of the noise maker, I connected my Arduino Piezo buzzer to my laptop to test the serial plotter's functionality. Some textures, such as table mats and cork, did not respond as well to the graph. Therefore, I will need to conduct further testing since I believe that the level of sensor sensitivity will need to be increased. This may be the result of the thicker textures I am using. This delay might also be caused by the placement of the Piezo buzzer, which I pasted inside the cube. Textures that are further away might not be detected as well as those that are closer to the Piezo buzzer.
Four new textures were used: mesh file, nylon table mat, cork, and stone tiles. I combined my black sandpaper with brown sandpaper because the rest of the textures had brown tones.
Materials
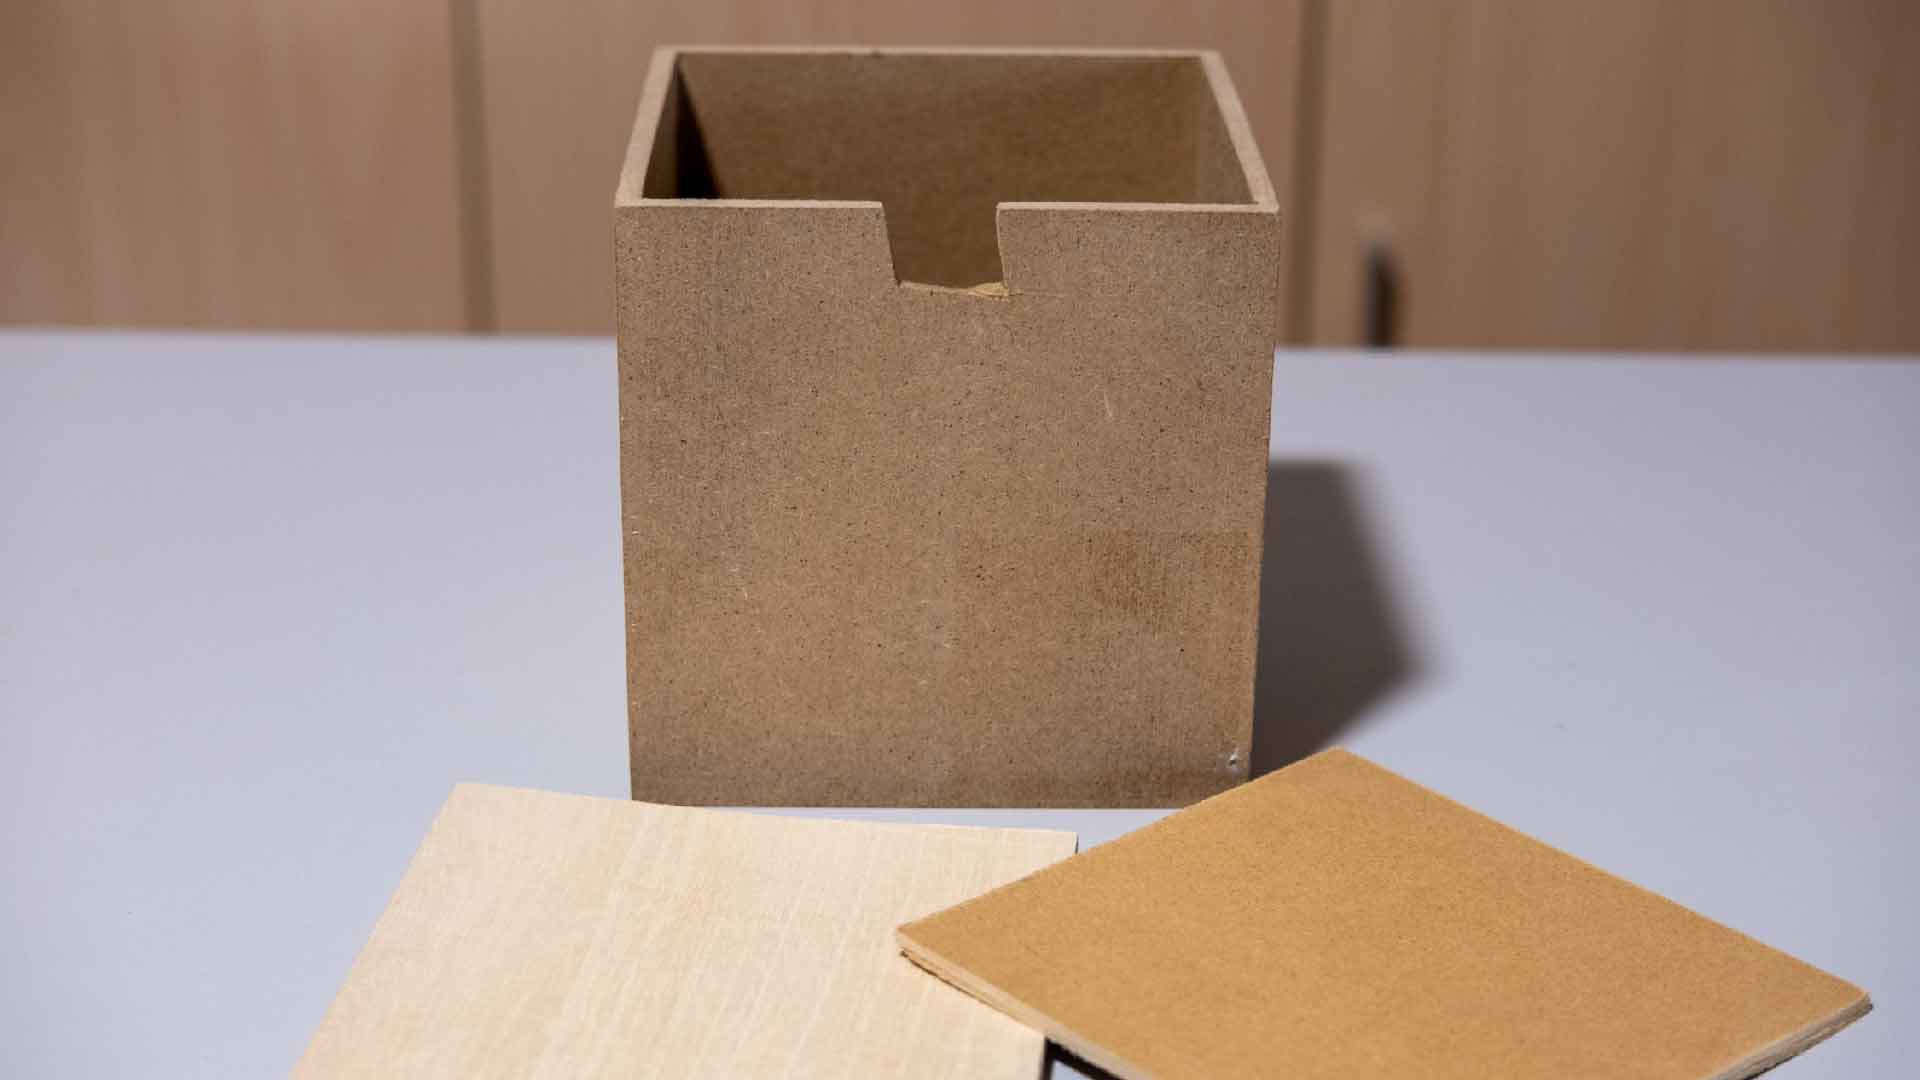
Cube 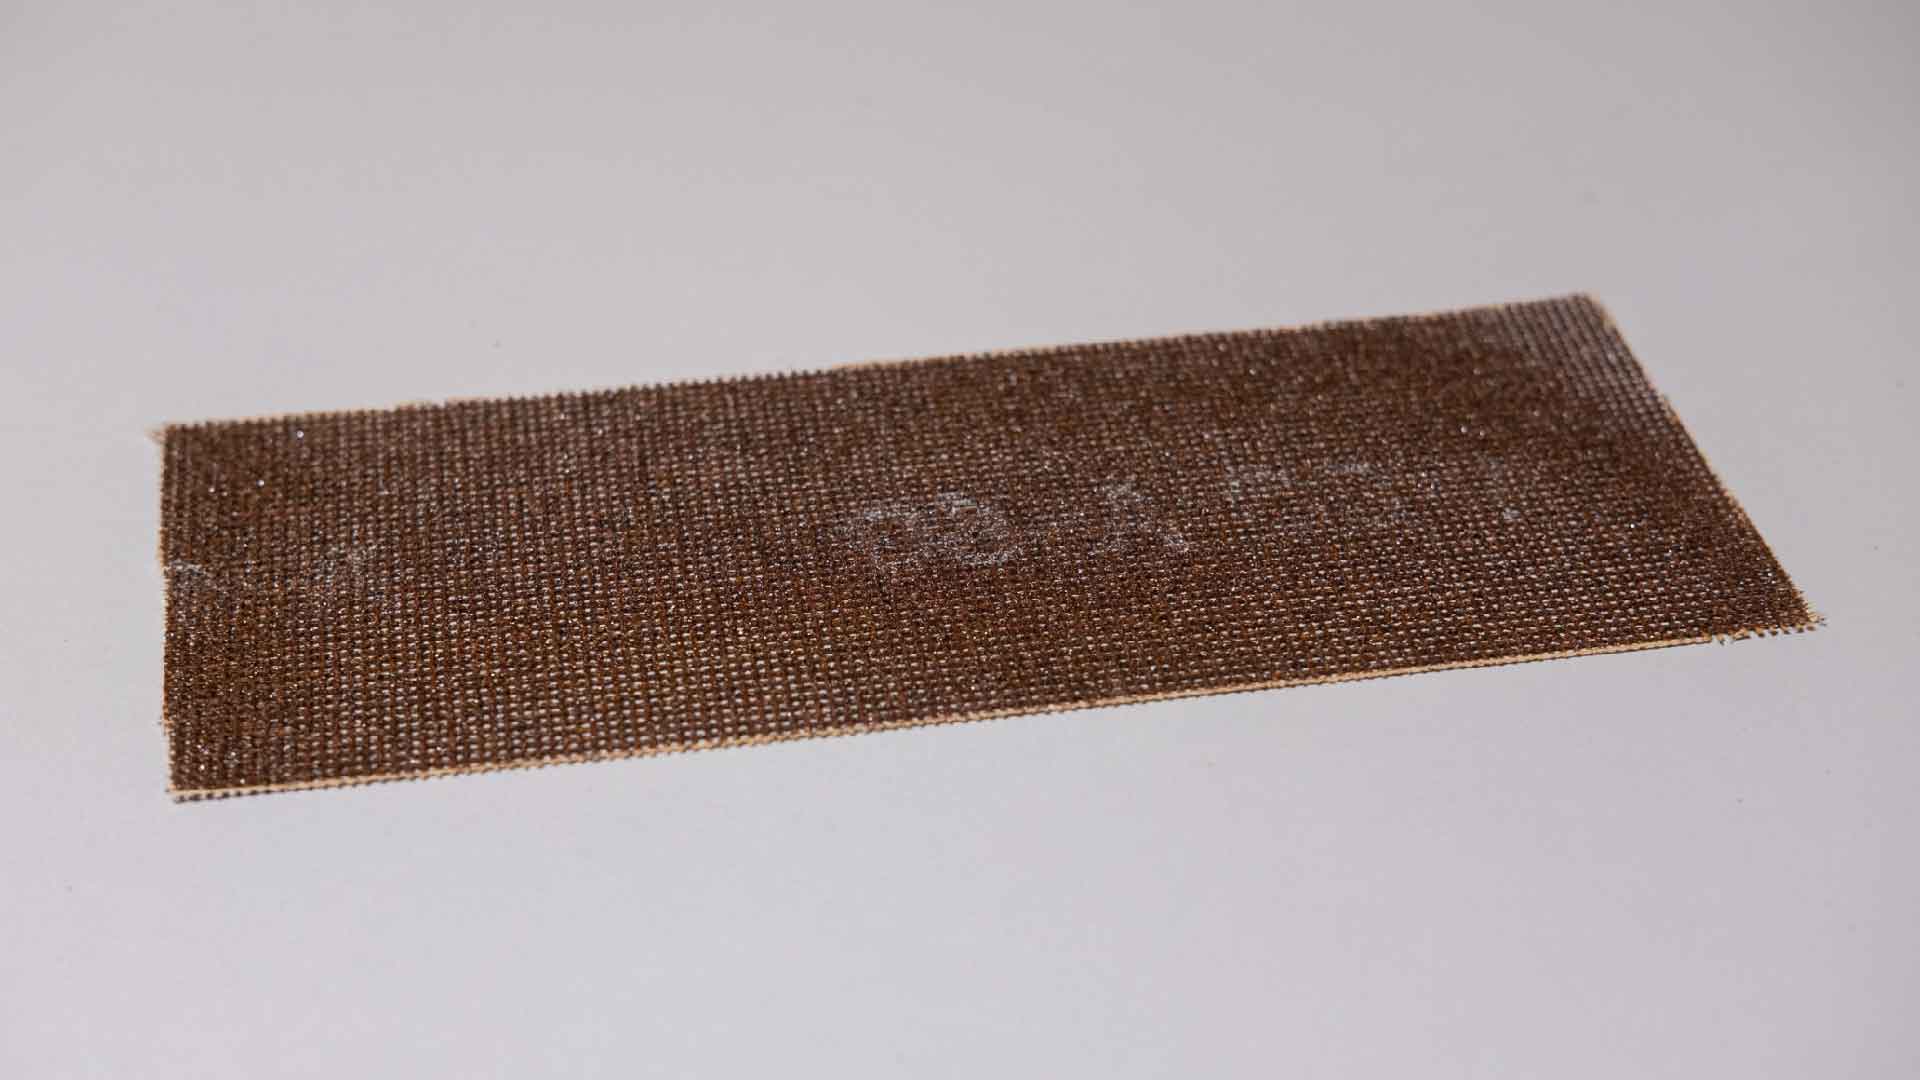
Mesh File 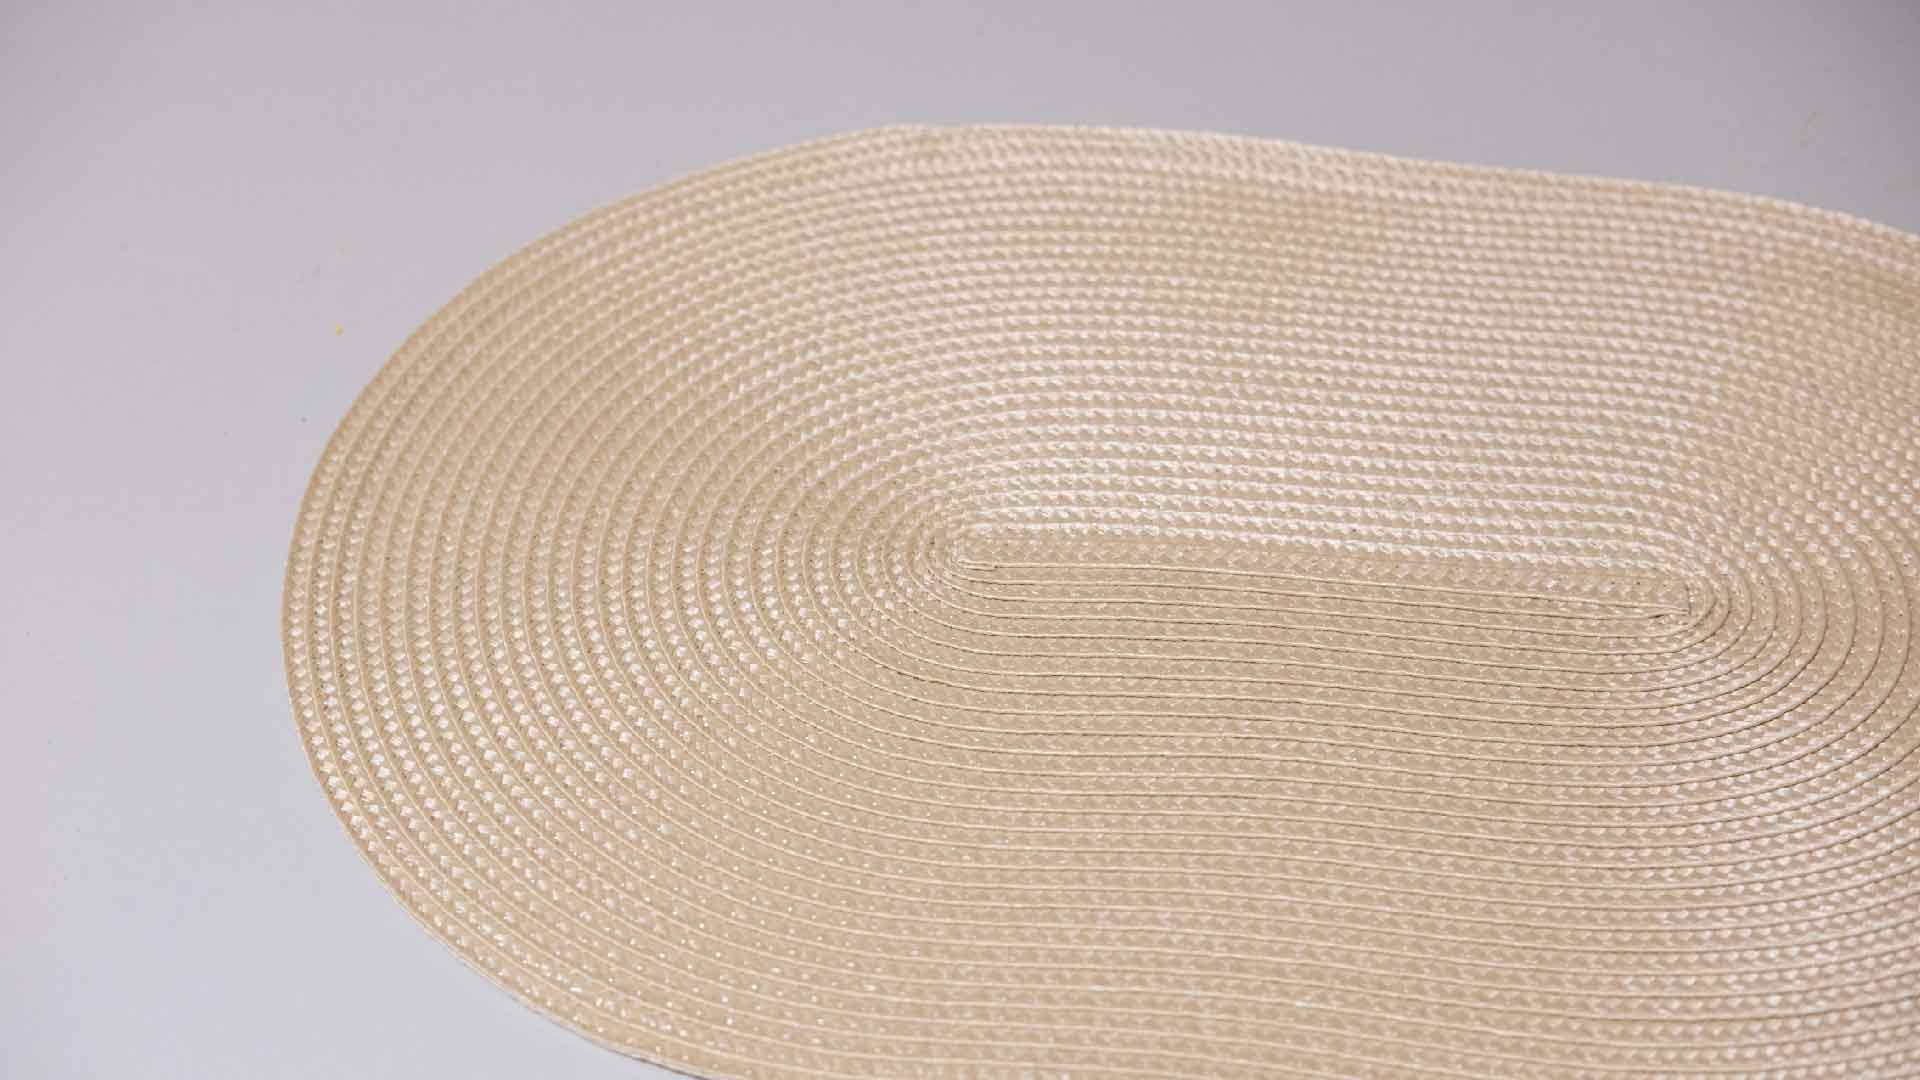
Nylon Table Mat
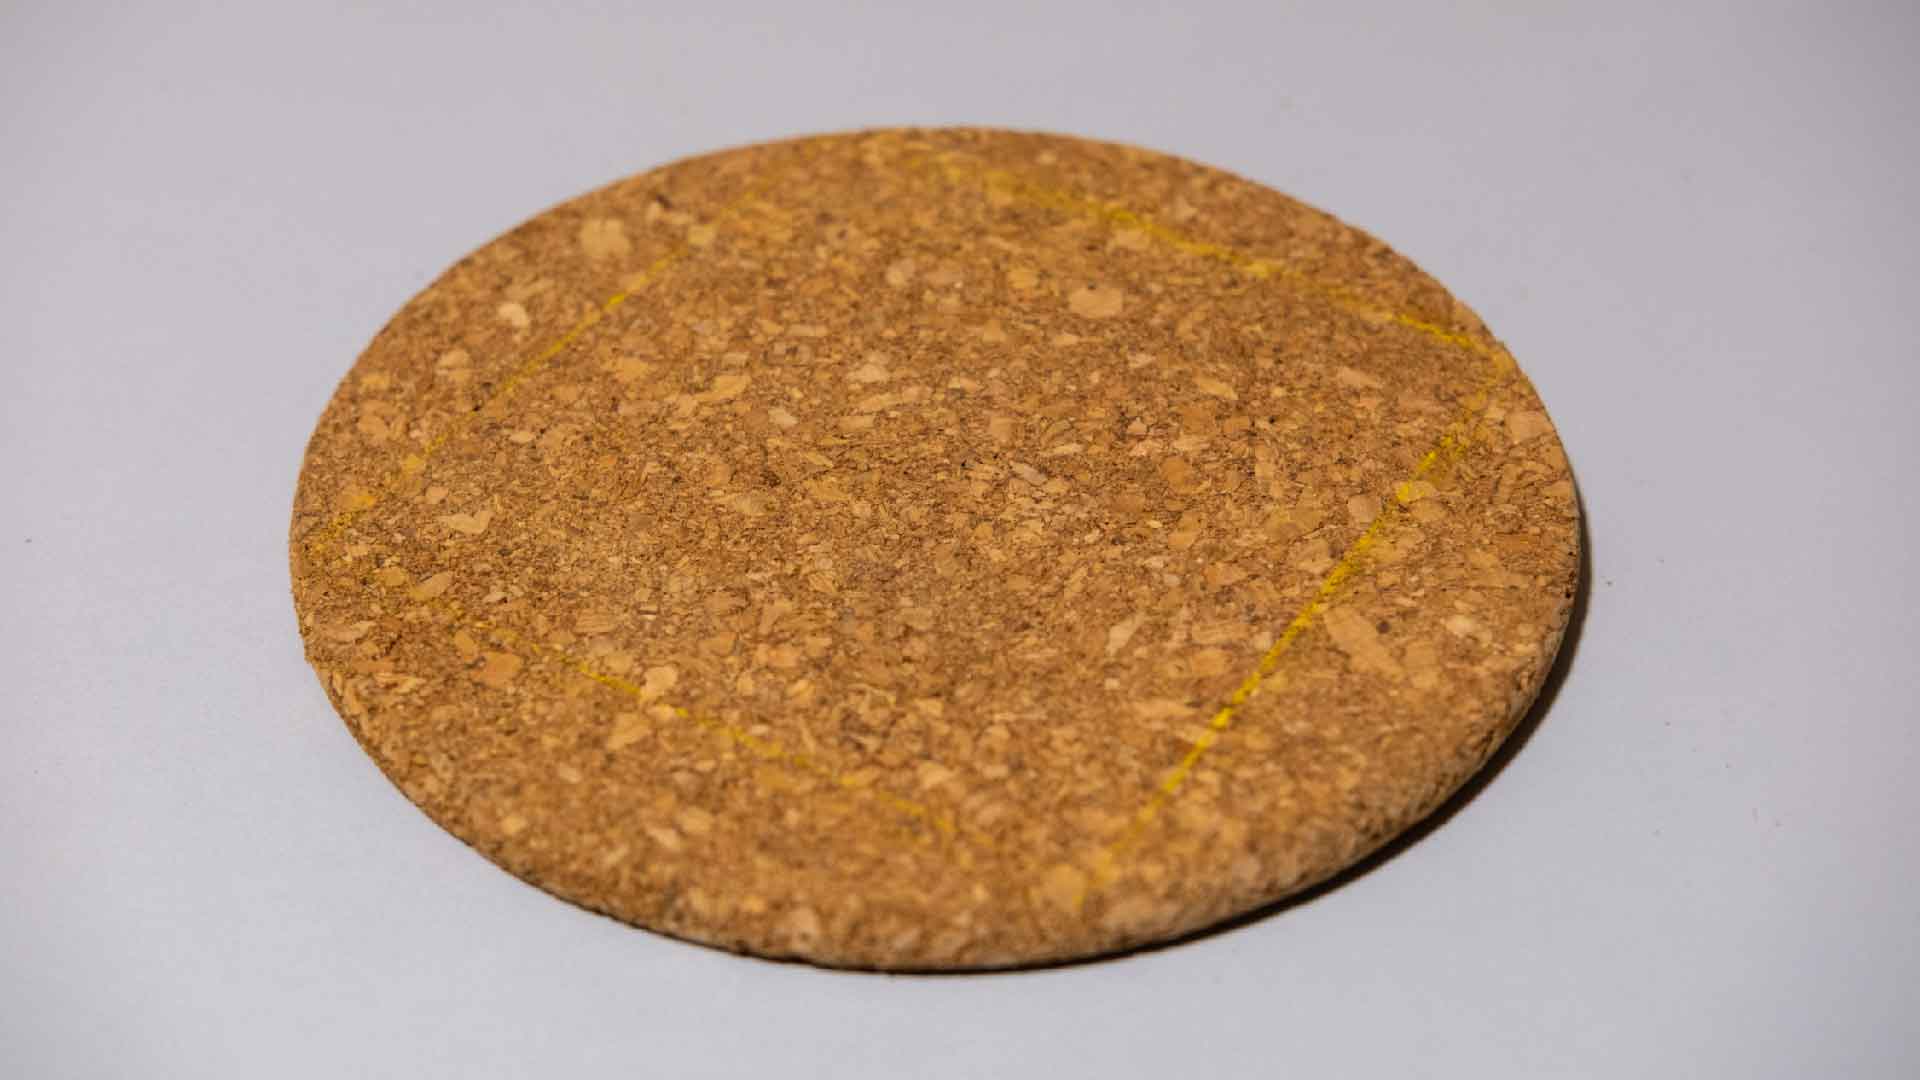
Cork 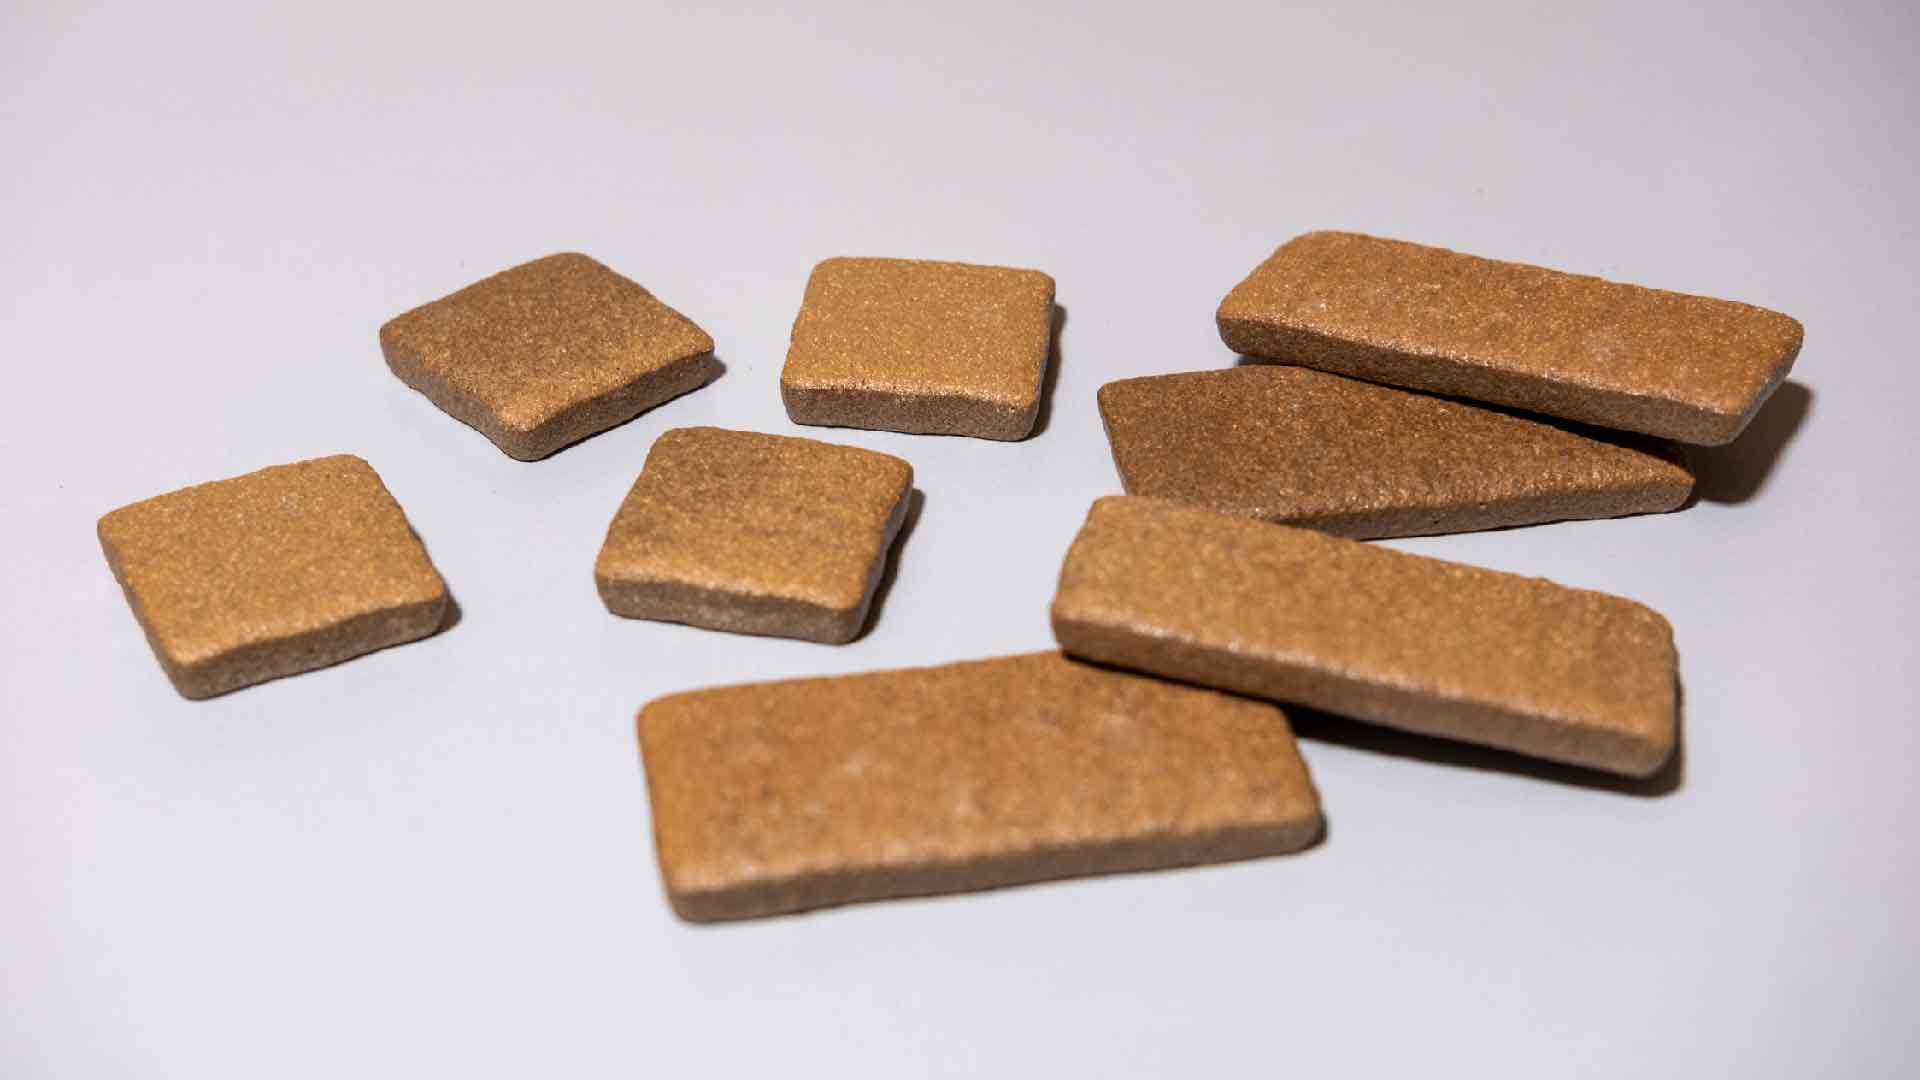
Stone Tiles 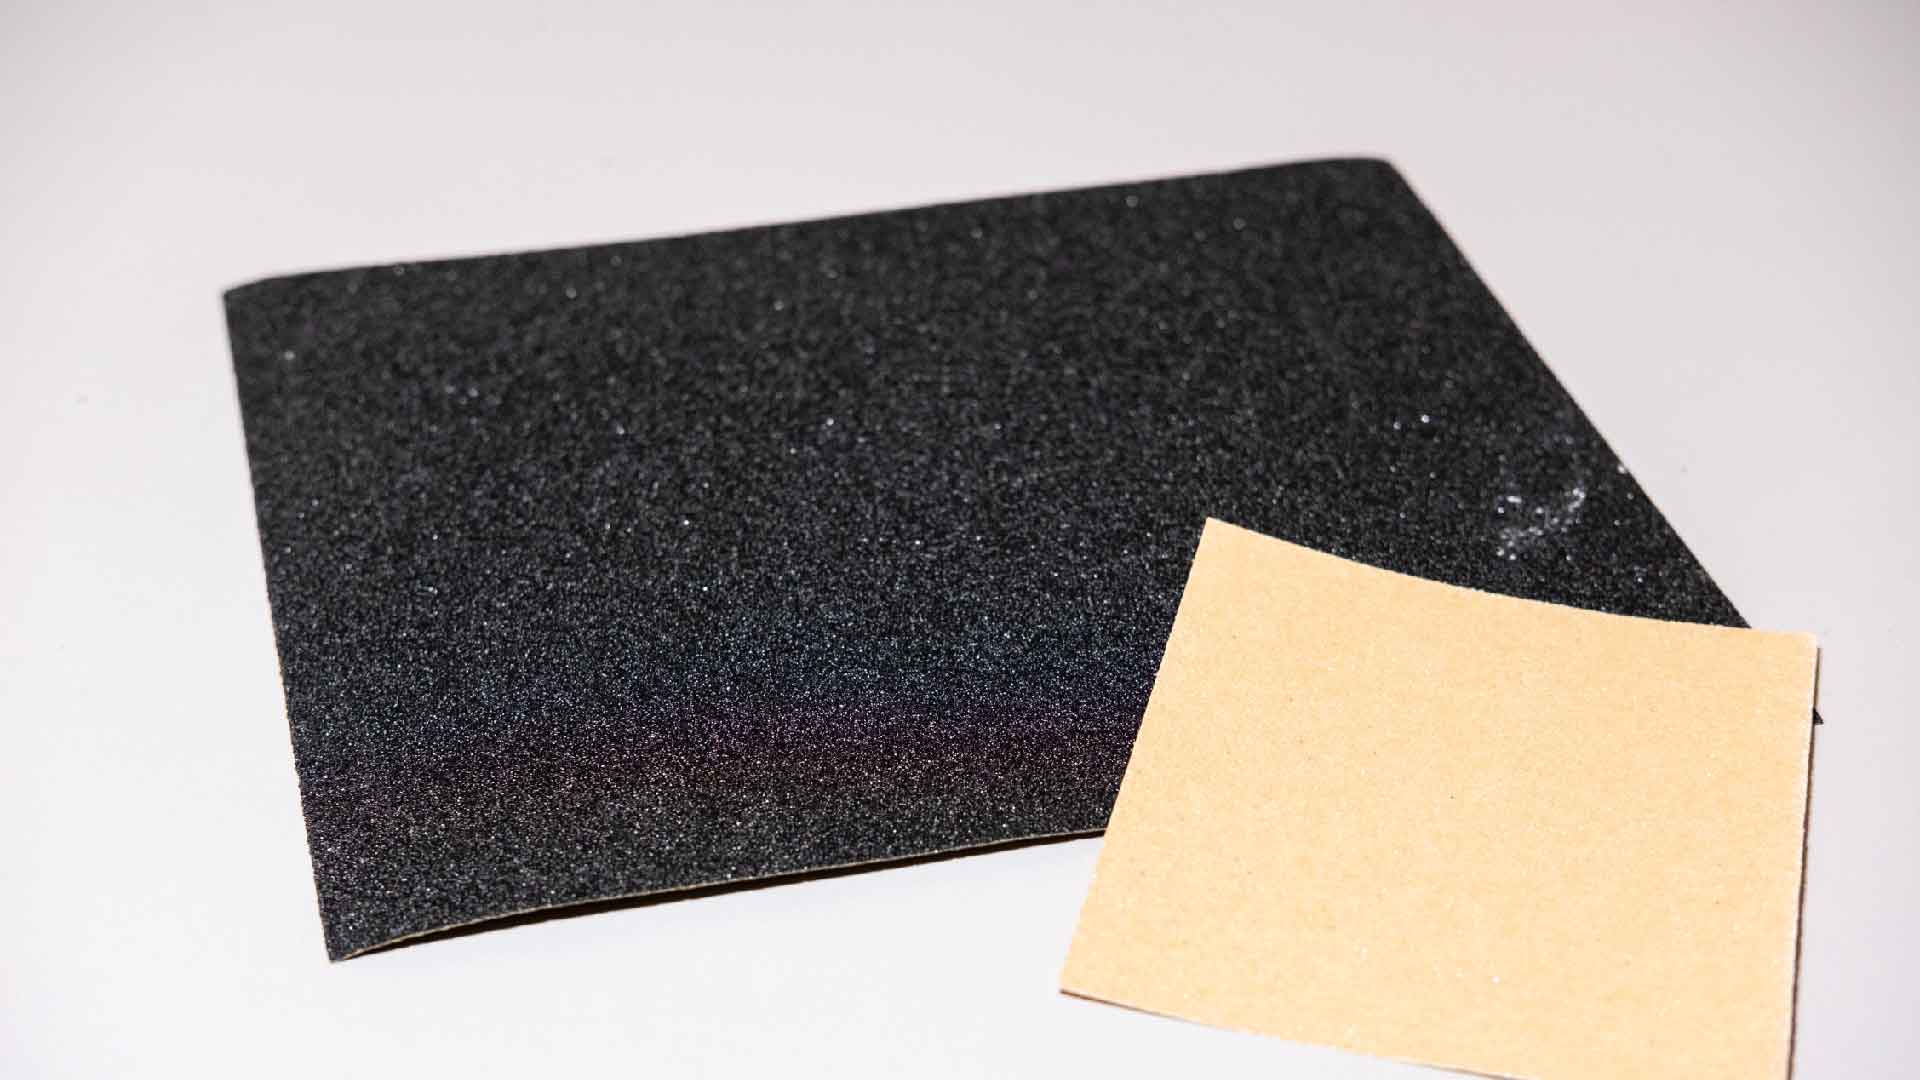
Sandpaper
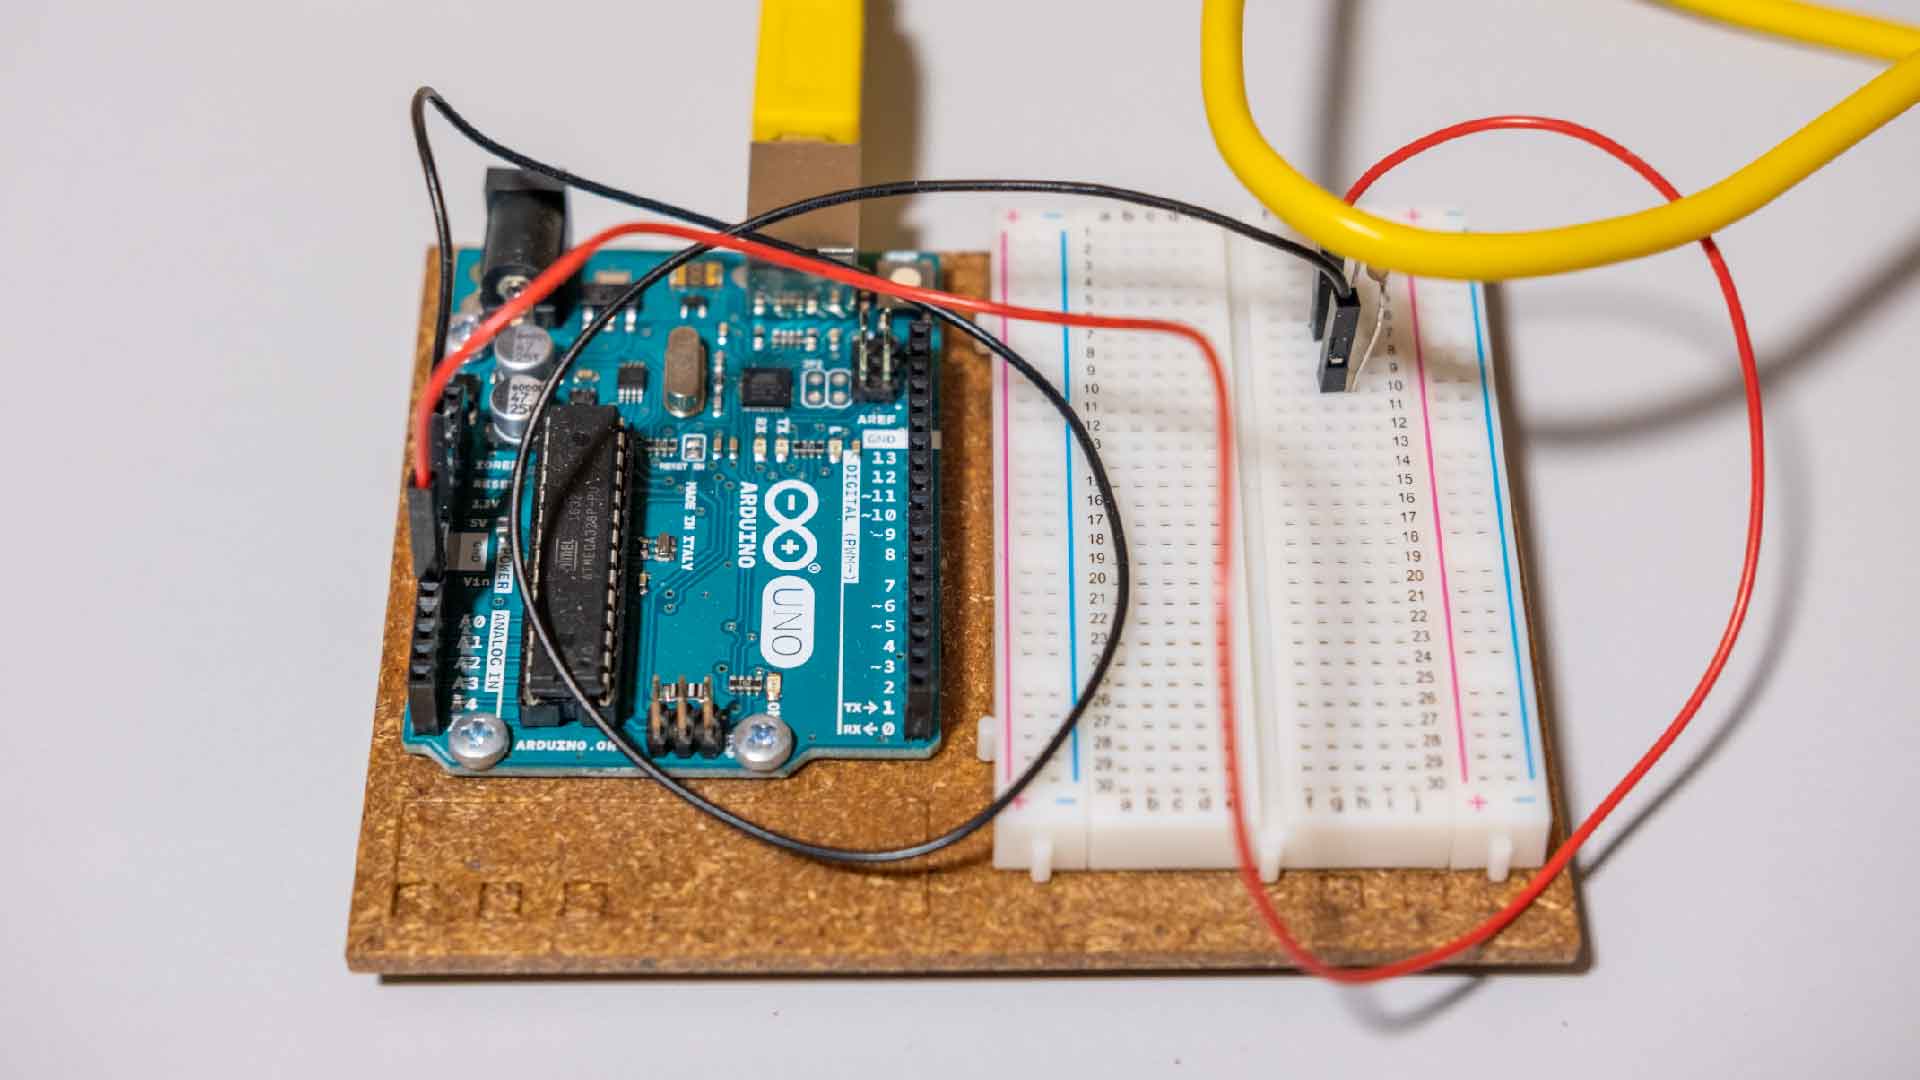
Arduino Setup 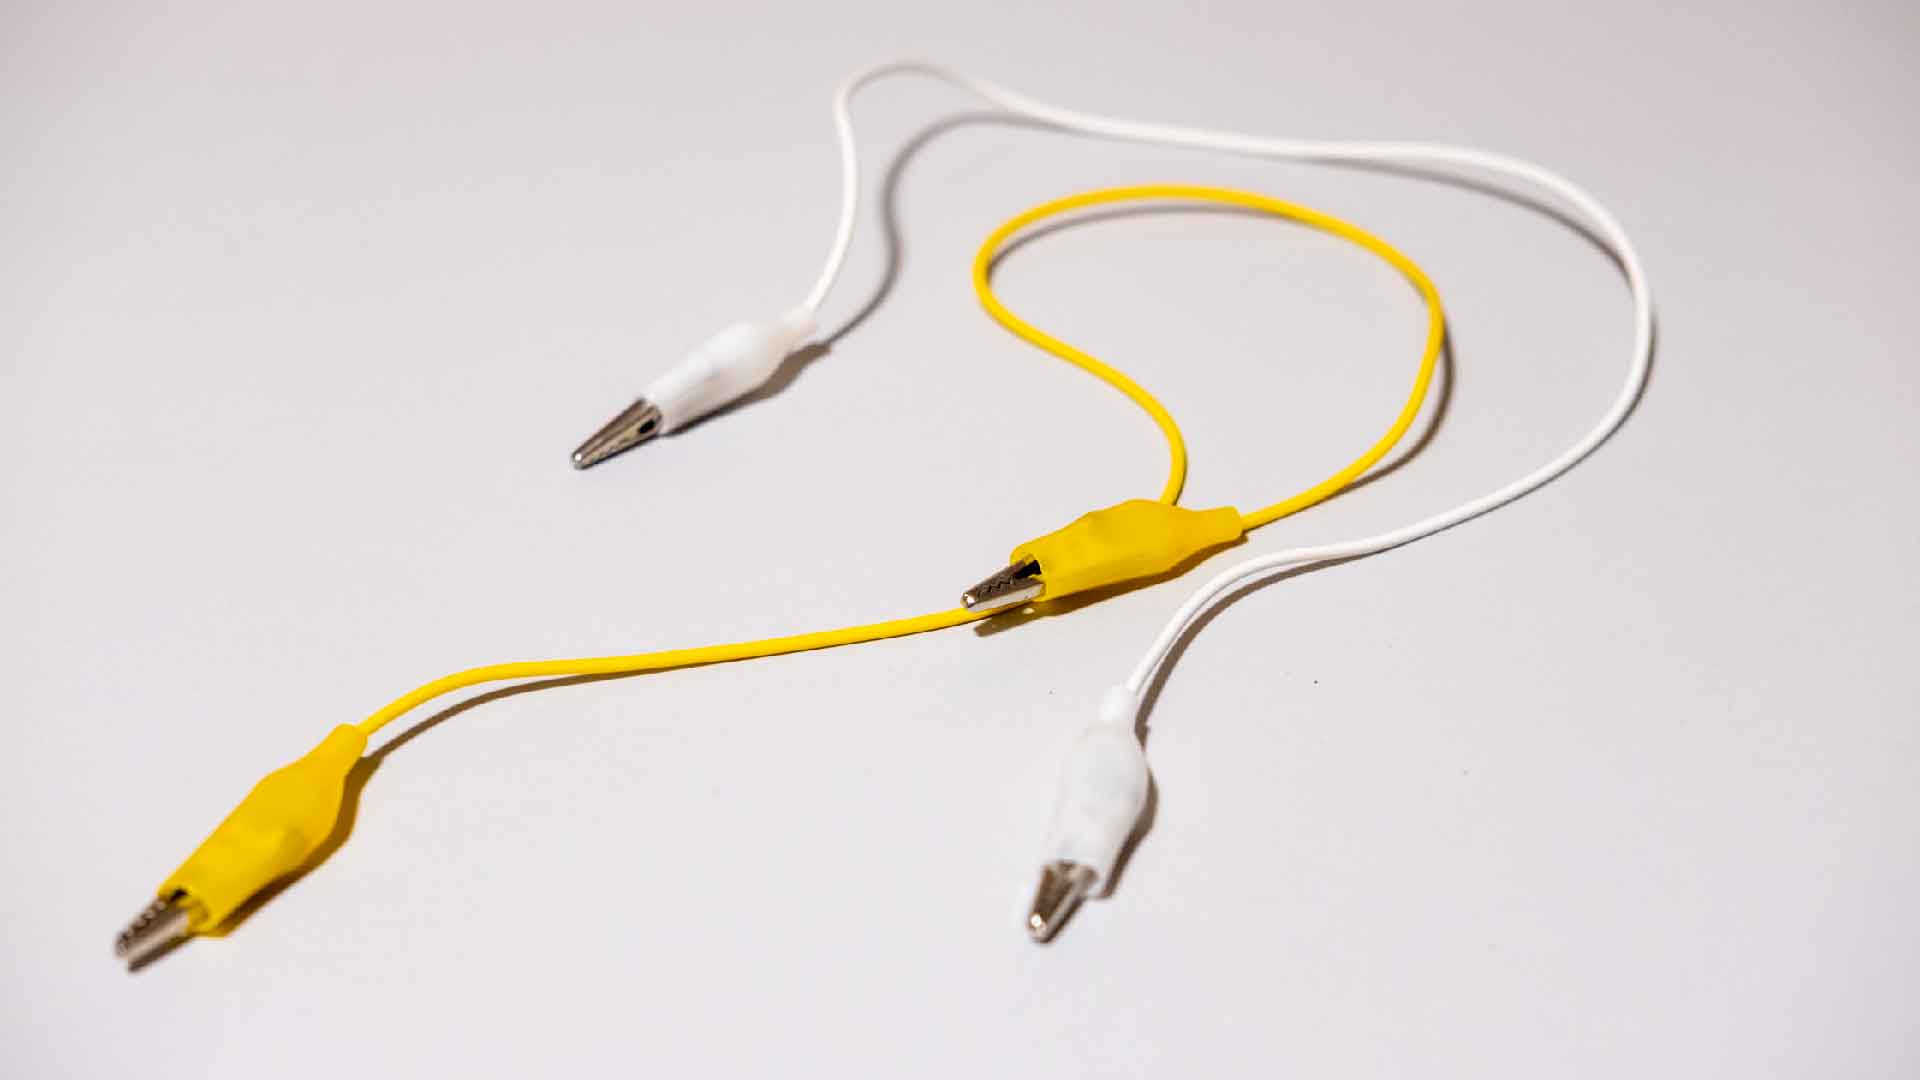
Alligator Cables 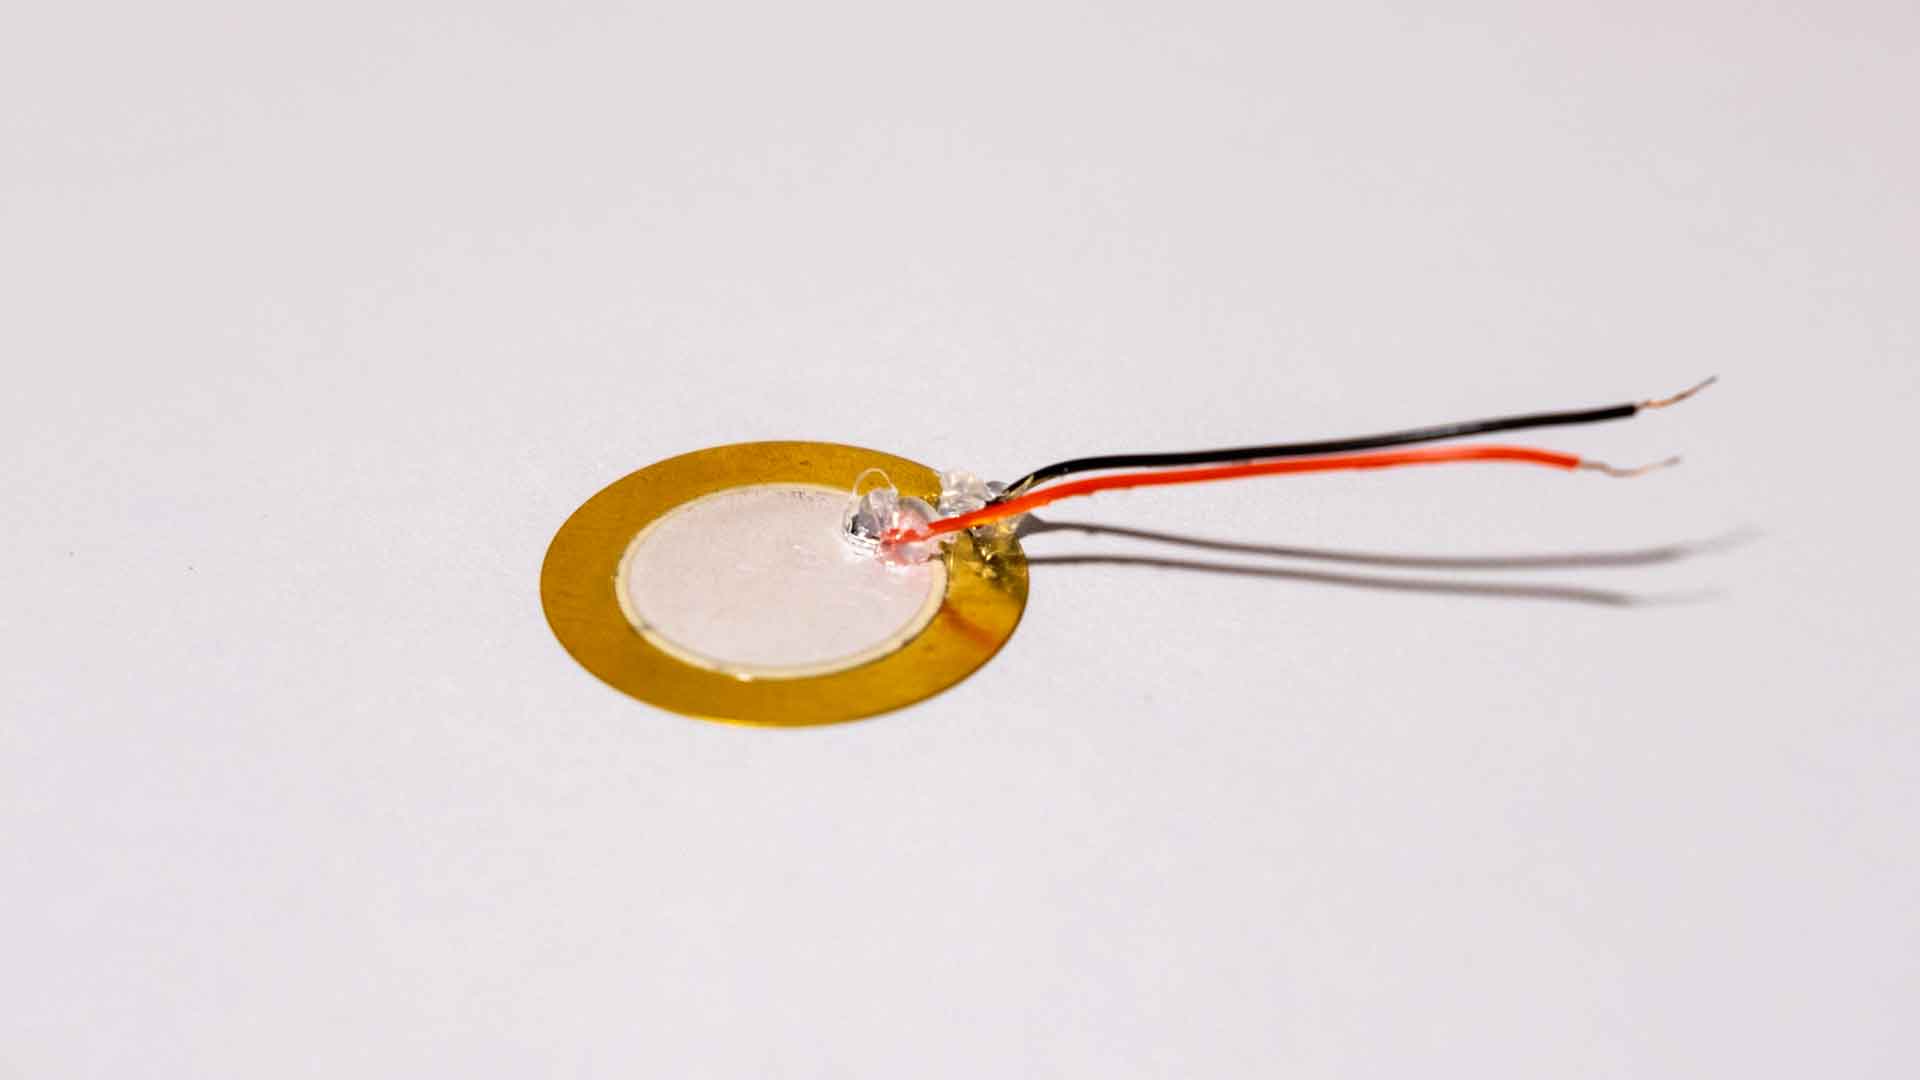
Piezo Buzzer Plate
Prototyping Process
Prototype Photos
